Crunchy Kosher Dill Pickles: a Refreshing Taste of Tradition
- look into Into the Crunch: The Kosher Dill Pickle Recipe
- Gather Your Ingredients
- Your Go-To Guide for Essential Ingredients
- Navigating the Professional Cooking Method: Mastering the Kitchen Like a Pro
- Unlocking the Secrets: Amazing Additional Recipe Information for Your Kosher Dill Pickle Recipe
- Frequently Asked Questions
- 📝 Recipe Card
look into Into the Crunch: The Kosher Dill Pickle Recipe
Oh my gosh, let me take you back to a hot summer day in my grandma's kitchen. she was the queen of pickles, y'all.
I can still hear the sound of her slicing crisp cucumbers and the fresh smell of dill wafting through the air.
I’d peek in, eager to snag a bite, and she’d always laugh, saying, “these aren’t ready yet, kiddo!” well, today, we’re diving into that same flavor magic with a kosher dill pickle recipe that makes my taste buds dance.
Seriously, it's like a little party in your mouth.
From Tradition to Your Table
So, where did this crunchy delicacy come from? the origins of kosher dill pickles trace back to jewish immigrant communities in america.
They perfected a simple method of pickling that combines cucumbers with boasting fragrant dill, zesty garlic, and pickling spices. these pickles became a staple in delis across the country.
Fast forward to now, they're not just a sidekick at your bbq; they're practically a star!
Don't be intimidated by the idea of pickling, either. this kosher dill pickle recipe is super easy. you’ll need about 15 minutes of prep time , then you let time work its magic in the fridge for 1 to 2 weeks (yeah, i know, but trust me, it's worth the wait).
Plus, it only costs a few bucks, and you’ll have about a quart of pickles to munch on or share.
Why You’ll Love These Pickles
Now, let’s talk benefits. these pickles aren’t just crunchy bites of happiness; they're actually good for you. low in calories ( only about 35 per serving ), they’re a perfect snack that won’t derail your acid reflux diet .
That’s right pickle lovers unite! plus, they deliver a punch of flavor without all the junk, making them a great addition to any coleslaw salad or even as a zesty twist in your dill pickle coleslaw .
Unique selling points ? you got it! first off, they’re super versatile. not only can you enjoy ‘em straight from the jar, but they jazz up sandwiches like nobody's business.
Got a dull cheese platter? toss a few pickles on there, and voilà! instant flair! they say food is a conversation starter; well, you’ll have plenty of stories to tell about how you made them.
And let’s be honest, the satisfaction you’ll get from crafting your own homemade pickles will make you feel like a kitchen rockstar. Who doesn’t love impressing friends with a new skill?
Perfect for Any Occasion
Whether it's a backyard cookout, a picnic in the park, or just a weeknight dinner, these kosher dill pickles are your go-to.
Serve them alongside a classic reuben or mix ‘em into a coleslaw recipe easy to get everyone excited about veggies.
Even if you're just curling up with netflix, these crunchy bites make the perfect snack. you’ll feel like you just hit the pickle jackpot!
So, are you ready to roll up your sleeves and dive into this recipe? it's simple, rewarding, and, let’s be real the taste of these homemade pickles will have you dreaming of grandma's kitchen too.
Next up, let’s grab those ingredients because you’re about to make something special!
Gather Your Ingredients
Head over to the kitchen, and i’ll walk you through what you need to create your own crunchy kosher dill pickles.
You'll find that making this delightful snack is not only satisfying; it’s also kind of fun! let’s get started!
Your Go-To Guide for Essential Ingredients
Hey there, fellow kitchen ensoiasts! have you ever stood in front of your pantry, scratching your head, unsure if you have what you need to pull off that awesome kosher dill pickle recipe you’ve been eyeballing? yeah, me too! that’s why i’m diving into this essential ingredients guide .
We’ll cover everything from must have pantry staples to smart substitutions that’ll save your bacon on busy weeknights. so grab a snack (maybe a pickle?), and let’s get to it!
Premium Core Components
Okay, first things first. Let’s talk premium core components for any kitchen. You want to have the best ingredients to make your food sing!
- Detailed Measurements : It'll save you a headache later. When it comes to spice, stick with ♡ 1 teaspoon or 5 ml if you’re going metric.
- Quality Indicators : Look for bright colors in fresh veggies; if they look sad and wilted, leave them be!
- Storage Guidelines : Most spices last for 1-2 years if sealed tight. But herbs? They’ll go stale faster than last week’s pizza if you don’t store them properly.
- Freshness Tips : For herbs, make sure they’re not turning into a science project! Sniff ‘em! If they smell fresh and vibrant, they’re good to go.
Signature Seasoning Blend
Now, let’s spice things up a bit! Your signature seasoning blend is like a secret handshake in culinary circles. Here’s how to craft yours:
- Essential Spice Combinations : A pinch of this and a dash of that! Think garlic powder, onion powder, and a little cayenne for heat BOOM!
- Herb Selections : Fresh dill is like a best friend for pickles. It makes all the difference!
- Flavor Enhancers : Consider soy sauce or nutritional yeast they’ll kick your dish up a notch.
- Regional Variations : Ever tried a Southern style spice blend? Trust me, it’s life changing.
Smart Substitutions
Life happens, right? Sometimes you gotta improvise. Here are some smart substitutions for those “Oh no!” moments:
- Common Alternatives : No sour cream? Greek yogurt is a solid backup and brings a bit of tang.
- Dietary Modifications : Got lactose issues? Coconut milk works wonders in creamy recipes!
- Emergency Replacements : No dill for that pickle coleslaw? Use tarragon just as herbaceous but with a unique twist.
- Seasonal Options : In summer? Fresh herbs shine! Winter? Dried herbs are your best buds.
Kitchen Equipment Essentials
Alright, we’re cruising now! Let’s get into what equipment you really need. Here’s the lowdown on kitchen equipment essentials :
- Must Have Tools : A solid chef’s knife and a trusty cutting board are non-negotiable.
- Alternative Equipment : No fancy mixer? A whisk and a good ol’ spoon will do!
- Preparation Tips : Prep all your ingredients before you start cooking. It'll make you feel like a cooking rockstar!
- Storage Solutions : Mason jars are your friends! Use them to keep spinach fresh or store your homemade pickles .
Wrapping It Up
So there you have it! this guide will help you stock your kitchen like a pro and take the stress out of cooking.
Remember, whether you’re diving into a delicious coloslaw salad featuring crunchy pickled goodness or whipping up a quick pasta, a little knowledge goes a long way.
Next up, we’ll talk about how to use these ingredients to make that kosher dill pickle recipe and try your hand at our favorite pickle lover creations like easy coleslaw recipes .
Trust me; your taste buds will thank you! let’s get cooking!
Navigating the Professional Cooking Method: Mastering the Kitchen Like a Pro
Oh my gosh, have you ever felt like stepping into a professional kitchen? it’s like a dance of culinary expertise! today, i’m diving into the professional cooking method .
Whether you're whipping up a classic dill pickle coleslaw or tackling a more elaborate dish, mastering these essential steps will make you feel like a kitchen rockstar.
So grab your apron and let’s get going!
Essential Preparation Steps
First things first, let’s talk mise en place . in culinary school, they drilled into us the importance of having everything in place before you start cooking.
This means chopping veggies, measuring out spices, and gathering all your ingredients. it’s like setting up your game plan. trust me, when you’ve got your ingredients ready, cooking is way more fun!
Now, let’s toss in some time management tips . have you ever found yourself halfway through a recipe only to realize you forgot to preheat the oven? yeah, we’ve all been there! set timers for different tasks and layout your plan.
It saves you from that how did i end up behind on everything panic.
Next up, get organized! use trays or bowls to sort ingredients. if you’re stir frying, have everything prepped and ready to go.
It’s all about that flow. plus, keeping your kitchen tidy means you can avoid distracted cooking hello, burnt garlic!
And please, let’s chat safety. always be aware of your surroundings. use cutting boards, keep sharp knives stored safely, and remember that hot pots and pans can be sneaky.
Don’t let a slip-up ruin your pickle making dreams safety first!
step-by-step Process
Now onto the good stuff the cooking! Follow these simple, numbered instructions to ensure you don’t miss a beat.
Prepare your brine. combine 1 cup of water , 1 cup of distilled white vinegar , 2 tablespoons of kosher salt , and 2 tablespoons of sugar (if you like a touch of sweetness).
Whisk it up until dissolved.
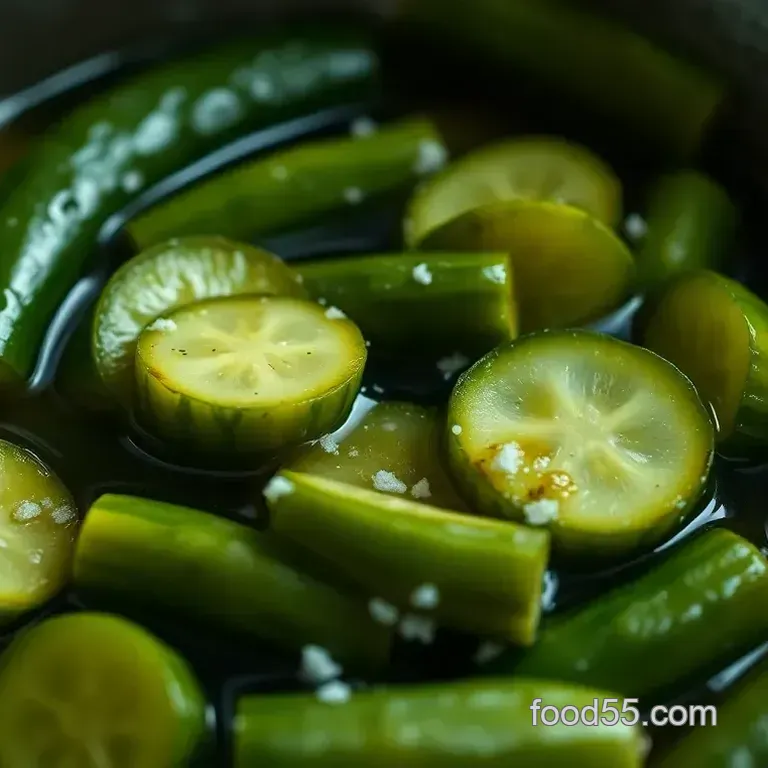
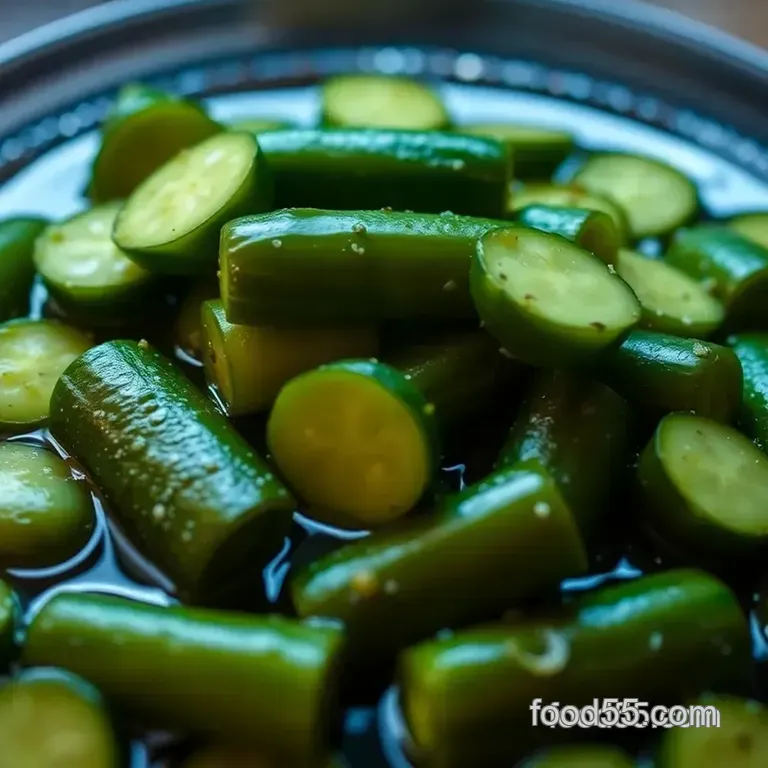
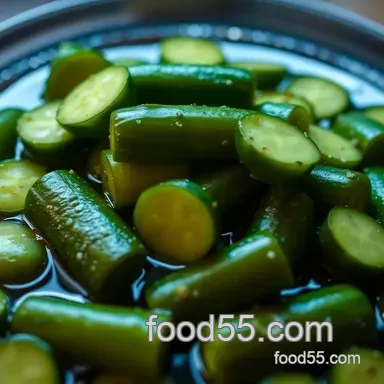
Get your cucumbers ready. Wash them and slice them into spears or keep them whole, depending on your craving!
Pack that jar! Layer garlic, black peppercorns, dill, and cucumbers. You want them snug but not fighting for space.
Pour the brine in. Keep a little headspace at the top this helps with fermentation.
Seal and refrigerate. tighten that lid and stash it in the fridge. now, if you’re impatient like me, it can be tough, but those pickles need 1-2 weeks to get their groove on.
Taste and enjoy! Once they hit your desired flavor, dig in!
Expert Techniques
Alright, my pickle loving pals, here comes the expert advice. Pay attention to critical steps . Always do a taste test of the brine. Too salty? Adjust that kosher salt!
As for quality checkpoints , look for that vibrant green cucumber turning into a rich, tangy pickle. If you see bubbles, that's fermentation magic at work yay!
Now, troubleshooting time! If your pickles come out too mushy, you might’ve picked overripe cucumbers. Travel back to the produce aisle next time and grab those small, crunchy gems!
Success Strategies
Ah, the road to pickle perfection! common mistakes to avoid include overcrowding the jar those cucumbers need room to soak up that brine! always push them down to keep ‘em submerged to avoid weird spots.
What about quality assurance tips ? If things go awry, check your brine ratio. A general guide: 1:1 liquid to solid is a great start.
Feeling fancy? check out our make-ahead options for days when you plan to have family over. you can whip up dill pickle coleslaw on the same day as your pickles.
Also super refreshing for that acid reflux diet!
So, those are your keys to mastering a professional cooking method that brings comfort food to a whole new level.
Remember that the journey can be just as delicious as the end result!
Additional Information
As you embark on your culinary adventures, don’t be afraid to experiment with flavors and textures. the kitchen is your canvas, and i can’t wait to hear your stories to tell.
Whether you're making a delicious coloslaw salad or trying some new slaw recipes , take your time and enjoy the process.
Happy cooking, my friends!
Unlocking the Secrets: Amazing Additional Recipe Information for Your Kosher Dill Pickle Recipe
Oh my gosh! if you’re diving into the world of homemade pickles, you’re in for a crunchy ride. let’s chat about some pro tips to help you crush it in the kitchen.
Getting that kosher dill pickle recipe just right involves a little finesse, and trust me, these insights will take your pickling game to a whole new level.
Pro Tips & Secrets
Chef’s insights: first off, let’s talk cucumbers. opt for the small, firm ones for the best crunch! i’ve learned that soaking them in ice water for about 30 minutes before pickling adds extra zing ! seriously, this makes a huge difference.
Time Saving Techniques: If you're in a pinch, skip slicing and just pack the whole cucumbers in the jar. It'll save you time and still make for a delightful treat.
Flavor Boosting Tips: Want that flavor to pop? Add fresh dill sprigs instead of just seeds; trust me, it’ll have your taste buds dancing! Oh, and don’t forget about those garlic cloves.
Presentation advice: when you finally unveil your pickles, layer them artfully in a mason jar, maybe with a few red pepper flakes sprinkled in for that spicy visual appeal.
It’s all about making everyone’s mouth water before the first bite!
Beautiful Presentation
Now, let's get into plating techniques. when serving your pickles, use a clean, rustic wooden board. lay out your pickles alongside a vibrant dill pickle coleslaw .
The colors green cucumbers, purple cabbage, and bright carrot slices are sure to impress.
For a garnish idea, toss a few dill sprigs atop the pickles or even a bright lemon wedge. It not only looks stunning but adds a refreshing aroma too!
Smart Storage & make-ahead
So, you’ve made your pickles. what's next? storage guidelines are essential. keep those babies in the fridge for up to 2 months .
Just make sure they’re always submerged in the brine; this keeps them crunchy!
When it comes to reheating, you really don’t need to these babies are best enjoyed cold. as for freshness? honestly, they'll last as long as they’re sealed tight, but it’s advisable to munch on them within a month for optimal crunch and flavor.
Creative Variations
Now, if you really want to be a pickle lover extraordinaire, get creative! Flavor adaptations can include adding sliced jalapeños for some heat, or maybe even swapping some of that sugar for honey for a sweet tangy twist!
And don’t forget seasonal fun! in summer, toss in some fresh herbs like basil or mint to spice things up.
Even better turn this kosher dill pickle recipe into a south-of-the-border treat by adding chili powder or taco seasoning for a fiesta in a jar!
Complete Nutrition Guide
You might be wondering about the nutrition aspect. let’s break it down! each serving packs in around 35 calories not bad for a tasty side.
They are low in fat and make for a great addition to an acid reflux diet because they’ll give you that crunch without weighing you down.
Just be cautious with the sodium if you’re watching your intake.
Now, don't skimp on portions! Serving size is crucial. Stick to about 4 servings per quart, and you’ll be packing just enough crunch for that BBQ or picnic crowd.
Wrap-Up & Encouraging Conclusion
Look into into the delicious adventure of homemade pickling. your kosher dill pickles are just a few steps away! whether you're enjoying them solo, in a coleslaw salad , or alongside your favorite barbecue feast, they’re sure to be a hit.
So, gather your supplies, embrace the process, and don’t be shy about experimenting. Trust me, you’ll have stories to tell about each batch! Happy pickling, and may your flavors be as bright as your culinary spirit!
Frequently Asked Questions
What is a kosher dill pickle recipe exactly?
A kosher dill pickle recipe typically features cucumbers that are preserved in a brine made from salt, vinegar, and a mix of spices, including dill and garlic. The term "kosher" refers to the traditional Jewish method of pickling, which enhances flavors and gives these pickles their iconic tang.
They are a perfect addition to sandwiches or just enjoyed as a crunchy snack!
How long does it take to make kosher dill pickles?
While the active prep time for your kosher dill pickles is about 15 minutes, you'll need to wait 1 to 2 weeks for them to properly ferment and develop their flavor. Think of it as a waiting game, but trust us, your patience will reward you with a delightful crunch that’s worth the wait!
Can I customize my kosher dill pickles recipe?
Absolutely! You can add heat with sliced jalapeños or experiment with different spices like mustard seeds for added flavor. If you prefer a sweeter taste, consider increasing the sugar or using honey. The beauty of pickling is that you can tweak it just to your liking!
What’s the best way to store my kosher dill pickles?
Once your kosher dill pickles are ready, store them in the refrigerator, ideally in the jar you pickled them in. They should last for about 2-3 months, but trust us they'll likely be gone long before then! Just make sure they're submerged in the brine for the best preservation.
Are homemade kosher dill pickles healthy?
Yes, homemade kosher dill pickles can be a healthy snack option! They are low in calories and contain beneficial nutrients like potassium and vitamin K. However, keep an eye on the sodium content, as pickles can be relatively salty. Balance them with other low-sodium snacks for a wholesome treat!
What type of cucumbers should I use for my kosher dill pickles?
For the best crunchy kosher dill pickles, opt for pickling cucumbers, often referred to as "Kirby" cucumbers. These cucumbers have thick skin and fewer seeds, making them ideal for brining. They maintain their crunchiness through the pickling process, resulting in a delicious final product!
Crunchy Kosher Dill Pickles A Refreshing Taste O
Ingredients:
Instructions:
Nutrition Facts:
| Calories | 35 |
|---|---|
| Protein | 1g |
| Fat | 0g |
| Carbs | 8g |
| Fiber | 1g |
| Sugar | 2g |
| Sodium | 500mg |
