Freeze Dried Raspberries: 5 Easy Ways to Make Delicious Crumble Bars!
- Savoring Summer: An Intro to Freeze-Dried Raspberry Crumble Bars
- A Dash of History
- Secrets Behind Perfect Freeze-Dried Raspberry Crumble Bars
- Why This Recipe Will Amaze You
- Health and Nutrition Highlights
- Recipe at a Glance
- Quality Ingredients Breakdown
- Kitchen Equipment Essentials
- Perfect Cooking Technique
- Professional Secrets
- Perfect Presentation
- Storage and Make-Ahead
- Creative Variations
- Complete Nutrition Guide
- Expert FAQ Solutions
- 📝 Recipe Card
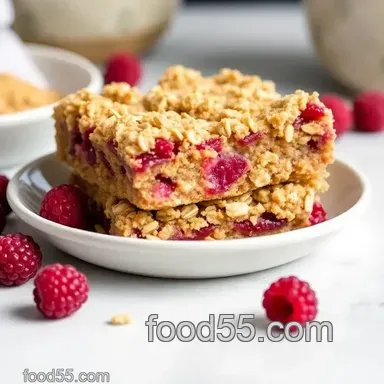
Savoring Summer: An Intro to Freeze Dried Raspberry Crumble Bars
Have you ever felt the rush of summer just slip through your fingers as you reach for a snack? you know, that mix of sunshine and sweetness that’s just so hard to capture? oh, i have the perfect solution!
What if i told you there’s a way to bottle that essence in the form of freeze dried raspberry crumble bars ? yup.
These bars have become my beloved summer staple, and once you try them, they'll be yours too!
So, here’s the scoop: making these bars is a breeze, and while they take about an hour from start to finish, the medium difficulty level means you don’t need to be a baking pro but a sprinkle of ensoiasm and curiosity definitely helps.
The crumble topping alone is worth learning for any adventure in the kitchen!
A Dash of History
Now, you might be wondering, what makes these bars such a big deal? well, let’s take a quick stroll down memory lane.
The classic crumble, often associated with british cuisine, has been a beloved way to enjoy fruits in season, giving dessert a cozy vibe.
Traditional berry desserts were around long before mary berry graced our screens, but the idea of using freeze dried fruit? a modern twist that’s simply brilliant! it allows us to dive into the delightful world of raspberry baking recipes , all year round, without worrying about the season.
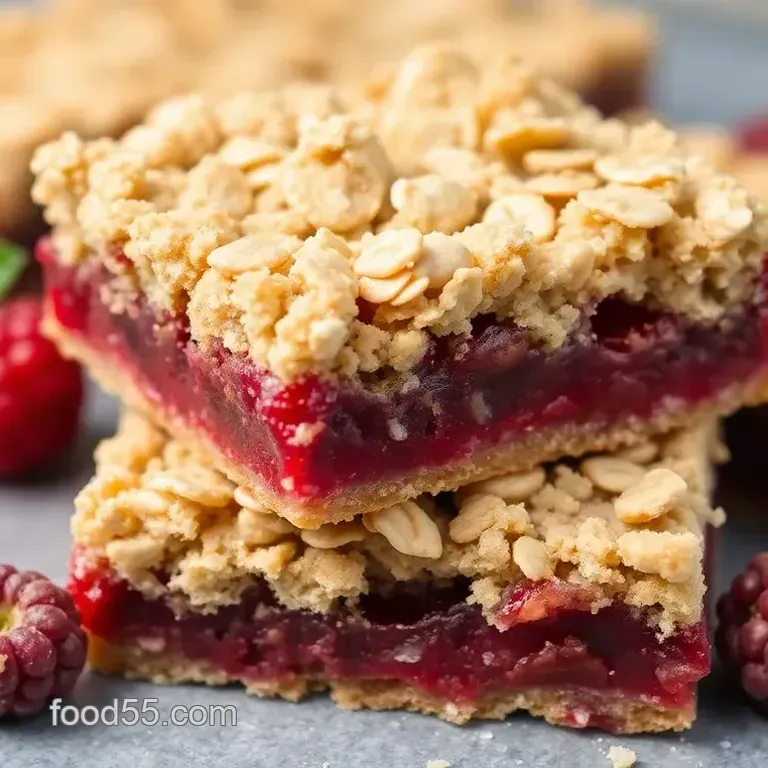
This recipe is the epitome of summer which is why it’s so special. the sweet tart raspberries provide a symphony of flavor, while the crumble topping brings the comforting rustic feel that warms your heart.
Trust me, after you taste these bars, you’ll be wondering why you didn’t dive into freeze dried fruit recipes sooner!
Secrets Behind Perfect Freeze Dried Raspberry Crumble Bars
Let’s delve a bit deeper into the history, shall we? crumbles have their origins from wartime britain when these simple desserts allowed households to use up whatever was available, often modifying the base with oats and whatever fruits were in season.
This culinary heritage is filled with stories of creativity and resourcefulness.
Fast forward, and here we are, veering off the beaten path, thanks to our good friends the freeze dried raspberries . these little gems carry a fascinating origin story of preservation that dates back to ancient civilizations.
People would dry fruits to prolong their lifespan just like how we’re revitalizing them with this modern touch! you can find these bars just about everywhere these days, making them a trendy pick for healthy snack bars or quick afternoon snacks .
Why This Recipe Will Amaze You
Oh, let me tell you: the flavor combinations are simply divine! the delightful harmony of sweet and tart in each bite is enough to make your taste buds dance.
And for those worried about technique, i’ve nailed down some foolproof techniques that will make your baking journey surprisingly straightforward.
Besides, who doesn’t love a method that’s expert tested and delivers results?
Plus, I’ve got some time saving tips up my sleeve. With just a quick prep of 20 minutes and a bake time that’s just about half an hour, you’ll have these lovely bars ready to devour in no time!
Health and Nutrition Highlights
While indulging in sweet tart raspberry treats , you might wonder about the nutrition. well, here are a few key benefits : raspberries are packed with vitamins, fiber, and antioxidants.
And let’s not forget they’re relatively low in calories, making these healthy bar recipes a guilt free option for dessert.
For my friends who are mindful of dietary restrictions, don’t worry! swap the flour for gluten-free alternatives , and voilà! you’ve got gluten-free crumble bars ! want to make it vegan? a quick swap of butter to coconut oil does the trick.
Your body (and taste buds) will thank you for these light dessert options that balance flavor and nutrition!
Recipe at a Glance
Alright, here’s the quick breakdown:
- Total Preparation Time: About 1 hour
- Skill Level Required: Medium
- Serving Size: 12 bars
- Cost Efficiency: Super budget friendly; the freeze dried raspberries bring tremendous value for a fabulous dessert!
And now that we’ve whetted our appetites and explored all these delightful aspects, get ready to jump into the ingredient section.
Let’s gather what we need and whip up these scrumptious bars together!
Quality Ingredients Breakdown
Hey friend! so, let’s chat about how to elevate our freeze dried raspberry crumble bars . you know, cooking is so much more enjoyable when you start with quality ingredients.
It’s like building a castle on a solid foundation everything that comes after will be a treat!
Premium Core Ingredients
First up, let’s dive into those core ingredients . for the crust and topping, you’ll need 1 ½ cups of all-purpose flour and 1 cup of rolled oats .
Look for flour that feels silky when you touch it; that usually means it's fresh. and roll those oats between your fingers are they nice and whole? if so, you’re golden!
When you’re mixing these, remember the golden rule: butter should be chilled and cubed, and always keep a close eye on your measurements.
A little extra flour can turn a glorious dessert into a hard rock. oh, and storing your ingredients properly is key keep flour and oats in a cool, dry place.
Otherwise, they can spoil faster than you can say “rhubarb crumbles” and trust me, i've been there!
For the filling, you’ve got to source some quality freeze dried raspberries . they’re not just for decoration, oh no! they add that vibrant sweet tartness that’ll blow your mind.
When selecting, make sure they aren’t clumped together and have a nice bright hue if they’re dull, they’re probably past their prime.
And a little storage tip? store them in an airtight container, away from light like putting them in a cozy home.
Signature Seasoning Blend
Next up is our signature seasoning blend . it may sound fancy, but we’re keeping it simple! grab yourself vanilla extract and salt .
Honestly, even the tiniest pinch of salt can enhance those fruity flavors. experts say it brightens the taste!
I love adding a splash of lemon juice to the filling. it balances out the sweetness, and your taste buds will thank you.
Pro tip : if you squeeze in a bit of zest, it’ll send those flavors straight through the roof.
Smart Substitutions
Now, let’s chat about smart substitutions because life doesn’t always give you what you need in the pantry. if you don’t have oats, you could try crushed gluten-free crackers or even ground nuts for a unique texture.
And hey, if you’re feeling adventurous, why not play with other freeze dried fruits? strawberries or even peach slices can switch things up beautifully.
Also, if you’re in a pinch for cornstarch (heaven knows i’ve forgotten it before), arrowroot powder or even tapioca starch will do the trick! oh! and let’s not forget about using dairy-free butter if you're going the vegan route.
The world is your oyster, my friend!
Kitchen Equipment Essentials
Alright, let’s get into what tools you’ll need!
Must Have Tools
You really don’t need a ton of fancy kitchen equipment; just keep it simple. a good mixing bowl, a 9x9-inch baking pan, and a rubber spatula are essential.
Oh, and don’t forget parchment paper for easy cleanup!
If you feel like splurging, a food processor makes blending those crust ingredients a breeze. Trust me, if it can prevent me from losing my mind hand mixing in summer heat, it’s worth it!
Pro Ingredient Tips
A little bonus here: check those quality markers! for oats, look for that unbroken state; they should be plump and hearty.
And if you’re ever unsure about the freshness of your baking supplies, give them a sniff! yep, a good whiff will tell you if they’re still ready to party in your pantry.
Also, consider buying ingredients in bulk; it's a great way to save money in the long run. And with these freeze dried raspberries , I find that getting a larger package means more fun projects in the future!
Can you feel the excitement bubbling up? i can’t wait to get into the actual instructions, where the magic happens.
We’ll turn these simple ingredients into a fruit filled masterpiece! are you ready? let’s dive in!
Perfect Cooking Technique
Hey there! today, i’m super excited to share with you my journey in perfecting these freeze dried raspberry crumble bars . not only do they offer this scrumptious combo of flavors, but they’re also simple enough for anyone to whip up, even if you’re just starting.
So, let’s dive into the how-to of making these fruity delights trust me, you won’t regret it!
Essential Preparation Steps
First things first! getting organized is key for a smooth cooking experience. mise en place that’s just a fancy way to say “everything in its place” is the first step on your journey to perfect cooking.
Gather all your ingredients before you start, and have them prepped. for this recipe, we’re talking about 1½ cups of flour, 1 cup of rolled oats, and a bunch of other goodies.
When measuring, i always find it’s best to use dry measuring cups for the flour and oats and liquid measuring cups for the water just a little precision can go a long way! honestly, it can be super frustrating to realize mid-recipe that you forgot to measure something.
Been there, done that!
Time management is crucial, too. try to break down tasks into 20-30 minute chunks like prepping your crust before making the filling.
This keeps you focused and feels less overwhelming. if you're keener on multitasking, while the crust is baking for ten minutes, you can whip up your raspberry filling.
Professional Cooking Method
So, before you start cooking, set that oven to 350°f (175°c)! the warmth is essential to create the perfect texture for your bars.
Line a 9x9-inch baking pan with parchment paper, leaving some overhang. you'll thank yourself later when it’s time to get those bars out.
Now, let’s jump into the step-by-step process . in a big mixing bowl, combine that lovely oat base mix. add your chilled butter , but here's a pro tip: cold butter works wonders because it will melt into the dry ingredients perfectly, giving the crumble that glorious texture we all need.
After pressing the base into the pan, bake it for about ten minutes. it’s not just about timing; watch for that light golden color.
Once done, it’s time to prepare the raspberry filling. cook the freeze dried raspberries, sugar, lemon juice, cornstarch, and water over medium heat.
In no time, your kitchen will smell heavenly.
Now comes the fun part assembling! spread that sweet tart raspberry mixture evenly over your crust and top it with the remaining crumble.
Back into the oven they go for 25-30 minutes, and trust me, it’ll feel like forever! you’re waiting for that golden crust to form, indicating that they’re ready.
Expert Techniques
Here’s where i always remind myself and you! to be a bit of a culinary sleuth. quality checks are major. as the crumble bakes, peek through the oven door (i know, i know, but don’t open it too often!).
Is it golden brown? does it smell delightful? if it checks all the boxes, you’re in good shape!
Critical Steps like allowing those bars to cool completely before slicing are vital for achieving clean cuts. Who wants a crumbly mess when they can have perfect squares, right?
Success Strategies
Now, if things don’t quite go to plan, here’s where we troubleshoot! if your filling looks too runny, don't panic.
Add a touch more cornstarch (just mix it with a bit of water first) and cook it longer until it thickens.
Cool it down too quickly they might fall apart.
Quality assurance comes next. make sure your bars are firm enough by checking with a toothpick: it should come out largely clean.
If you’re ever in doubt, remember, these bars are really forgiving. they’re made for easy afternoon snacks and just scream summer berry dessert vibes.
Finally, if you’ve made it this far high five! you’re ready to indulge in something truly delightful. and for those of you curious about more fruity creations, stay tuned!
In the next section, i’ll dive into even more ways to utilize those lovely freeze dried raspberries in your dessert repertoire.
Trust me, you’re gonna want to stick around!
Professional Secrets
Alright, let me spill the beans on what makes these freeze dried raspberry crumble bars truly special and not just another snack you whip up during your sunday baking spree.
The secret? it all lies in the little details.
Expert techniques
first off, getting that crumbly topping just right is key. you want it to feel almost like sand in your fingers before you ever bake it.
If it feels too wet, toss in a bit more flour or oats don’t be shy! and when you press the base into the pan, make sure you're firm but gentle.
A light hand will keep it from becoming a dense block of dough.
Kitchen wisdom
to really elevate your bar game, think about using fresh lemon juice and zest for your filling.
This adds a zing that complements the sweet tart nature of raspberries. did you know that a sprinkle of salt can enhance sweetness too? nature’s magic, i tell ya!
Success Guarantees
Your success with these bars also relies heavily on your oven. Seriously, check that it’s calibrated. An off-temperature oven can turn heavenly raspberry bliss into a soggy mess, and we don’t want that, do we?
Perfect Presentation
Now let's chat about how to wow when it comes to presentation. Honestly, we eat with our eyes first!
Plating techniques
when you're done baking, allow your bars to cool completely! i know, the temptation is real, but trust me let them chill.
Once they’re cooled and you cut into them, you’ll notice beautiful layers. presentation, baby!
Garnish ideas
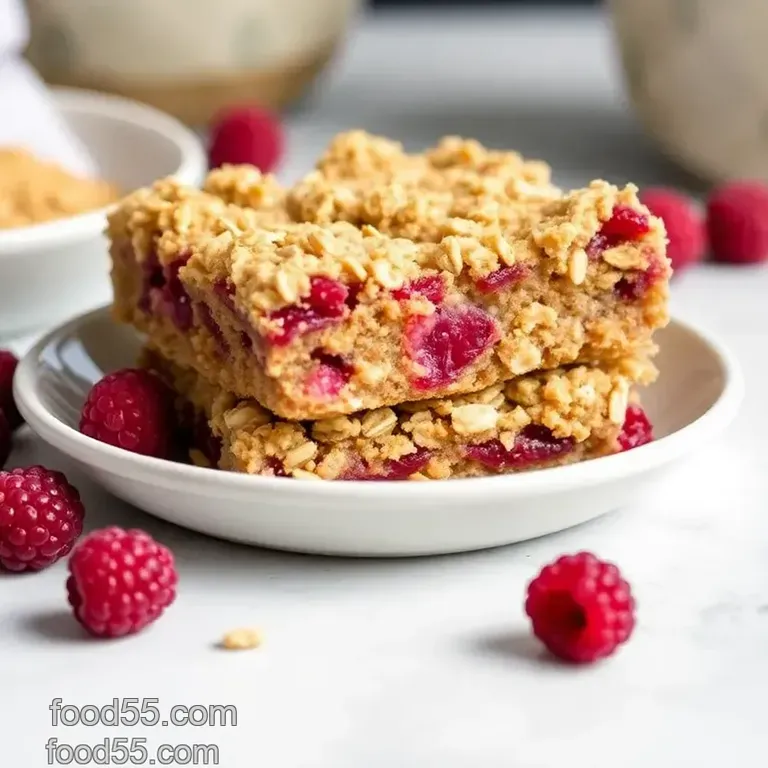
top those squares with a dusting of powdered sugar or even a drizzle of bittersweet chocolate. you could pop a few fresh raspberries on the plate too.
They scream “we care about aesthetics” even if we really just want to munch away!
Serving Suggestions
Serve them up with a scoop of decadent vanilla ice cream or a dollop of whipped cream that little addition can turn a simple dessert into a
whole experience
.
Storage and make-ahead
Let's talk real life here sometimes we just can't finish an entire batch. So, how do you save these delights?
Storage Guidelines
These bars can happily lounge in your refrigerator for up to a week in an airtight container. For long term storage, wrap them tightly and freeze. Yes, they freeze beautifully!
Reheating Instructions
If you wish to enjoy them warm, just give them a quick zap in the microwave for about 15-20 seconds. Heaven!
Creative Variations
Feeling adventurous? Let’s explore some creative variations that make these bars even more you.
Flavor Adaptations
What if you swapped the freeze dried raspberries for strawberries? Or how about cherries? The world is your oyster or, more fittingly, your berry patch!
Dietary modifications
want to go gluten-free? just use gluten-free oats or flour. if your friends are vegan, switch the butter for coconut oil and use almond milk instead of any dairy in the cream topping.
Easy peasy!
Seasonal Twists
You might be itching for summer berry desserts, but think outside the box! Cinnamon or pumpkin spice can be a
fall twist
if you feel adventurous!
Complete Nutrition Guide
Are these as good for you as they are tasty? Let's break it down!
Detailed Breakdown
Each bar contains approximately 190 calories, but don’t stress too much about a few calories when it's packed with health benefits. Raspberries are rich in fiber and vitamins!
Dietary Information
These little beauties can fit right into your healthy bar recipes category with a mix of oats for fiber and raspberries for antioxidants. Low-sugar snack ideas? Check!
Expert FAQ Solutions
Now, I know you might have some questions, and I’m here for it!
Common Concerns
“How do I avoid a soggy filling?” Patience, my friend! The filling requires even cooking an essential step to achieving that crispy top!
Troubleshooting Guide
If your filling feels too runny, you can stir in a touch more cornstarch while it's heating to thicken it up.
Success Tips
Trust your instincts; taste as you go. You’d be surprised how a little adjustment here and there can turn a good recipe into a
great one!
In conclusion, whether you’re baking these for a casual afternoon snack or serving them up at a gathering, each bite embodies the joy and simplicity of summer berries.
Enjoy the process, embrace the creativity, and remember: it’s all about sharing those delicious moments with the people you love, one freeze dried raspberry bar at a time.
Happy baking, my fellow food adventurer!
Freeze Dried Raspberries 5 Easy Ways To Make Del