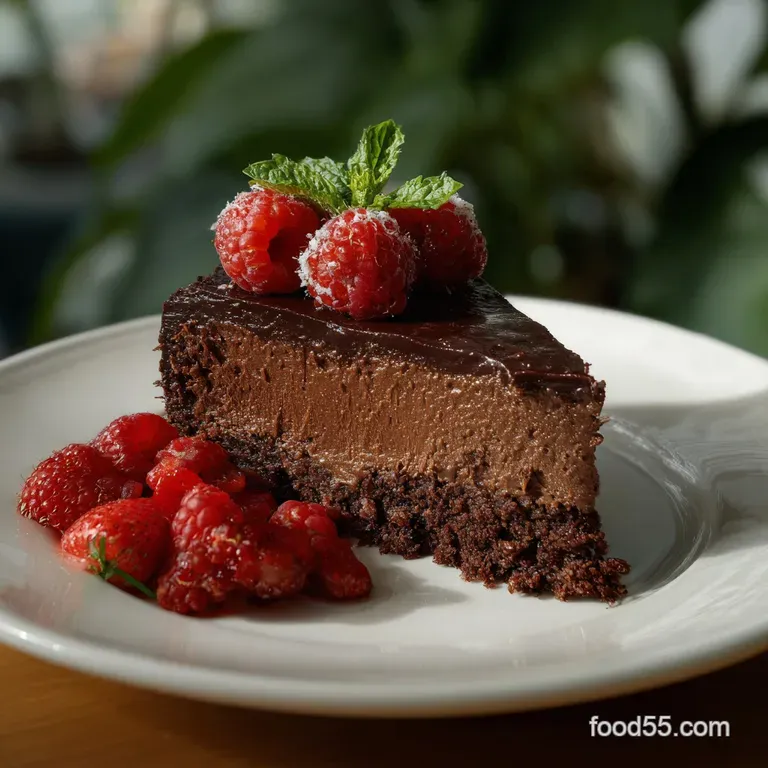
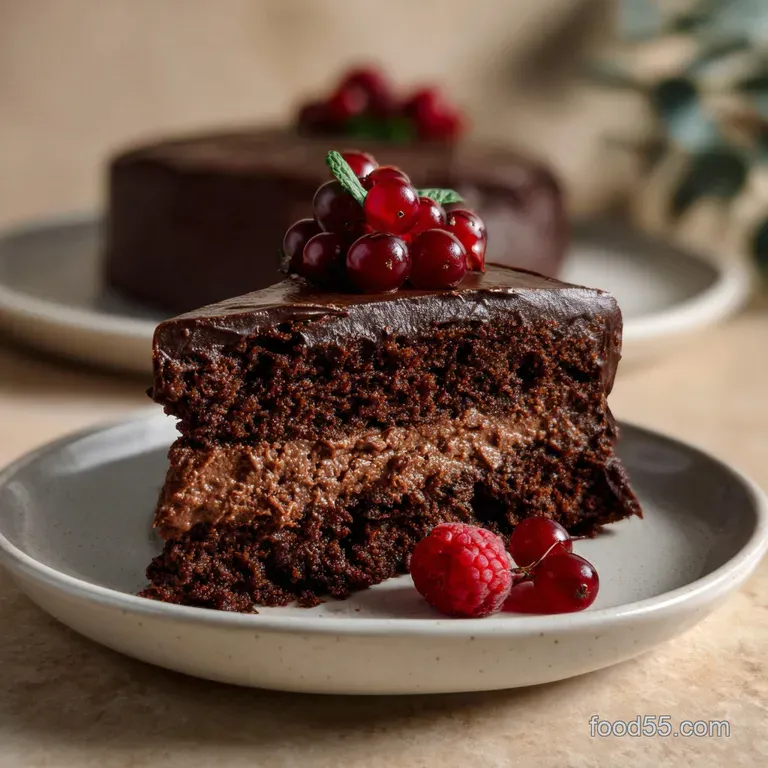
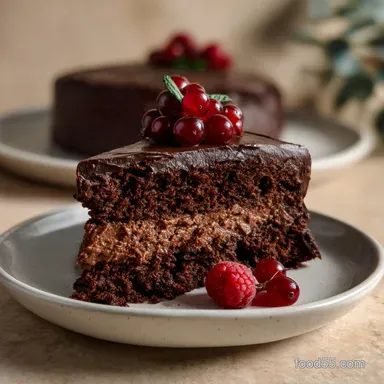
Indulgent Chocolate Truffle Cake
- Time: Active 20 minutes, Passive 35 minutes, Total 55 minutes
- Flavor/Texture Hook: Intense, dark cocoa depth with a melt on-the tongue fudgy finish.
- Perfect for: Milestone celebrations, dinner parties, or when you need a serious chocolate fix.
- Baking Your Best Indulgent Chocolate Truffle Cake
- Science Secrets for Fudgy Texture
- High Performance Ingredient Analysis
- Primary Elements for Maximum Richness
- Essential Gear for Fudgy Success
- Assembling Layers with Sensory Precision
- Fixing Cracks and Grainy Frosting
- Adjusting Quantities for Your Crowd
- Debunking Common Baking Beliefs
- Saving Slices and Reducing Waste
- Elegant Slices and Drink Pairings
- Recipe FAQs
- 📝 Recipe Card
Baking Your Best Indulgent Chocolate Truffle Cake
The first time I pulled this cake out of the oven, the aroma of dark cocoa and hot coffee filled my kitchen so quickly that my neighbor actually knocked on the door to ask what was happening. There is something primal about the scent of real, high-quality bittersweet chocolate melting into warm heavy cream.
It's not just a dessert, it's a shared experience that brings everyone to the table, leaning in for just one more sliver of that velvety richness.
We've all had those dry, crumbly chocolate cakes that require a glass of milk just to swallow. This isn't that. I spent months tweaking the ratios of fat and liquid because I wanted a cake that felt like eating a giant, hand rolled truffle.
This recipe uses a specific emulsion technique for the frosting that creates a glass like shine and a texture that feels like silk against your palate. It's decadent, intense, and surprisingly straightforward if you follow a few key principles I’ve learned through trial and error.
Trust me on this: don't skip the coffee. You won't taste it as a "coffee flavor," but it acts as a magnifying glass for the cocoa, making the chocolate taste more like itself. Whether you're celebrating a birthday or just want to foster a genuine connection over a plate of something special, this cake is the one that people will talk about for years.
Let's crack on and look at why this specific combination of ingredients creates such a legendary result.
Science Secrets for Fudgy Texture
- - Maillard Reaction
- The combination of granulated sugar and amino acids in the flour, when hit with the heat of the oven, creates complex flavor compounds that deepen the "toasted" chocolate profile.
- - Fat in-Water Emulsion
- By slowly whisking hot cream into chopped bittersweet chocolate, we create a stable emulsion where fat droplets are suspended, resulting in a Ganache that is silky rather than greasy.
- - Hygroscopy
- Sugar and buttermilk act as humectants, pulling and holding onto moisture to prevent the crumb from drying out during the 35 minutes of baking.
Understanding these mechanisms changed the way I bake. For instance, when you see the "bloom" happen as the hot coffee hits the Dutch processed cocoa powder, you are literally witnessing the release of flavor oils that would otherwise stay trapped in the dry particles. It’s similar to the technique used in this How to Prepare recipe where heat is the catalyst for aromatic depth.
Choosing Your Baking Method
| Method | Time | Texture | Best For |
|---|---|---|---|
| Standard Oven | 35 minutes | Classic, even crumb | Most home bakers |
| Convection/Fan | 28 minutes | Slightly crisper edges | Those who like a "crust" |
| Springform Pan | 40 minutes | Taller, denser profile | Elegant dinner parties |
The standard oven method is my go to because it allows for the most consistent rise without drying out the exterior of the sponge. If you use a fan forced oven, remember to drop the temperature by about 25°F to ensure the center cooks through before the top gets too dark.
High Performance Ingredient Analysis
| Ingredient | Science Role | Pro Secret |
|---|---|---|
| Dutch Processed Cocoa | Lower acidity for better lift | Sift it with the sugar to prevent tiny "flour bombs" in the batter. |
| Bittersweet Chocolate | Provides structural fat | Use 60-70% cacao bars, never chips, for a smoother melt. |
| Full fat Buttermilk | Tenderizes gluten strands | Let it sit at room temp for 30 minutes to ensure a perfect emulsion. |
| Strong Hot Coffee | Dissolves cocoa solids | Use a dark roast to mimic the bitterness of premium chocolate. |
Using the right cocoa is non negotiable here. Dutch processed cocoa has been treated with an alkalizing agent, which makes it darker and more mellow. If you use natural cocoa, the cake will be lighter and more acidic, which might throw off the balance with the baking soda.
Primary Elements for Maximum Richness
- 200g all purpose flour: The foundation that provides just enough structure without becoming "bready."
- 400g granulated sugar: Provides sweetness and ensures the crumb stays tender and moist.
- 75g Dutch processed cocoa powder: Why this? Essential for that deep, dark color and smooth chocolate profile.
- 2 tsp baking soda: The lifting agent that reacts with the buttermilk.
- 1 tsp sea salt: Sharpens the chocolate flavor and balances the sugar.
- 240ml strong hot coffee: Why this? It "blooms" the cocoa, intensifying the flavor molecules instantly.
- 120ml neutral oil (grapeseed or avocado): Keeps the cake soft even when refrigerated.
- 2 large eggs, room temperature: Provides binding and richness.
- 240ml full fat buttermilk: Why this? The acid breaks down gluten for a melt in-the mouth texture.
- 450g bittersweet chocolate (60-70% cacao): Finely chopped for the ganache.
- 480ml heavy whipping cream: The liquid base for our truffle like topping.
- 30g unsalted butter: Why this? Adds a professional grade gloss to the final frosting.
- 1 tbsp pure vanilla extract: Rounds out the earthy chocolate notes.
- 50g extra dark cocoa powder: Used solely for rolling the decorative truffles.
| Original Ingredient | Substitute | Why It Works |
|---|---|---|
| Full fat Buttermilk | Whole milk + 1 tbsp Lemon Juice | Provides the necessary acidity. Note: Let sit 10 mins before using. |
| Grapeseed Oil | Melted Coconut Oil | Similar fat profile. Note: Adds a very subtle tropical scent. |
| Bittersweet Chocolate | Semi sweet Chocolate | Increases sweetness. Note: The final cake will be less "dark/intense." |
Essential Gear for Fudgy Success
I've made the mistake of trying to whisk this by hand when I was in a rush, but for the most consistent aeration, a stand mixer is your best friend. You'll also want two 9 inch round cake pans. Pro tip: line the bottoms with parchment paper.
This cake is so moist that it loves to cling to the pan, and there is nothing more heartbreaking than a beautiful sponge splitting in half as you try to flip it.
You will also need a fine mesh sieve. Sifting the cocoa and flour together isn't just a "suggestion," it's a requirement for a velvety crumb. If you don't sift, you'll end up with small pockets of dry cocoa that taste bitter and ruin the texture. Finally,, a digital scale is much better than measuring cups.
Baking is chemistry, and 200g of flour can vary wildly depending on how tightly you pack a cup.
Assembling Layers with Sensory Precision
1. Preparing the Base
Preheat your oven to 350°F and grease your pans thoroughly. Sift the 200g flour, 400g sugar, 75g cocoa, 2 tsp baking soda, and 1 tsp salt into a large bowl. Whisk these dry ingredients together until the mixture is a uniform, pale sandy brown.
2. The Liquid Integration
In a separate jug, whisk the 120ml oil, 2 eggs, 240ml buttermilk, and 1 tbsp vanilla. Add this to the dry ingredients and mix on medium speed until no dry streaks remain.
3. The Coffee Bloom
Pour in the 240ml hot coffee. Note: The batter will look very thin and watery; don't panic, this is exactly what we want. Stir gently by hand until the batter is glossy and dark.
4. The Bake
Divide the batter evenly between the two pans. Bake for 35 minutes until a toothpick inserted in the center comes out with just a few moist crumbs attached.
5. The Cooling Phase
Let the cakes sit in the pans for 15 minutes before transferring to a wire rack. Note: They must be completely cold before you even think about the ganache.
6. The Ganache Foundation
Place 450g chopped chocolate and 30g cubed butter in a heat proof bowl. In a small saucepan, heat 480ml heavy cream until small bubbles form around the edges but it hasn't reached a rolling boil.
7. The Emulsion Trick
Pour the hot cream over the chocolate. Let it sit undisturbed for 5 minutes. Start whisking from the center in small circles until the mixture transforms from muddy to a dark, liquid mirror.
8. Achieving Spreadable Texture
Let the ganache sit at room temperature for about 1 hour 30 mins, stirring occasionally. It is ready when it holds its shape on a spoon like thick peanut butter.
9. Building the Layers
Place one cake layer on a plate. Spread a thick layer of ganache over the top. Place the second layer on top and cover the entire cake until the sides are completely cloaked in chocolate.
10. The Truffle Garnish
Scoop small balls of the remaining chilled ganache and roll them in the 50g extra dark cocoa powder. Place these around the top edge of the cake until it looks like a boutique bakery display.
Fixing Cracks and Grainy Frosting
Why Your Ganache Split
If your ganache looks oily or grainy, the fat has separated from the liquid. This usually happens if the cream was too hot or if you stirred too vigorously right at the start.
| Problem | Root Cause | Solution |
|---|---|---|
| Oily Ganache | Overheating the cream | Whisk in 1 tbsp of cold heavy cream very slowly to re emulsify. |
| Sunken Center | Opening oven too early | Ensure oven stays closed for at least 25 mins; check temp. |
| Dry Crumb | Over baking | Reduce bake time by 5 mins next time; check with a toothpick earlier. |
Common Mistakes Checklist
- ✓ Use room temperature eggs to prevent the batter from seizing.
- ✓ Never over mix once the flour is added; stop as soon as it's incorporated.
- ✓ Tap the cake pans on the counter 3 times to release large air bubbles.
- ✓ Ensure the coffee is hot (not just warm) to properly bloom the cocoa.
- ✓ Let the ganache thicken naturally; don't rush it in the fridge or it will become dull.
Adjusting Quantities for Your Crowd
If you are hosting a smaller gathering, you can easily halve this recipe. For a single layer 9 inch cake, simply cut all ingredients by 50%. Since you'll only be using one egg, beat it in a small bowl first and use half by weight (about 25g).
Reduce the baking time to about 28 minutes, as the single layer will cook slightly faster.
When scaling up for a large party (double recipe), I recommend working in two separate batches for the batter. Most home mixers struggle with 800g of sugar and 480ml of liquid at once, and you run the risk of uneven mixing.
For the ganache, you can double it in one go, but use a very large bowl to ensure the cream reaches all the chocolate bits evenly.
| Goal | Adjustment | Outcome |
|---|---|---|
| Ultimate Luxury | Use 72% Valrhona Chocolate | More intense, less sweet, sophisticated finish. |
| Budget Friendly | Semi sweet chips + 1 tsp espresso | Good flavor, slightly grainier texture. |
| Kid Friendly | Increase sugar by 50g | Milder, sweeter profile that kids prefer. |
Debunking Common Baking Beliefs
Many people believe that "more flour equals a sturdier cake," but in the world of the Indulgent Chocolate Truffle Cake, the opposite is true. Excess flour leads to a bready texture that fights against the ganache.
It's the sugar and fat that provide the structure here, creating that signature "sink your teeth in" density.
Another myth is that you can't over whisk ganache. Actually, if you keep whisking ganache after it has cooled, you'll incorporate air and turn it into a mousse. While delicious, it won't have that heavy, truffle like "snap" and silky mouthfeel we’re aiming for. Stop as soon as it's smooth and spreadable.
Saving Slices and Reducing Waste
Storage: This cake is one of the few that actually tastes better on day two. The flavors have time to meld and the moisture settles. Keep it in an airtight container at room temperature for up to 3 days.
If your kitchen is very warm, move it to the fridge, but let slices sit at room temp for 20 minutes before eating to soften the ganache.
Freezing: You can freeze the un frosted cake layers for up to 3 months. Wrap them in a double layer of plastic wrap and then foil. To thaw, leave them in the fridge overnight. I don't recommend freezing the fully assembled cake as the ganache can lose its gloss and "sweat" upon thawing.
Zero Waste: If you have leftover ganache, don't throw it out! Roll it into small truffles, or stir it into warm milk for the most decadent hot chocolate you've ever had. If you have cake scraps from leveling the tops, crumble them up and mix with a little leftover ganache to make cake pops or a trifle base. For another way to use up chocolate, check out my Foolproof Baileys Chocolate recipe.
Elegant Slices and Drink Pairings
When it comes to serving, less is more. Because this cake is so rich, a thin wedge is usually plenty. To get those clean, professional looking slices, run a sharp knife under hot water, wipe it dry, and make your cut. Repeat the hot water dip for every single slice.
This prevents the ganache from dragging and sticking to the blade.
For a perfect pairing, I love serving this with a side of lightly sweetened mascarpone or a tart raspberry coulis to cut through the heavy chocolate. If you're looking for something with a different texture to serve alongside it, a slice of this Pound Cake Recipe provides a beautiful, buttery contrast on a dessert platter.
As for drinks, a glass of cold milk is the classic choice, but a spicy Syrah or a stout beer also complements the bitter notes of the Dutch cocoa beautifully. Whatever you choose, the goal is to bring people together.
Sharing a cake like this isn't just about the sugar; it's about the conversation that happens while you're all reaching for that last truffle on top. Enjoy every bite!

Recipe FAQs
What is Kamala Harris' favorite cake?
No, there is no publicly available information indicating Kamala Harris' specific favorite cake.
What is the difference between chocolate cake and chocolate truffle cake?
Chocolate truffle cake is richer and denser, often featuring a ganache like frosting or filling that mimics the texture of a chocolate truffle. Traditional chocolate cake can vary widely in texture and is typically frosted with buttercream or other lighter frostings.
What frosting is best for indulgence cakes?
Chocolate ganache is ideal for indulgence cakes due to its rich, velvety texture and intense chocolate flavor. It creates a luxurious finish that complements the dense crumb of cakes like this one.
What is the world's most famous chocolate cake?
It's subjective, but the Sachertorte from Austria is frequently cited as one of the world's most famous chocolate cakes. It's a dense chocolate sponge layered with apricot jam and coated in dark chocolate icing.
Can I make this cake gluten-free?
Yes, with adjustments. You can substitute a gluten-free flour blend for the all-purpose flour. Ensure the blend contains xanthan gum for structure, similar to how the flour provides structure in our Cookie Dough Cheesecake.
How long does this chocolate truffle cake last?
Up to 3 days at room temperature in an airtight container. The flavors actually meld and improve over time, and the sugar and buttermilk help maintain moisture.
What makes the crumb so moist and dense?
The high ratio of fat and liquid, particularly the oil and buttermilk, contribute to the dense, moist crumb. The buttermilk's acidity tenderizes the gluten, preventing toughness. If you're interested in moist textures, explore our How to Cook Creamy Chocolate Pudding for another example of moisture control.
Indulgent Chocolate Cake
Ingredients:
Instructions:
Nutrition Facts:
| Calories | 699 kcal |
|---|---|
| Protein | 9.2 g |
| Fat | 45.1 g |
| Carbs | 71.5 g |
| Fiber | 4.2 g |
| Sugar | 46.8 g |
| Sodium | 478 mg |
