Buttercream Icing for Cupcakes with Vanilla
- Time: Active 15 minutes, Passive 0 minutes, Total 15 minutes
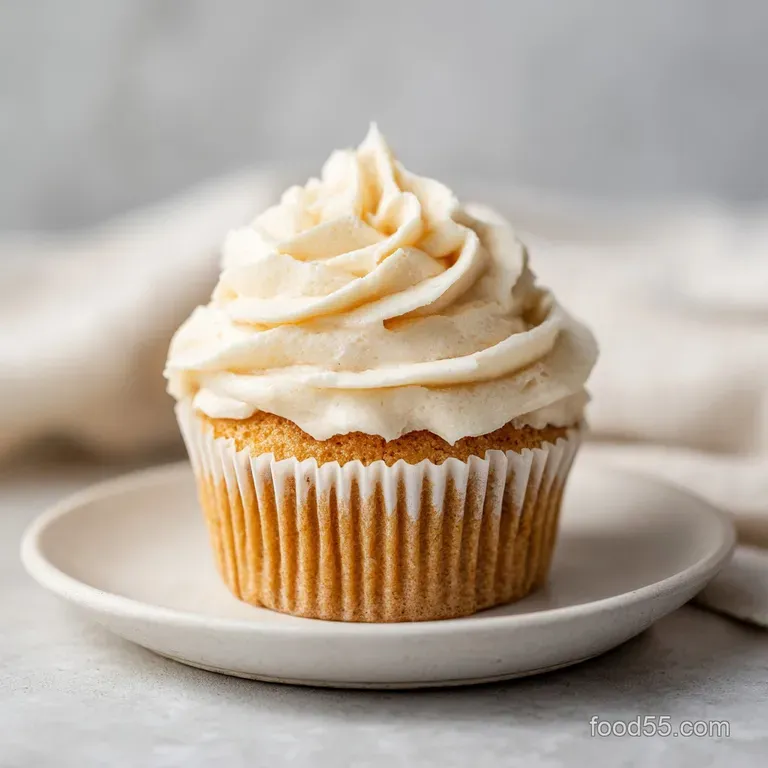
- Flavor/Texture Hook: Silky smooth with a rich, buttery finish and deep vanilla bean notes.
- Perfect for: Birthday celebrations, weekend baking projects, or professional looking holiday treats.
- Crafting Buttercream Icing for Cupcakes with Vanilla
- Vital Statistics for Perfect Success
- Ingredient Deep Dive
- Essential Ingredients and Smart Swaps
- Essential Tools for Silky Texture
- Master the Mixing Process Today
- Solving Common Texture and Flavor Issues
- Customizing Your Vanilla and Chocolate Frosting
- Shared Meals and Memory Making
- Debunking Buttercream Myths
- Preservation Secrets and Waste Tips
- Perfect Pairings for Your Cupcakes
- Recipe FAQs
- 📝 Recipe Card
Crafting Buttercream Icing for Cupcakes with Vanilla
Forget everything you have been told about leaving your butter out on the counter until it is soft and squishy. That is the quickest way to end up with a greasy, weeping mess that slides right off your cake.
I used to think room temperature meant "squishy to the touch," but that mistake led to dozens of cupcakes looking like melting ice cream cones. The truth is, your butter needs to be slightly cool, around 60°F (15°C), to actually hold the air we are going to beat into it.
Discover our single, show stopping recipe for the perfect vanilla and chocolate buttercream icing for your cupcakes. When you start with butter that has just a bit of resistance, you create a structure that is stable enough for high swirls but soft enough to feel like silk.
It’s all about the friction and the timing, not just dumping things into a bowl and hoping for the best.
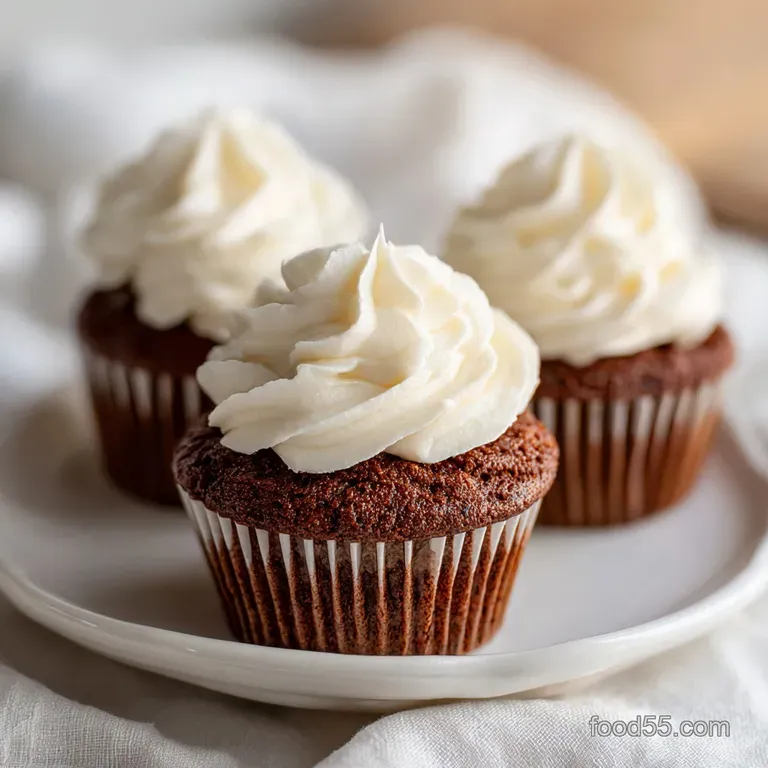
We are going after that bakery style finish that looks matte and smooth, not shiny and oily. This isn't just about mixing sugar and fat; it's about a cultural exchange between the floral notes of vanilla and the deep, earthy bitterness of cocoa.
Whether you are making a two tone swirl or sticking to a classic white cloud, this method ensures your icing for cupcakes with vanilla and chocolate stays exactly where you pipe it.
Vital Statistics for Perfect Success
Aeration Control: Beating the butter for a full five minutes breaks down fat crystals and incorporates tiny air bubbles, which lightens the color from yellow to a pale ivory.
Sugar Saturation: Adding sugar one tablespoon at a time prevents the frosting from becoming grainy, as it allows the small amount of liquid in the butter to fully coat each sugar crystal.
The Massage Technique: Stirring at the lowest speed at the very end "massages" out the large air pockets created during the whipping phase, leaving you with a glass like finish.
Salt Balance: Using fine sea salt instead of table salt provides a sharp contrast that cuts through the heavy fat content, making the vanilla notes pop.
| Comparison Detail | Fast Method | Classic Method |
|---|---|---|
| Butter Prep | Soft/Melted | Slightly Cool (60°F) |
| Mixing Time | 2 minutes | 15 minutes total |
| Final Texture | Greasy/Dense | Airy and Velvety |
Using the right method makes a massive difference in how the frosting feels in your mouth. While a fast mix might work for a casual snack, the classic approach creates a shared meal experience that feels special and intentional. If you want that light as-air feel, don't rush the initial whipping stage.
Ingredient Deep Dive
| Ingredient | Science Role | Pro Secret |
|---|---|---|
| Unsalted Butter | Structural Base | Use slightly cool butter to maintain a stable emulsion. |
| Confectioners' Sugar | Volume & Texture | Always sift to prevent "clumps" that clog piping tips. |
| Heavy Cream | Emulsifier | Adds a creamy mouthfeel and thins the icing to piping consistency. |
| Dutch Cocoa | Fat Absorption | Adds intense color and flavor without making the icing gritty. |
The choice of vanilla also matters more than you might think. Using a high-quality paste brings those beautiful little black specks to your icing for cupcakes with vanilla and chocolate, signaling to everyone that you didn't just use a bottle of clear imitation extract.
Essential Ingredients and Smart Swaps
- 225g unsalted butter, slightly cool (60°F/15°C): Why this? Provides the structure and fat base for a stable, creamy frosting.
- Substitute: Salted butter (omit the extra sea salt in the recipe).
- 340g organic confectioners’ sugar, sifted: Why this? Sweetens and thickens the icing while dissolving quickly.
- Substitute: Traditional powdered sugar (ensure it contains cornstarch for stability).
- 15ml heavy cream: Why this? Thins the mixture slightly for a velvety, spreadable texture.
- Substitute: Whole milk (frosting will be slightly less rich).
- 10ml pure vanilla bean paste: Why this? Provides intense floral flavor and visual vanilla bean specks.
- Substitute: Pure vanilla extract (same quantity, but no specks).
- 1.5g fine sea salt: Why this? Balances the sweetness and enhances the natural flavor of the butter.
- Substitute: Standard table salt (use slightly less as it's saltier by volume).
- 30g Dutch processed cocoa powder, sifted: Why this? For the chocolate version, provides a dark, rich color and smooth taste.
- Substitute: Natural cocoa powder (will result in a lighter, more acidic chocolate flavor).
- 15ml additional heavy cream: Why this? Necessary to balance the dryness of the cocoa powder in the chocolate version.
- Substitute: Room temperature coffee (deepens the chocolate flavor).
Essential Tools for Silky Texture
To get that professional look, you really need a stand mixer. While a hand mixer can work in a pinch, it often lacks the sustained power needed to beat the butter for five minutes straight without overheating.
I prefer using a paddle attachment with a silicone scraper edge if you have one, as it ensures no pockets of unmixed butter are hiding at the bottom of the bowl.
A fine mesh sifter is your best friend here. Even the most expensive "10x" powdered sugar can have clumps from sitting in the pantry. Sifting it directly into a separate bowl before you start ensures that your buttercream icing for cupcakes with vanilla remains perfectly smooth.
If you are planning on piping intricate designs, those tiny sugar clumps are exactly what will clog your piping tip and ruin your flow.
Finally,, grab a high-quality piping bag and a large star tip. Disposable bags are fine, but a sturdy reusable silicone bag gives you much better control. The heat from your hands can actually melt the buttercream if you take too long, so a thicker bag acts as a bit of an insulator.
Master the Mixing Process Today
- Place the 225g of cool butter and 1.5g of fine sea salt in the bowl of your stand mixer. Note: Using cool butter prevents the frosting from becoming too soft during the long whipping process.
- Beat the mixture on medium high speed for exactly 5 minutes. Cook 5 minutes until the butter turns nearly white and looks like whipped cream.
- Stop the mixer and scrape down the sides with a spatula to ensure every bit is aerated.
- Set the mixer to the 'stir' or lowest setting.
- Gradually add the 340g of sifted confectioners' sugar, one tablespoon at a time. Mix until the sugar is fully integrated and no longer dusty.
- Pour in the 10ml of vanilla bean paste and the first 15ml of heavy cream.
- If you want the chocolate version, add the 30g of sifted cocoa powder and the extra 15ml of heavy cream now. Note: Sifting the cocoa is non negotiable as it is prone to stubborn lumps.
- Turn the mixer to the lowest possible setting for 2 to 3 minutes. Stir until the frosting is glass smooth and all large air bubbles have vanished.
- Give the frosting a final fold by hand with a rubber spatula to check the consistency.
- Transfer the finished icing to a piping bag fitted with a large star tip. Apply to cupcakes only once they are completely cool to the touch.
Solving Common Texture and Flavor Issues
Why Your Frosting Looks Curdled
If your buttercream looks like cottage cheese, it is usually a temperature conflict. This happens most often when you add cold heavy cream to butter that has warmed up too much from the friction of the mixer. The fat separates and refuses to play nice.
To fix this, you can take a small bowl of the frosting (about two tablespoons), microwave it for five seconds until it's just barely melted, and then whip it back into the main batch. This helps "re emulsify" the fats and brings everything back together into a silky state.
Why the Frosting Is Runny
Sometimes, despite our best efforts, the kitchen is just too hot. If your icing for cupcakes with vanilla feels like it won't hold a peak, it’s likely the butter has reached its melting point. This is a common issue during summer bake offs or in humid environments. If you find your cupcakes aren't holding their shape, you might want to look into how to bake fluffy cupcakes to ensure your base is sturdy enough for the topping.
| Problem | Root Cause | Solution |
|---|---|---|
| Gritty Texture | Sugar not sifted or added too fast | Mix on low for 5 mins to dissolve crystals. |
| Too Sweet | Lack of acidity or salt | Add a tiny pinch more sea salt or a drop of lemon juice. |
| Air Bubbles | Whipped too long on high speed | Hand stir with a spatula for 2 minutes to deflate. |
Common Mistakes Checklist
- ✓ Never use "tub" butter or margarine; they have too much water and will collapse.
- ✓ Don't skip the sifting step, especially for the cocoa powder which is naturally clumpy.
- ✓ Ensure your cupcakes are 100% cold; even a tiny bit of warmth will melt the butter base.
- ✓ Use a paddle attachment, not a whisk, to avoid creating too many uncontrollable air pockets.
- ✓ Add the liquid (cream/vanilla) last to adjust the final consistency perfectly.
Customizing Your Vanilla and Chocolate Frosting
If you are cooking for a smaller crowd, you can easily scale this down. To make a half batch, simply use 112g of butter and 170g of sugar. When scaling down, keep a close eye on the mixer as smaller volumes can sometimes get "lost" under the paddle.
You might need to scrape the bowl more frequently to ensure the aeration is even.
For those planning a big party, doubling the recipe works well, but don't just double the salt and vanilla blindly. I suggest using 1.5x the salt (about 2.2g) and the full double amount of vanilla.
When you double the volume, the whipping time might need to increase by about 2 minutes to achieve that same pale white color in the butter.
How to Get the Perfect Two Tone Swirl
If you want that beautiful vanilla and chocolate swirl, make the full vanilla batch first. Remove half of it from the bowl. To the remaining half, add your cocoa powder and extra cream as listed in the steps.
To pipe them together, lay out a piece of plastic wrap, place a log of vanilla frosting next to a log of chocolate frosting, and roll it up like a burrito. Snip the end of the plastic and drop the whole thing into your piping bag. It ensures a perfect 50/50 split every time you squeeze!
Can I Make This Vegan?
You absolutely can, but with vanilla, you have to be careful with the fat source. Use a high-quality vegan butter stick (not the spreadable kind in a tub) and replace the heavy cream with full fat coconut milk or a heavy plant based cream. The texture will be slightly softer, so you might need to add an extra 20g of confectioners' sugar to help it stand up straight. For another wonderful dairy-free treat, my Red Bean Ice Cream is a great cultural exchange of flavors to try.
Shared Meals and Memory Making
There is something about the "shared meal" aspect of cupcakes that brings people together. While a large cake is grand, cupcakes are personal. They are easy to hand out at a neighborhood block party or a school event, fostering genuine connections without the need for plates and forks.
This recipe is designed to be the bridge that brings people to the table.
| Serving Goal | Ingredient Adjustment | Bag Size | Best For |
|---|---|---|---|
| 6 Cupcakes | 1/2 Batch | 12 inch | Small family treat |
| 12 Cupcakes | Standard Batch | 14 inch | Birthday parties |
| 24 Cupcakes | Double Batch | 18 inch | Large gatherings |
Debunking Buttercream Myths
A huge misconception is that you need to add more sugar to make frosting "stiff." Actually, adding more sugar often makes the frosting heavier and more likely to droop under its own weight.
The stiffness comes from the temperature of the butter and the amount of air incorporated during the first five minutes of whipping. If it's too soft, chill it for ten minutes instead of reaching for the sugar bag.
Another myth is that you can't over whip buttercream. While you want air, too much whipping at the end creates "Swiss cheese" frosting full of holes. That is why the final "massage" step on the lowest speed is the one step most people skip, but it's actually what creates that professional, velvety look.
Preservation Secrets and Waste Tips
Your buttercream icing for cupcakes with vanilla can be made well in advance. In the fridge, it stays fresh in an airtight container for up to 5 days. When you are ready to use it, let it sit on the counter for 2 hours to reach room temperature, then give it a quick 30 second whip to restore the fluffiness.
In the freezer, this frosting lasts for up to 3 months just thaw it overnight in the fridge before the counter thaw.
Don't let any leftover frosting go to waste! If you have a small amount left in the bag, it makes a brilliant filling for sandwich cookies or a sweet dip for graham crackers. If you have "scraps" of vanilla and chocolate mixed together, stir them into your morning coffee for a decadent, mocha vanilla latte experience.
Zero waste in the kitchen is all about seeing ingredients as versatile tools for flavor.
Perfect Pairings for Your Cupcakes
When thinking about what to put under this icing, a Classic Vanilla Cupcake Recipe is the most traditional choice. The double hit of vanilla bean is nostalgic and comforting. However, the chocolate version of this frosting is absolutely "shatter proof" when paired with a salty caramel filled cupcake or even a tart raspberry base.
If you are looking for a different kind of comfort, this buttercream also works beautifully as a topping for a warm slice of pound cake. The way the cool, velvety icing melts into the dense, buttery cake creates a contrast that is hard to beat.
Whatever you choose, remember that the best meals are the ones shared with people you care about, wrapped in the aroma of fresh vanilla and cocoa.

Recipe FAQs
Is it true I must use a whisk attachment for lighter frosting?
No, this is a common misconception. You must use a paddle attachment to properly aerate the butter without creating large, unstable air pockets that compromise your piping structure.
How to achieve a glass smooth finish on the icing?
Turn the mixer to the lowest possible setting for 2-3 minutes after incorporating the sugar. This massaging technique removes air bubbles, ensuring the texture remains consistent when you use these fluffy chiffon cupcakes as a base.
Can I use room temperature butter for better mixing?
No, keep your butter slightly cool at 60°F. Soft or room temperature butter lacks the structural integrity required to hold the air necessary for a voluminous, stable frosting.
How to fix frosting that appears lumpy or grainy?
Sift your confectioners' sugar before adding it to the butter. If you encounter clumps, it is usually because the sugar or cocoa powder was not properly sifted before being added to the bowl.
How to prevent the frosting from melting upon application?
Wait until your cupcakes are 100% cold before piping. Even a minimal amount of residual heat from freshly baked cakes will cause the butter base to break down and lose its shape.
Is it necessary to beat the butter for the full 5 minutes?
Yes, the 5-minute duration is critical for proper volume. During this time, the butter undergoes a visual change from yellow to nearly white, which indicates the fat has successfully incorporated enough air.
How to ensure the icing is the perfect consistency?
Add your heavy cream and vanilla bean paste last. This allows you to gauge the thickness of the sugar butter mixture and adjust the final texture for precise piping performance.
Vanilla Buttercream Cupcake Frosting
Ingredients:
Instructions:
Nutrition Facts:
| Calories | 261 kcal |
|---|---|
| Protein | 0.7 g |
| Fat | 16.4 g |
| Carbs | 30.3 g |
| Fiber | 0.8 g |
| Sugar | 28.8 g |
| Sodium | 52 mg |
