Mini Chocolate Chip Cookies Recipe
- Time: Active 15 minutes, Passive 8 minutes, Total 23 minutes
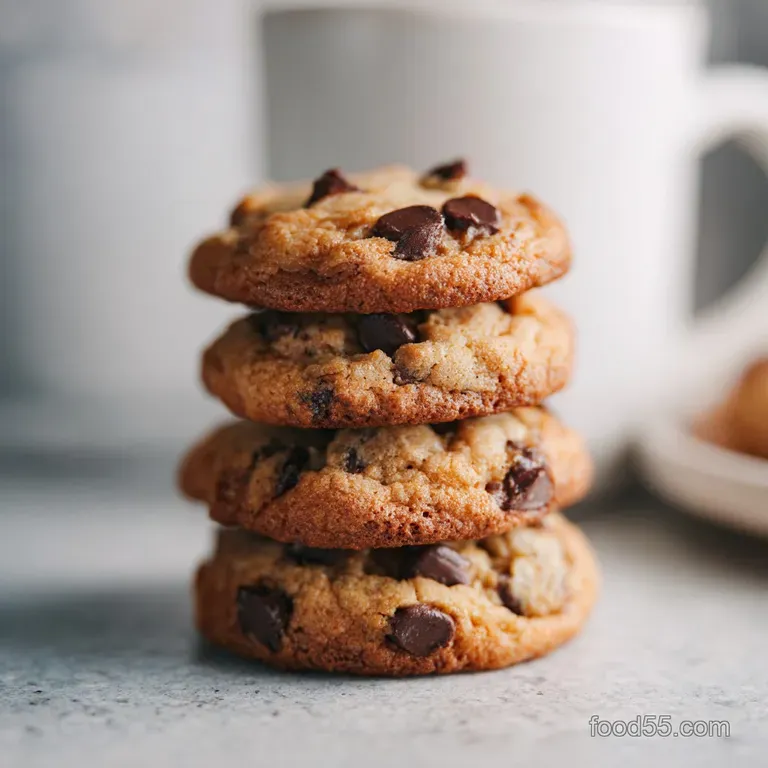
- Flavor/Texture Hook: A delicate shatter on the outer rim with a buttery, velvety center
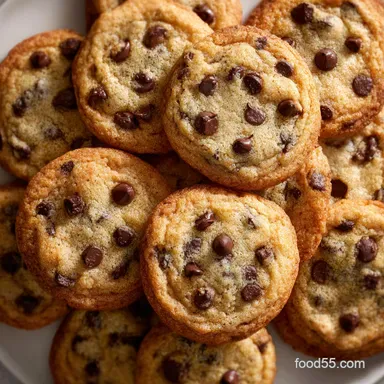
- Perfect for: Movie night snacking, homemade cookie cereal, or topping vanilla bean ice cream
- Creating the Best Mini Chocolate Chip Cookies
- Technical Specifications and Critical Baking Time Frames
- Sourcing the Finest Elements and Smart Substitutions
- Essential Kitchen Tools for Achieving Miniature Perfection
- Detailed Guidance for Shaping and Baking Every Batch
- Professional Techniques to Avoid Common Baking Pitfalls
- Creative Flavor Profiles to Transform Your Tiny Treats
- Optimal Methods for Storing and Reheating Your Cookies
- Creative Ideas for Serving and Sharing These Bites
- Debunking Common Kitchen Myths
- Recipe FAQs
- 📝 Recipe Card
Creating the Best Mini Chocolate Chip Cookies
The aroma of browning butter and toasted sugar hit me before I even opened the oven door. I remember the first time I tried making these; I was trying to recreate that "cookie cereal" trend from TikTok, but I ended up with one giant, amorphous blob on the baking sheet.
It was a sugary disaster, but it taught me everything about temperature control and why size actually matters in the world of pastry.
When you pull these out, you'll hear that faint, musical crackling as the sugars set. There is something deeply satisfying about a cookie that is barely larger than a coin but packs the punch of a full sized bakery staple.
We're aiming for a specific contrast here: a golden, crispy edge that yields to a soft, almost fudge like interior.
I’ve spent months tweaking the ratio of brown sugar to white sugar to ensure they don't just turn into hard little rocks. Trust me, once you master the tiny scoop, you’ll never want to go back to the giant, oversized versions that take twenty minutes to bake.
Let's get into the specifics of how to make this work every single time without the "blob" incident.
Technical Specifications and Critical Baking Time Frames
Before we start mixing, we need to talk about the physics of the small scale bake. Because these are so tiny, the window between "not done" and "burnt" is incredibly small. We are looking for three specific precision checkpoints: the butter temperature (18°C), the oven calibration (ensure it's actually 175°C), and the exact 8 minute timer.
The Geometry of the Edge
Smaller cookies have a much higher surface area to volume ratio than standard ones. This mechanism causes the edges to caramelize and "shatter" much faster while the center stays moist due to the rapid heat transfer.
| Servings | Dough Per Cookie | Baking Sheet Size | Cook Time |
|---|---|---|---|
| 18 servings | 1 level teaspoon | Standard Half Sheet | 7-9 minutes |
| 36 servings (Double) | 1 level teaspoon | Two Half Sheets | 9-11 minutes |
| 9 servings (Half) | 1 level teaspoon | Quarter Sheet | 7-8 minutes |
Chef Tip: Freeze your mini chocolate chips for 10 minutes before folding them into the dough. This prevents them from melting prematurely during the mixing process, keeping those distinct pockets of chocolate intact.
Sourcing the Finest Elements and Smart Substitutions
The secret to a deep flavor profile lies in the quality of your vanilla and the temperature of your butter. I always use unsalted butter so I can control the salt levels myself with that final sprinkle of flaky sea salt.
For the chocolate, mini chips are non negotiable; regular chips are too heavy and will weigh down the delicate structure of these tiny treats.
Component Analysis
| Ingredient | Science Role | Pro Secret |
|---|---|---|
| Light Brown Sugar | Provides moisture and acidity | Pack it tightly to ensure accurate measurement and chewiness |
| Baking Soda | Encourages browning (Maillard reaction) | Sift it with the flour to avoid bitter clumps in the dough |
| Large Egg | Acts as the primary emulsifier | Use at room temperature to prevent the butter from seizing |
If you find yourself missing an ingredient, don't panic. While the Classic Chewy Chocolate recipe might use different ratios, these swaps are tested and reliable for the mini format.
| Original Ingredient | Substitute | Why It Works |
|---|---|---|
| Light Brown Sugar (100g) | Dark Brown Sugar (100g) | Adds more molasses; results in a deeper, more toffee like flavor |
| Unsalted Butter (115g) | Salted Butter (115g) | Similar fat content. Note: Omit the fine sea salt from the dry mix |
| Mini Semi Sweet Chips | Chopped Chocolate Bar | high-quality chocolate melts into velvety pools rather than chips |
Essential Kitchen Tools for Achieving Miniature Perfection
Precision is your best friend here. You'll want a sturdy stand mixer or a reliable hand mixer to get the creaming process just right. I personally love using a small offset spatula to lift these off the tray once they’ve cooled for a minute it prevents the edges from breaking.
- Kitchen Scale: Essential for weighing the 190g of flour; too much flour makes these cakey.
- Small Cookie Scoop: Look for a #100 scoop (roughly 1 teaspoon) for perfect uniformity.
- Parchment Paper: Never grease the pan directly; it causes too much spread.
- Wire Cooling Rack: Vital for stopping the "carryover cooking" that happens on the hot pan.
If you enjoy the process of crafting small, detailed desserts, you might find the technique for this Chocolate Chip Walnut recipe quite similar, though that version leans into a crunchier profile.
Detailed Guidance for Shaping and Baking Every Batch

- Prep the environment. Preheat your oven to 175°C and line two large baking sheets with parchment paper.
- Cream the fats. Beat 115g of slightly softened butter with 100g light brown sugar and 50g granulated sugar until pale and fluffy. Note: This traps air for a better lift.
- Incorporate liquids. Add the large egg and 1.5 tsp vanilla extract, beating on medium speed for about 1 minute.
- Sift dry ingredients. In a separate bowl, whisk 190g all purpose flour, 0.5 tsp baking soda, and 0.5 tsp fine sea salt.
- Combine gently. Pour the dry mix into the wet and mix on the lowest speed until just a few streaks of flour remain.
- Fold the chocolate. Add 3/4 cup mini semi sweet chips using a spatula.
- Portion the dough. Scoop level teaspoons (about the size of a large marble) onto the sheets, spaced 5cm apart.
- Bake for precision. Place in the oven for 8 minutes until the edges are golden and the centers look slightly soft.
- Season immediately. Remove from the oven and sprinkle with 1 tsp flaky sea salt while the chocolate is still glistening.
- Cool and set. Let them sit on the hot pan for 2 minutes before transferring to a wire rack.
Comparing Baking Methods
| Method | Time | Texture Result | Best For |
|---|---|---|---|
| Conventional Oven | 8 minutes | Even browning, soft centers | The standard gold perfect result |
| Toaster Oven | 7 minutes | Extra crispy bottoms | Small batches of 4-6 cookies |
| Air Fryer | 5 minutes | Very crunchy, less spread | Quick cravings (use parchment!) |
Professional Techniques to Avoid Common Baking Pitfalls
The biggest mistake I see people make with any version of Mini Chocolate Chip Cookies is over baking. Because they are so small, they will look underdone when the timer goes off. Trust the process; they firm up significantly as they cool.
Why Your Cookies Spread Too Much
If your cookies turned into a singular puddle, the butter was likely too warm. Butter should be "cool room temperature" pliable enough to dent with a finger, but not shiny or greasy.
Why Your Cookies Are Too Cakey
This usually happens when there's too much flour. If you aren't using a scale, fluff your flour with a spoon before leveling it off in the measuring cup. Never pack the flour down!
| Problem | Root Cause | Solution |
|---|---|---|
| Hard/Dry Texture | Over baking | Reduce oven time by 60 seconds; check for "pale" centers |
| Greasy Bottoms | Butter too warm | Chill the dough balls for 15 minutes before baking |
| No Spread | Cold dough/Too much flour | Flatten the balls slightly with your palm before baking |
Common Mistakes Checklist
- ✓ Ensure the egg is room temperature (submerge in warm water for 5 mins if needed).
- ✓ Don't over cream the butter; 2 minutes is usually enough for this small batch.
- ✓ Use "mini" chips specifically regular chips disrupt the structure of tiny cookies.
- ✓ Let the baking sheet cool completely between batches to prevent premature melting.
Creative Flavor Profiles to Transform Your Tiny Treats
Once you have the base down, you can start playing with the "vibe" of the cookie. I love adding a teaspoon of espresso powder to the dry ingredients; it doesn't make them taste like coffee, it just makes the chocolate taste more "chocolatey."
- The "Everything" Mini: Add a tablespoon of toasted oats and a pinch of cinnamon.
- The White Chocolate Matcha: Swap the mini chips for chopped white chocolate and 1 tsp of matcha powder.
- The Nutty Crunch: Add 1/4 cup of very finely minced toasted pecans.
If you're looking for a dessert that skips the oven entirely but keeps that doughy goodness, this No Bake Cookie recipe is a fantastic summer alternative that uses similar pantry staples.
Optimal Methods for Storing and Reheating Your Cookies
To keep that "shatter" on the edge, storage is key. If you put them in a plastic bag while they are even slightly warm, they will turn soft and cakey within an hour.
- Storage: Keep in an airtight glass container at room temperature for up to 5 days.
- Freezing: You can freeze the unbaked dough balls for up to 3 months. Bake them directly from frozen, adding 1-2 minutes to the total time.
- Reheating: If they've gone a bit stale, pop them in a 150°C oven for 2 minutes to revive the crispness.
Zero Waste Tip: If you have broken bits or crumbs at the bottom of the jar, don't toss them! Save them in a small container to use as a "cookie crumble" over yogurt or fold them into a batch of brownie batter.
Creative Ideas for Serving and Sharing These Bites
These cookies are built for connection. Because they are bite sized, they are perfect for sharing at a large gathering or a cultural exchange event where everyone brings a small treat. I love serving them in a big communal bowl with a side of cold milk for dipping.
Mastering the Cereal Method
If you want to go the cereal route, bake them until they are slightly crispier than usual (about 9-10 minutes). Let them cool completely until they are hard. Serve them in a bowl with cold whole milk the high fat content in the milk pairs beautifully with the buttery dough.
Portioned Gift Ideas
Since one batch makes quite a few cookies, they make excellent "thank you" gifts. Place them in a small glass jar tied with a ribbon. They look like little gems and stay fresh longer than larger, softer cookies.
The Ultimate Sundae Garnish
Forget the sprinkles. Use these as a crunchy garnish for a sundae. The sea salt on top of the cookie cuts through the sweetness of the ice cream, creating a sophisticated balance of flavors.
Debunking Common Kitchen Myths
Myth: "You must chill the dough for 24 hours for good flavor." While chilling does deepen the toffee notes, it isn't strictly necessary for a "mini" format where the texture is the star. You'll still get a fantastic result baking them immediately.
Myth: "Silicone mats are better than parchment." For these tiny cookies, I actually prefer parchment. Silicone mats can sometimes be too "slick," causing the small amount of dough to spread too thin before the edges can set. Parchment provides just enough friction for a perfect rise.

Recipe FAQs
Should I use regular sized chocolate chips instead of mini chips?
No, use mini chips for best results. Regular sized chips are too heavy and will cause these tiny cookies to flatten out unevenly during baking.
How long should I chill the dough before baking these small cookies?
Chill the dough for 30 minutes, or skip it entirely if rushed. While longer chilling deepens flavor, these small cookies set fast, so a quick chill prevents excessive spreading.
How do I prevent the edges from burning before the centers are set?
Bake at a slightly lower temperature (165°C) and monitor closely after 6 minutes. The high surface area to volume ratio means the edges cook rapidly; look for golden edges and soft centers before removing them.
Is it true that using all brown sugar makes these cookies too cakey?
No, this is a common misconception regarding this specific recipe. We use a high ratio of brown sugar for moisture, but balancing it with granulated sugar ensures that crucial crispy edge you want in a mini cookie.
How do I ensure the cookies are uniformly sized for even baking?
Use a level teaspoon scoop or a #100 size cookie scoop. Consistency in portion size is the single most important factor for tiny bakes like this, as small variances drastically alter bake time.
Can I substitute butter with oil for a different texture?
No, substitution with oil is not recommended here. Butter is crucial as it solidifies when baking, giving these thin cookies the necessary structure; oil will result in a flat, greasy result.
What is the best way to freeze the cookie dough for later use?
Scoop the dough onto a lined tray, freeze until solid, then transfer to an airtight bag. You can bake these directly from frozen, simply adding 1 to 2 minutes to the bake time to account for the temperature drop.
Mini Chocolate Chip Cookies Quick
Ingredients:
Instructions:
Nutrition Facts:
| Calories | 157 kcal |
|---|---|
| Protein | 1.8 g |
| Fat | 7.7 g |
| Carbs | 20.8 g |
| Fiber | 0.6 g |
| Sugar | 12.7 g |
| Sodium | 109 mg |
