Homemade Salsa: Smoky and Roasted
- Time: Active 10 minutes, Passive 10 minutes, Total 20 minutes
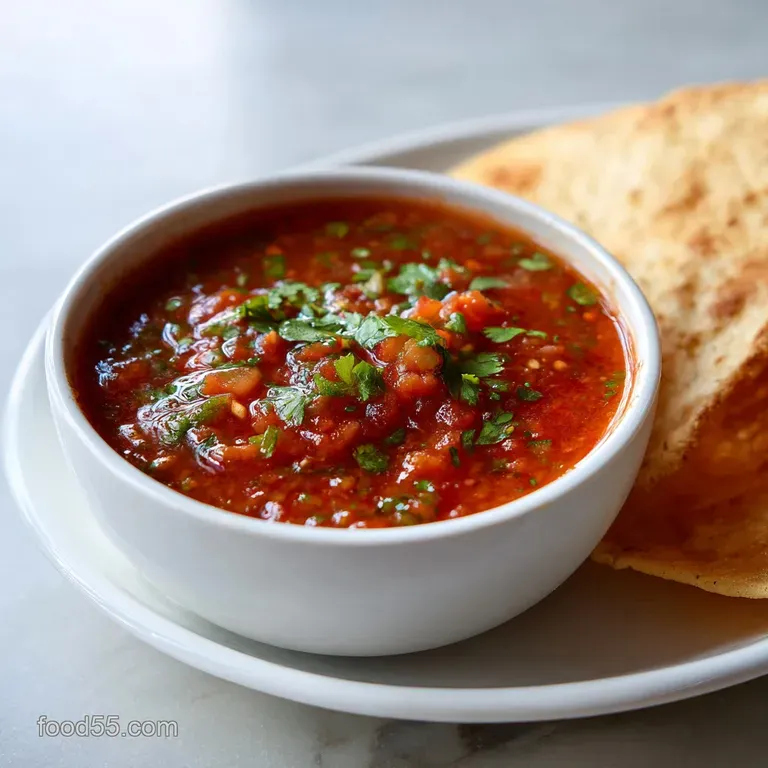
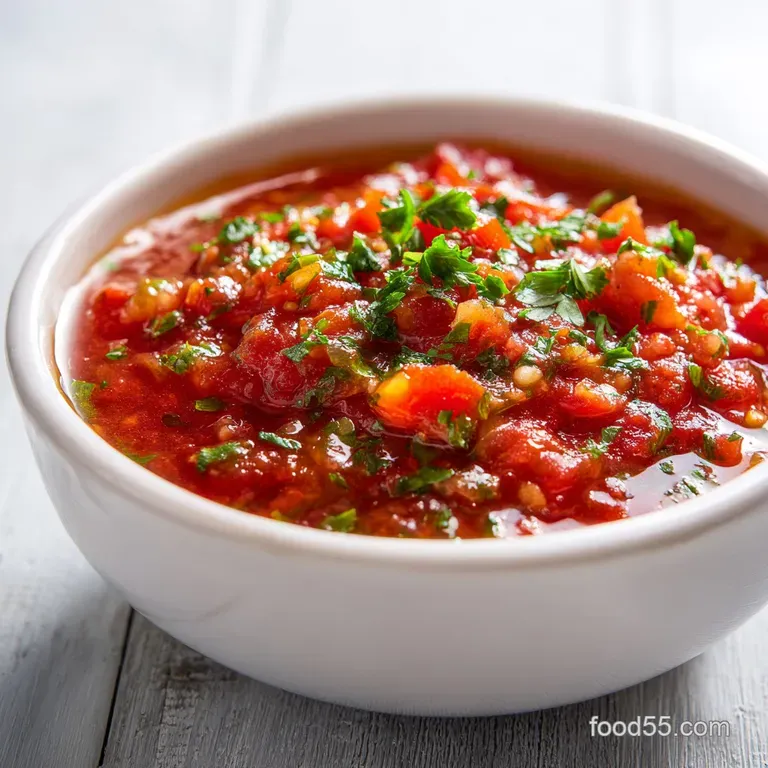
- Flavor/Texture Hook: Smoky, charred, and chunky yet-pourable
- Perfect for: Game day, quick weeknight tacos, or party appetizers
- The Secret to Making the Best Homemade Salsa
- Specifying the Perfect Roast Targets
- Breaking Down the Essential Ingredients
- The Best Tools for Salsa
- Steps for a Perfect Smoky Finish
- Avoiding the Most Common Disasters
- Smart Swaps for Every Diet
- Keeping Your Salsa Fresh Longer
- Pro Tips for Beautiful Platters
- Recipe FAQs
- 📝 Recipe Card
The Secret to Making the Best Homemade Salsa
That sharp, singed smell of pepper skins blistering under a flame is the heartbeat of my kitchen. I used to think that "fresh" meant raw, but my perspective shifted the first time I saw a street vendor in Mexico City tossing whole tomatoes directly onto a blackened metal plate.
The sizzle was immediate, and the aroma was heavy with a sweetness that only comes from slightly burning the edges of a vegetable. That is the soul of this recipe. We aren't just blending vegetables; we are concentrating their sugars through heat.
If you have ever wondered why store-bought jars taste metallic or why some restaurant versions feel so much more vibrant, the answer is usually in the char. This 20 minute method gives you that "simmered all day" depth without the wait.
It is about the contrast between the blackened, smoky skins and the bright, acidic punch of fresh lime. You get a sauce that clings to a chip rather than running right off it, and the flavor profile is miles beyond anything you will find in the snack aisle.
We are aiming for a result that feels alive. It should have a bit of a bite, a whisper of smoke, and enough salt to make your mouth water for the next bite. Honestly, once you see how easy it is to throw everything on a sheet pan and let the broiler do the heavy lifting, you will never look at a jar of the pre made stuff the same way again.
It is a total shift in how you approach appetizers, and it is the best homemade salsa ever if you value that authentic, smoky finish.
Heat Induced Sweetness: High heat breaks down the complex carbohydrates in tomatoes and onions into simple sugars, removing the "tinny" raw edge.
Capsaicin Control: Roasting jalapeños softens their cell walls, releasing the heat more evenly throughout the sauce rather than in sharp, painful bursts.
Essential Oil Activation: The brief heat on the cumin and garlic wakes up the volatile oils, making the spices taste toasted rather than dusty.
Natural Pectin Release: Cooking the tomatoes slightly helps release their natural thickeners, which prevents the salsa from separating into water and pulp.
| Method | Total Time | Flavor Profile | Texture |
|---|---|---|---|
| Fast Broil | 20 minutes | Smoky, charred, deep | Chunky and cohesive |
| Classic Raw | 10 minutes | Bright, grass like, sharp | Thin and watery |
| Slow Roasted | 45 minutes | Sweet, jammy, mild | Very soft and thick |
Choosing the fast broil method gives you the best of both worlds. You get the speed of a raw preparation with the complex, savory notes usually reserved for slow cooked sauces. It's a massive win for anyone who wants high-quality flavor on a tight schedule.
Specifying the Perfect Roast Targets
To get this right, you have to be willing to see a little black on your vegetables. Many home cooks pull the tray out of the oven too early because they are afraid of burning things. In this case, the "burn" is where the magic lives.
You want the tomato skins to look like they are about to shatter and the onion edges to be dark brown. This creates a bitter sweet complexity that acts as a backdrop for the spicy jalapeños and the zingy lime juice.
| Ingredient | Science Role | Pro Secret |
|---|---|---|
| Roma Tomatoes | Provides structure and base | Use Romas because they have less water and more meat than beefsteaks. |
| White Onion | Adds sharp, savory bite | Roast in quarters to keep the center juicy while the outside chars. |
| Fresh Garlic | Creates a buttery depth | Roast unpeeled to steam the cloves inside their skins, preventing bitterness. |
| White Vinegar | Acts as a preservative | A tiny splash lowers the pH, making the flavors pop and the salsa last longer. |
The combination of lime juice and a tiny bit of white vinegar is a trick I learned from a friend who runs a taco truck. While lime provides the floral, citrus aroma, the vinegar provides a sharp, consistent acidity that cuts through the richness of the roasted vegetables.
It also helps the salsa stay fresh in the fridge for a few extra days. Most people skip the vinegar, but it is the one thing that makes this taste like a professional recipe.
Breaking Down the Essential Ingredients
For a truly great result, we need to talk about the tomatoes. We are using 6 medium Roma tomatoes, which should weigh around 700g. Romas are the gold standard here because they are "fleshy." If you use a watery tomato like a beefsteak, your salsa will end up looking more like a gazpacho.
You want that thick, pulpy consistency that stays on the chip. If your Romas feel a bit firm, that is actually better for roasting than if they are overly mushy.
Then we have the aromatics. One large white onion (250g) and 3 fresh jalapeños (60g) provide the foundation. I prefer white onion over red or yellow for salsa because it has a cleaner, sharper finish that doesn't get muddied when roasted. As for the jalapeños, 3 peppers usually provide a medium heat.
If you want it mild, remove the seeds; if you want it to kick back, leave them in. We also use 4 cloves of fresh garlic (20g), but leave the skins on during the roast. This protects the garlic from burning, which can turn a whole batch of salsa bitter in seconds.
The finishing touches are just as vital. You will need 1 cup of fresh cilantro (30g), and don't bother picking the leaves off the stems. The stems hold a massive amount of flavor and blend right in.
For the seasoning, 2 tbsp of fresh lime juice (30ml), 1.5 tsp fine sea salt (9g), 0.5 tsp ground cumin (2g), and 0.25 tsp granulated sugar (1g) balance the scales. The sugar isn't there to make it sweet; it is there to suppress the harshness of the acidity, much like salt suppresses bitterness.
The Best Tools for Salsa
You don't need a professional kitchen, but a few specific items make this effortless. A large, sturdy baking sheet is a must. I prefer a rimmed sheet so that if the tomatoes burst and release their juices, that liquid stays on the pan. That juice is concentrated flavor, and we want every drop of it in the blender.
A pair of long kitchen tongs is also essential for flipping the vegetables halfway through the broil without getting too close to the heat.
For the blending phase, you have a choice. A high powered blender will give you a very smooth, restaurant style consistency. A food processor, on the other hand, is better if you like a chunkier, rustic texture. I usually reach for the food processor because I like seeing the flecks of charred skin and green cilantro.
If you only have a blender, just be careful not to hold the button down. Pulse it in short, one second bursts. If you over blend, you'll incorporate too much air, and your salsa will turn a strange, unappetizing pink color.
Finally,, make sure you have a glass bowl for chilling. Salsa is highly acidic, and if you store it in a reactive metal bowl, it can pick up a metallic tang over time. Glass or high-quality ceramic is the way to go. If you are looking for a more tangy alternative to this smoky version, my roasted tomatillo salsa is another family favorite that uses similar equipment but yields a completely different flavor profile.
Steps for a Perfect Smoky Finish
- Set your oven broiler to high and move the rack to the top position.
- Arrange the 6 Roma tomatoes, 1 quartered white onion, 3 jalapeños, and 4 unpeeled garlic cloves on a large baking sheet. Note: Spacing them out ensures they roast rather than steam.
- Place the tray under the broiler and roast for 8 to 10 minutes. Wait until the skins are blackened and blistered before flipping them halfway through with tongs.
- Remove the tray from the oven and let the vegetables sit for 5 minutes.
- Squeeze the roasted garlic out of its skins and drop the softened cloves into your blender or food processor. Note: Discard the papery garlic skins now.
- Transfer the tomatoes, onions, jalapeños, and all those pan juices into the blender.
- Add 1 cup cilantro, 2 tbsp lime juice, 1 tsp vinegar, 1.5 tsp salt, 0.5 tsp cumin, and 0.25 tsp sugar.
- Pulse in short, rhythmic bursts until the salsa is chunky but pourable. Avoid running the blender continuously.
- Taste the mixture. You might need an extra pinch of salt depending on how juicy the tomatoes were.
- Transfer to a bowl and chill in the fridge for 30 minutes. The flavors need time to marry before you serve it.
Avoiding the Most Common Disasters
The biggest mistake people make is over processing the ingredients. When you blend too long, you break down the solids so much that they emulsify with the air, turning the salsa a pale pinkish orange. It tastes fine, but it looks like foam.
The key is "rhythmic bursts." You want to see the texture change from whole chunks to small bits, but you should still be able to identify a piece of onion or a speck of cilantro. Stop just before you think it's done; the texture will thicken slightly as it cools.
Why Your Salsa Is Too Watery
If your salsa looks like soup, it usually comes down to the type of tomato or the roasting time. Roma tomatoes have a lower water content, but they still release liquid. If you find yours is too thin, you can drain some of the liquid from the tomatoes before blending, but I prefer to keep it.
The real fix is letting the salsa sit. As it chills, the natural pectins and the solids will settle, creating a thicker consistency. If it's still too thin, you can pulse in a few more pieces of roasted onion to add bulk.
How Do I Fix Salsa That’s Too Spicy?
Heat can be unpredictable. One jalapeño might be mild, and the next could be a firecracker. If you taste your blend and it's too hot to handle, don't panic. You can "stretch" the recipe by adding another roasted tomato or a little more lime juice and sugar.
The acidity and sweetness work together to neutralize the capsaicin on your tongue. Another trick is to serve it with something fatty, like avocado or sour cream, which physically coats the tongue and blocks the heat receptors.
| Problem | Root Cause | Solution |
|---|---|---|
| Pink Color | Over blending and aeration | Use short pulses; avoid high speed continuous blending. |
| Bitter Taste | Burnt garlic or onion | Peel garlic after roasting; remove any heavily charred onion centers. |
| Dull Flavor | Lack of salt or acid | Add lime juice in 5ml increments and a pinch more salt. |
Common Mistakes Checklist
- ✓ Don't peel the garlic before roasting; the skin prevents it from becoming bitter and acrid.
- ✓ Always include the pan juices; that's where the concentrated tomato and onion flavor lives.
- ✓ Check your broiler every 2-3 minutes; some ovens are much hotter and can burn the veg in 5 minutes.
- ✓ Use fresh lime juice only; the bottled stuff has a chemical aftertaste that ruins a fresh salsa.
- ✓ Let it chill for at least 30 minutes; salsa served warm from the blender tastes "unfinished."
Smart Swaps for Every Diet
This recipe is naturally vegan and gluten-free, which makes it a fantastic staple for entertaining. However, you can tweak the ingredients to fit specific needs. If you are watching your sugar intake, the 0.25 tsp of sugar can be swapped for a drop of liquid monk fruit or just omitted entirely the roasted onions provide a fair amount of natural sweetness.
For those who aren't fans of cilantro (I know the "soapy" struggle is real!), try using flat leaf parsley and a bit of extra lime zest to maintain that green, fresh hit without the herb you hate.
| Original Ingredient | Substitute | Why It Works |
|---|---|---|
| Roma Tomatoes (700g) | Canned Fire Roasted Tomatoes | Good for off season. Note: Reduce salt as canned versions are pre seasoned. |
| Jalapeños (60g) | Serrano Peppers | Serranos are much hotter but offer a similar bright, green flavor. |
| White Vinegar (5ml) | Apple Cider Vinegar | Adds a fruitier note. Note: Slightly changes the traditional flavor profile. |
If you want to turn this into a full meal, it is the perfect topping for protein heavy dishes. For example, it pairs beautifully with these Salsa Verde Chicken Tostadas, where the smoky red salsa provides a sharp contrast to the tangy green base of the chicken. It is all about layering those different levels of heat and acid.
Keeping Your Salsa Fresh Longer
Store your salsa in an airtight glass container in the refrigerator. It will stay fresh and vibrant for up to 5 days. You will notice that the heat level often intensifies by day two as the jalapeño oils continue to infuse the liquid.
If the salsa becomes too thick after sitting, simply give it a quick stir or add a teaspoon of water or lime juice to loosen it back up.
For zero waste cooking, don't throw away the cilantro stems! They are packed with the same flavor as the leaves but with a crunchier texture. When you blend them into the salsa, they disappear completely while adding to the aromatic profile.
If you find yourself with leftover salsa that is past its "dip able" prime, use it as a braising liquid for chicken or pork. The acidity and spices make it an incredible marinade or simmering sauce for taco meat.
You can also freeze this salsa for up to 3 months, though the texture will be slightly softer once thawed it is still perfect for cooking!
Pro Tips for Beautiful Platters
Presentation is half the fun with a vibrant dish like this. I love serving this in a dark stoneware bowl to make the reds and greens really pop. To give it that professional look, save a few sprigs of fresh cilantro and a couple of slices of raw jalapeño to garnish the top right before serving.
It signals to your guests that the ingredients are fresh and gives them a hint of the heat level they are about to experience.
No taco night is complete without a bowl of chunky guacamole on the table. The creaminess of the avocado is the natural partner to the smoky, acidic bite of this homemade salsa ever made in a home kitchen. Arrange your chips in a circular pattern around the bowls, and maybe add a few lime wedges on the side for people who want an extra zing. It's a simple setup, but it feels like a feast when the flavors are this bold and authentic.
| Servings | Ingredient Adjustments | Pan Size | Cook Time |
|---|---|---|---|
| 4 people | 2 tomatoes, 1/2 onion, 1 pepper | Small sheet pan | 8 minutes |
| 12 people | Use full recipe (6 tomatoes) | Large sheet pan | 10 minutes |
| 24 people | 12 tomatoes, 2 onions, 6 peppers | Two sheet pans | 15 minutes (rotate pans) |
When you are doubling the recipe for a big crowd, the most important thing is not to overcrowd the baking sheet. If the vegetables are touching too much, they will steam instead of charring. Use two separate trays if you have to.
You want that direct hit of heat from the broiler to create those black spots, as that is where all the smoky flavor is born. This is the difference between a "okay" salsa and the kind of dip people will be asking you for the recipe for all night long.
The beauty of this method is its reliability. Once you understand the balance of the char, the salt, and the acid, you can replicate this result every single time. It's a fundamental skill that turns a few humble vegetables into a centerpiece of flavor.
Enjoy the process, don't fear the flame, and get ready for the best chips and dip experience of your life.

Recipe FAQs
How to roast the vegetables to get that smoky finish?
Set your oven broiler to high and arrange the tomatoes, onion, jalapeños, and unpeeled garlic on a baking sheet. Roast for 8-10 minutes, flipping halfway through with tongs until the skins are blackened, blistered, and the vegetables are softened.
Is it true I should peel the garlic before putting it under the broiler?
No, this is a common misconception. Keep the garlic unpeeled during roasting to protect the cloves from becoming bitter or acrid.
How to achieve the perfect salsa texture?
Pulse the ingredients in short, rhythmic bursts until you reach a chunky yet-pourable consistency. If you enjoy this method of flavor building, try a similar approach in our zesty pineapple habanero recipe.
How to handle the pan juices after roasting?
Transfer all of the pan juices directly into the blender along with the vegetables. Those drippings contain the concentrated juices from the tomatoes and onions, which are essential for the final flavor profile.
Should I serve the salsa immediately after blending?
No, you should chill it in the refrigerator for at least 30 minutes. Serving it warm from the blender makes the flavors taste unfinished, whereas chilling allows the ingredients to meld properly.
How to prevent the salsa from becoming foamy?
Avoid over blending your ingredients. Using short pulses helps maintain the texture and prevents too much air from being whipped into the mixture, which is the primary cause of foam.
Is bottled lime juice okay for this recipe?
No, stick with fresh lime juice. Bottled varieties often carry a chemical aftertaste that can easily overpower the fresh, roasted notes of your homemade salsa.
Homemade Roasted Salsa

Ingredients:
Instructions:
Nutrition Facts:
| Calories | 25 kcal |
|---|---|
| Protein | 1.0 g |
| Fat | 0.2 g |
| Carbs | 5.5 g |
| Fiber | 1.3 g |
| Sugar | 3.2 g |
| Sodium | 292 mg |
