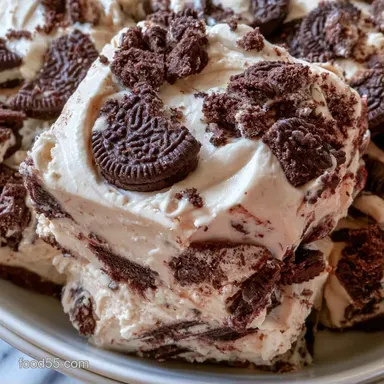
No-Bake Oreo Bars with Creamy Filling
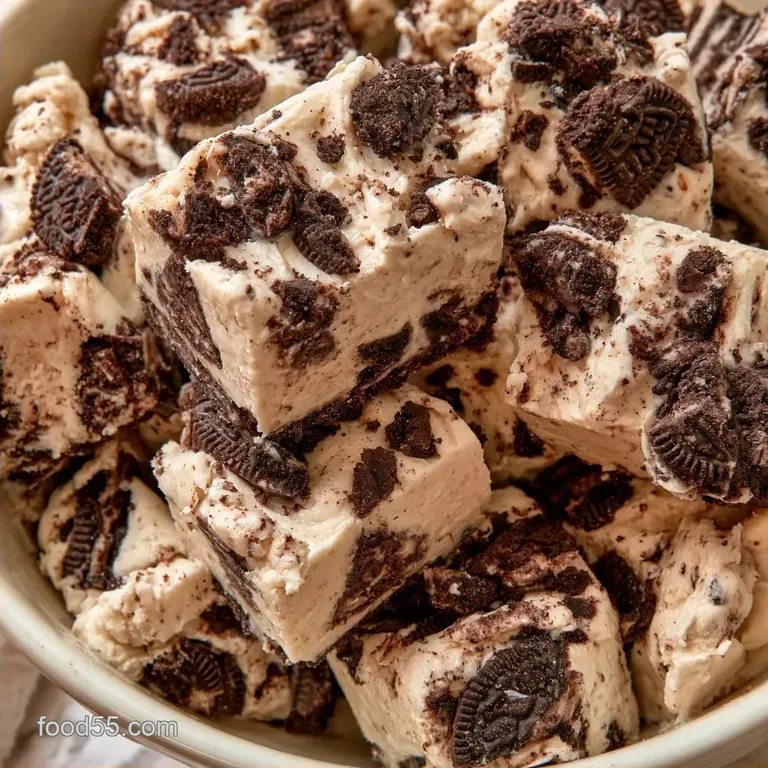
- Time: 20 min active + 10 min freezing + 4 hrs chilling
- Flavor & Texture: Rich cocoa snap with a cloud-like center
- Perfect for: Summer parties or a quick treat for friends
No-Bake Oreo Bars with Creamy Filling
Ever wonder why some no-bake desserts feel like a heavy block of sugar while others feel like they might float away? It's all about the air. These bars use a specific folding technique to keep the filling light, avoiding the dense feel of a traditional chilled cake.
The contrast here is what makes it work. You get a base that snaps when you bite it, followed by a filling that melts almost instantly. It's a great way to get those cheesecake flavors without turning on the oven.
You can expect a treat that smells like vanilla and cocoa, with a finish that stays cool and refreshing. These are a great alternative to a baked Oreo cheesecake, especially when you want something faster to assemble.
What You'll Need
Crust Components
- 24 Oreo cookies Why this? Forms the chocolate foundation and gives it structure
- 6 tbsp unsalted butter, melted Why this? Acts as the glue for a firm base
The Creamy Filling
- 16 oz full-fat cream cheese, softened Why this? Offers a tangy taste and keeps it stable
- 1 cup powdered sugar, sifted Why this? Sweetens the mix while staying smooth
- 1 tsp vanilla extract Why this? Balances the rich chocolate flavors
- 1½ cups heavy whipping cream, cold Why this? Gives the filling its light, moussey lift
- 8 Oreo cookies, roughly chopped Why this? Introduces bursts of texture
| Main Ingredient | Alternative | Why It Works |
|---|---|---|
| Full-fat Cream Cheese | Mascarpone | More decadent and mild. Note: Creates a softer consistency |
| Heavy Whipping Cream | Full-fat Coconut Cream | Matches the fat ratio. Note: Adds a hint of coconut |
| Oreo Cookies | Chocolate Wafers | Retains the cocoa essence. Note: No cream filling included |
The Gear Needed
A food processor is recommended to save you from tedious crushing. For the folding stage, a silicone spatula is essential to preserve the air bubbles in the cream. Additionally, use an 8x8 inch baking pan and parchment paper to make lifting the bars a breeze.
From Prep to Plate
Building the Base
- Pulse 24 Oreo cookies in a food processor until they reach a fine, sandy texture.
- Stir in 6 tbsp melted unsalted butter until the mixture resembles wet sand.
- Line a square 8x8 pan with parchment paper, press the crumbs firmly into the bottom until level, and freeze for 10 minutes. Note: Use a flat-bottomed glass to ensure a perfectly even surface.
Making the Filling
- In a large bowl, beat 16 oz softened full-fat cream cheese and 1 cup sifted powdered sugar on medium-high until smooth and ivory-toned, then stir in 1 tsp vanilla extract.
- In a separate chilled bowl, whip 1½ cups cold heavy whipping cream until stiff peaks develop. Note: Stop as soon as the peaks hold their shape to avoid over-beating the cream into butter.
- Carefully fold the whipped cream into the cream cheese mixture using a silicone spatula until just combined.
- Fold in 8 roughly chopped Oreo cookies until evenly distributed.
Final Set
- Pour the filling over the frozen crust and level the top with an offset spatula.
- Refrigerate for at least 4 hours until the bars feel firm.
- Lift the bars out of the pan with the parchment paper and cut into 12 equal squares using a warm knife.
Chef Tip: For sharp edges and to prevent the filling from smudging, dip your knife in hot water and wipe it clean between every cut.
Why the Texture Works
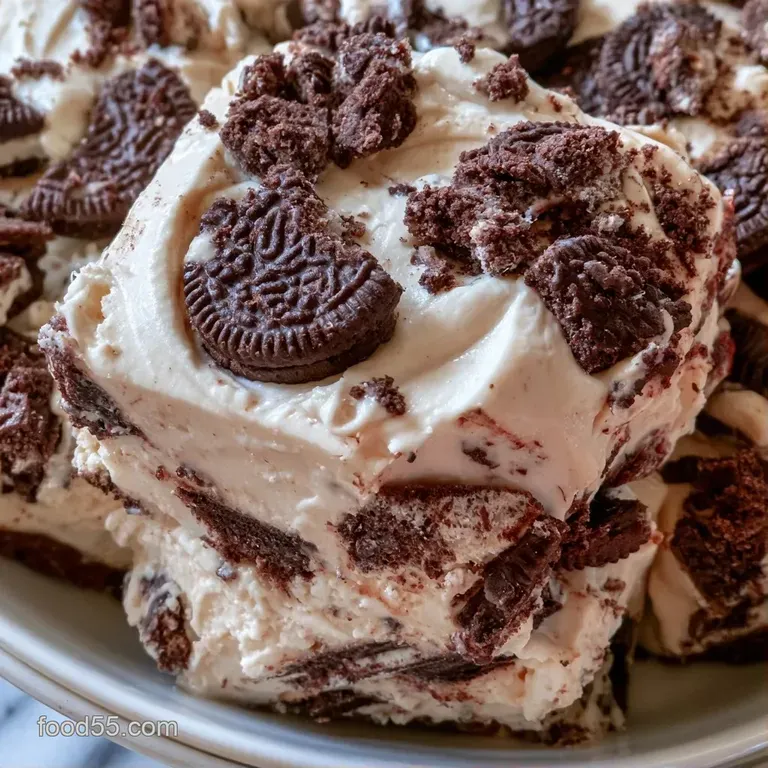
- Temperature Balance: Using cold cream against softened cheese prevents the mixture from breaking, which keeps the filling stable without needing gelatin.
- Air Incorporation: Whipping the cream separately and then folding it in traps tiny air pockets, giving it that light, cloud-like feel.
Fixing Common Problems
If the filling feels a bit too soft, it usually means the heavy cream wasn't cold enough when you started. Cold fat molecules hold air better, which is what creates the structure. Similarly, if the crust crumbles when you slice it, you likely didn't press the crumbs hard enough into the pan.
Filling is too runny
This happens if the cream is over-beaten or the cream cheese was too warm. If it's already mixed, give it another 2 hours in the fridge.
Crust is crumbling
This occurs when the butter to crumb ratio is off or the base wasn't compressed. Press firmly with a heavy object next time.
Filling is grainy
This is caused by cold cream cheese that wasn't fully softened before beating with the sugar.
| Problem | Fix |
|---|---|
| Runny filling | Chill the bowl and beaters before whipping cream |
| Crumbly base | Press crumbs firmly with a flat bottomed glass |
| Grainy texture | Let cream cheese reach room temperature fully |
Keeping It Fresh
Store these in a sealed tub in the refrigerator for up to 5 days. I like to keep the parchment paper attached to the block, which makes it easier to slice off a square whenever the craving hits.
These bars also freeze well. Wrap individual squares in plastic wrap and tuck them into a freezer bag for up to 3 months. When you're ready to eat one, move it to the fridge for 2 hours. This lets it regain its velvety texture without getting watery from a fast thaw.
Make It Your Own
For a tasty twist, add a Peanut Butter Swirl. Simply melt two tablespoons of peanut butter and drizzle it over the filling, then swirl it in with a toothpick. For a fresher flavor, a Mint Chocolate Chip version is a great option if you use mint-flavored Oreos for both the crust and the mix-ins.
If you're avoiding gluten, gluten-free chocolate sandwich cookies work perfectly. The method remains exactly the same, although the crust may be slightly more fragile. For more no-bake inspiration, you might also enjoy these no-bake crunch bars for a different kind of snap.
Perfect Complements
Because these are quite decadent, they pair wonderfully with something that cuts through the sweetness. Adding a few fresh raspberries or a strawberry slice provides a bright acidity that balances the richness of the cream cheese.
To fully embrace that cookies and cream vibe, serve them with a cold glass of milk or a cup of strong, unsweetened coffee.
Recipe FAQs
Where should I store the leftovers?
Keep them chilled in the refrigerator. The dairy-based filling requires cold temperatures to stay firm and safe.
Why is the filling too soft?
You may not have chilled them long enough. These bars require at least 4 hours in the refrigerator to set properly.
How to fold the whipped cream?
Use a silicone spatula to gently incorporate the cream. Stir slowly to keep the air bubbles intact and prevent the mousse from deflating.
Can these be baked instead?
Yes, a baked version exists. A baked Oreo cheesecake uses a similar flavor profile but results in a denser, more custard-like texture.
What is the best way to cut the squares?
Use a warm knife for clean edges. Dipping the blade in hot water and wiping it between slices prevents the filling from sticking.
Do I need to soften the cream cheese?
Yes, ensure it is fully softened. This prevents lumps from forming when you beat it with the powdered sugar.
No-Bake Oreo Bars with Creamy for 12