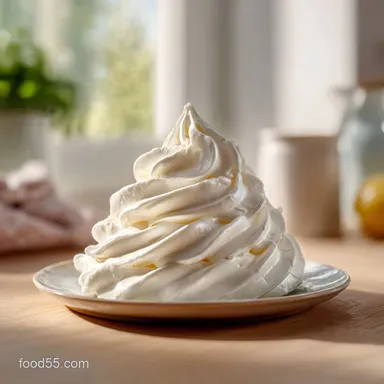
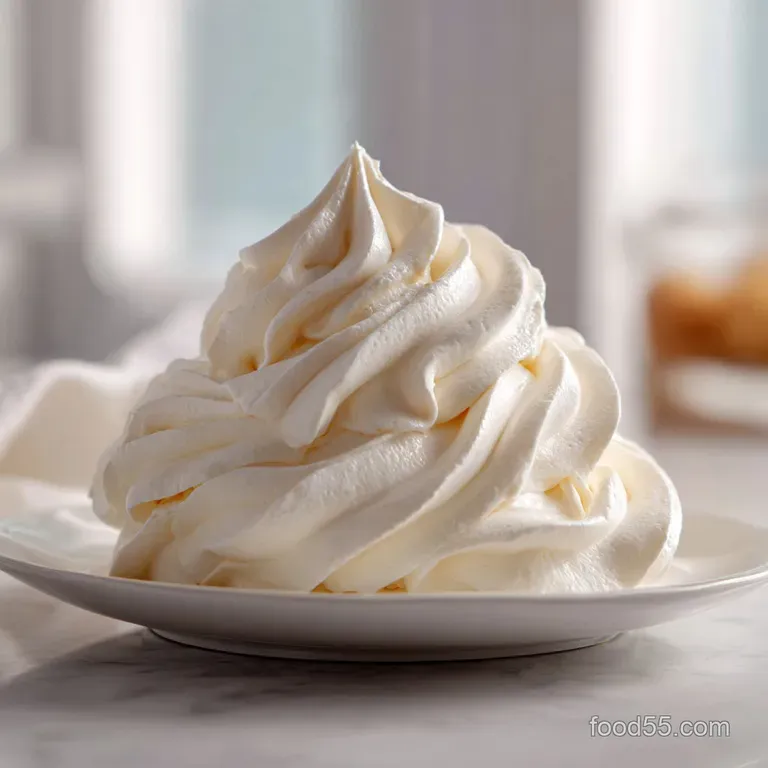
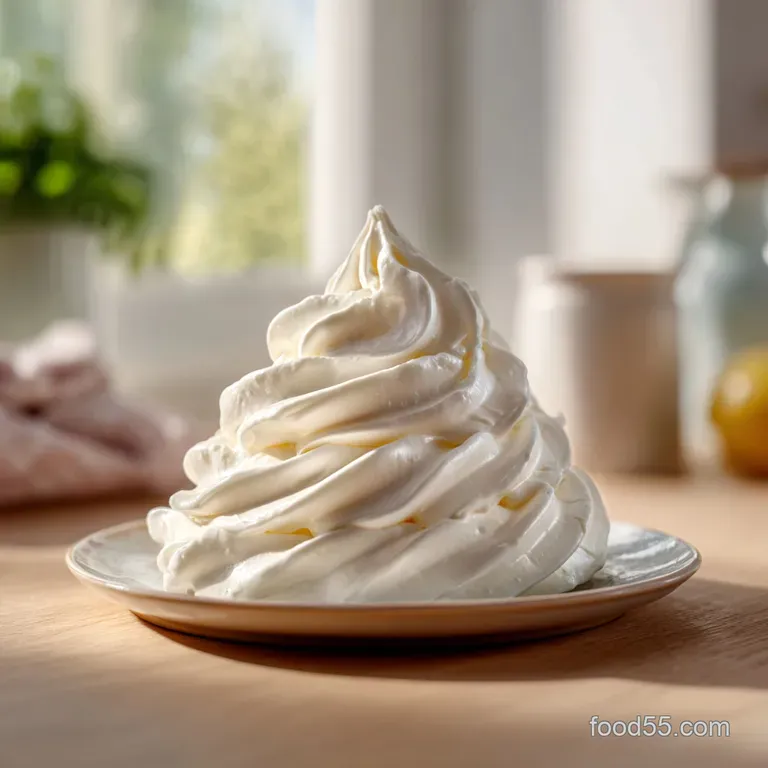
Universal Vanilla Icing: Velvety and Smooth
- Time:5 minutes active = Total 5 minutes
- Flavor/Texture Hook: Velvety, cloud like sweetness
- Perfect for: Weeknight treats, birthday cakes, and quick cookie decorating
Getting Your Icing Just Right
That scent of pure vanilla hitting a warm bowl of butter is honestly my favorite part of the whole process. It's that specific, sugary aroma that makes your kitchen feel like a cozy bakery, and it usually means something great is about to happen.
I remember one time I was in a rush to finish a cake for a friend. I didn't wait for the butter to soften and just threw it in the mixer, thinking the machine would handle it. I ended up with these tiny, stubborn lumps of cold butter that looked like cottage cheese mixed with sugar.
It was a disaster, and I spent twenty minutes trying to microwave the whole bowl in five second bursts without melting the frosting into a puddle.
Since then, I've learned that patience with your temperature is everything. Once you get the butter to that specific "give" when you press it with your thumb, the rest is a breeze. You get that silky, glossy finish that actually stays where you put it, rather than sliding off your cake like a melted candle.
Quick Summary and Specs
Right then, let's get into the nitty gritty of what we're making. This is a versatile base that can go from a thin glaze to a thick piping frosting just by tweaking the cream. It's the kind of thing you keep in your back pocket for whenever a dessert needs a little extra love.
Whether you're doing a quick drizzle over cinnamon rolls or a full on layer cake, the secret is in the aeration. When we beat that butter, we're essentially trapping air, which transforms a heavy fat into something light and airy. It's the difference between a dense paste and a velvety cloud.
The Ingredient Breakdown
The real hero here is the powdered sugar. Unlike granulated sugar, which can leave your frosting feeling like sandpaper, powdered sugar contains a tiny bit of cornstarch. This helps stabilize the mixture and gives it that signature smooth glide.
If you use a low quality brand without that starch, you might find the icing separates more easily.
For the fat, I always stick with unsalted butter. Using salted butter is a gamble because different brands have different salt levels, and you don't want your frosting to taste like a pretzel. By using unsalted, we control the 1.5g of salt exactly, which just cuts through the sweetness so it doesn't feel overwhelming.
Component Analysis
| Ingredient | Science Role | Pro Secret |
|---|---|---|
| Powdered Sugar | Structure | Sift it twice for a shatter smooth finish |
| Unsalted Butter | Aeration | Must be 18-20°C to trap air properly |
| Heavy Cream | Viscosity | Add by the teaspoon to avoid "souping" it |
| Vanilla Extract | Flavor Layer | Use a clear extract for a brighter white color |
I've found that if you're looking for something a bit more specialized, a sugar cookie icing is a great pivot if you need something that dries harder.
Substitution Guide
| Original Ingredient | Substitute | Why It Works |
|---|---|---|
| Heavy Cream (3 tbsp) | Whole Milk (3 tbsp) | Similar liquid base. Note: Slightly less stable, thinner result |
| Unsalted Butter (1/2 cup) | Vegetable Shortening (1/2 cup) | Higher melting point. Note: Lacks the rich buttery flavor |
| Powdered Sugar (2 cups) | Icing Sugar (2 cups) | Same thing in different regions. Note: Ensure it's finely milled |
You'll notice that swapping butter for shortening makes the icing more stable in hot weather, but you lose that velvety richness that makes homemade frosting so special.
Tools for the Job
You don't need a professional kitchen to make this happen, but a few specific tools make the process way smoother. A handheld electric mixer or a stand mixer (like a KitchenAid) is pretty much mandatory here.
Trying to whisk this by hand is a workout I wouldn't wish on anyone, and you'll never get the air integration you need for that light texture.
A fine mesh sifter is another non negotiable. I used to skip this step, but the result was always "gritty" icing. Sifting ensures the sugar and salt are perfectly distributed before they hit the butter, meaning no surprises when you're piping.
Step by step Process
Let's crack on with the actual making. Make sure your butter is truly room temperature, or you'll be back to my "cottage cheese" nightmare.
Phase 1: Prepping the Base
Sift the 240g of powdered sugar and 1.5g of fine salt into a mixing bowl. Note: This removes clumps that the mixer can't break down.
Phase 2: Integrating the Fats
Beat the 115g of softened butter on medium high for 2 minutes until it looks pale and creamy.
Phase 3: Dialing in the Consistency
Gradually add the sifted sugar one cup at a time. Beat on low until combined, then increase to high for 1 minute to aerate. Note: Starting low prevents a "sugar cloud" from covering your entire kitchen.
Now, slowly pour in the 5ml of vanilla extract and 45ml of heavy cream one tablespoon at a time. Stop adding liquid when the icing flows slowly for a glaze, or when it forms a stiff peak for piping.
Method Comparison
| Method | Time | Texture | Best For |
|---|---|---|---|
| Whipped Buttercream | 5 mins | Fluffy/Airy | Cupcakes & Piping |
| Simple Glaze | 3 mins | Silky/Pourable | Bundt Cakes & Donuts |
| Folded Frosting | 7 mins | Dense/Rich | Filling Tarts |
If you want something even more decadent, you might like a vanilla buttercream for a heavier cake.
Fixing Common Glitches
Even when you follow the steps, things can go sideways. Usually, it's just a matter of temperature or ratios.
Why Your Frosting is Runny
This usually happens if the butter was too warm or you added the cream too quickly. If it's too loose to hold a peak, don't panic. Just add more powdered sugar, one tablespoon at a time, and beat on low.
Solving Gritty Texture
If you can feel sugar crystals on your tongue, the sugar wasn't sifted or the butter wasn't creamy enough to encapsulate the grains. Beat the mixture on high for another 2 minutes to try and smooth it out.
Quick Fix Table
| Problem | Root Cause | Solution |
|---|---|---|
| Separating/Curdling | Butter too cold | Warm slightly with a hairdryer on low |
| Too Sweet | Too much sugar | Add a pinch more salt or a drop of lemon |
| Air Bubbles | Over beaten | Stir by hand with a spatula for 2 mins |
Mistakes to Avoid
- ✓ Never add all the liquid at once; go tablespoon by tablespoon.
- ✓ Sift the sugar even if the package says "lump free".
- ✓ Avoid using a microwave to soften butter; it creates "hot spots" that ruin the emulsion.
- ✓ Use a rubber spatula to scrape the sides of the bowl every 60 seconds.
Flavor and Texture Twists
Once you've got the base down, you can really play around with this. For a chocolate version, I usually fold in 1/4 cup of high-quality cocoa powder during the sugar phase. Just remember that cocoa powder acts like a dry ingredient, so you'll likely need an extra teaspoon of cream to keep it from becoming too stiff.
If you're feeling fancy, try swapping the vanilla for almond extract or a splash of maple syrup. For a citrus kick, a teaspoon of fresh lemon zest adds a brightness that cuts through the sugar perfectly.
Scaling Your Batch
When scaling down to a half batch, beat one egg (if the recipe called for it) and use half, but since this is butter based, just halve the grams exactly. If you're doubling or tripling the recipe, be careful with the salt.
I only increase salt to 1.5x the original amount, even if doubling the sugar, otherwise it can taste a bit savory.
Storage and Freshness
You can keep this in the fridge for up to 7 days in an airtight container. When you take it out, it'll be stiff, so let it sit at room temperature for 30 minutes before trying to use it.
For the freezer, it lasts about 2 months. I find it's easiest to freeze it in small portions using a piping bag. When you're ready to use it, thaw it in the fridge overnight and then give it a quick whip with a mixer to bring back that velvety texture.
To avoid waste, don't throw away the remnants in the bowl. I love to smear the leftovers on a piece of toast or use them as a dip for fresh strawberries.
Final Finishing Touches
To get that professional look, I always use a offset spatula for smoothing the tops of cakes. It allows you to glide the icing without pulling it away from the edges. If you see any air bubbles on the surface, just take a toothpick, pop the bubble, and smooth it over.
For piping, make sure your frosting is at room temperature. If it's too cold, you'll struggle to squeeze the bag and end up with "stutter" marks in your swirls. If it's too warm, the swirls will collapse. The sweet spot is when it feels like soft butter pliable but holding its shape.
Recipe FAQs
How to make icing at home?
Sift powdered sugar and salt, then beat softened butter for 2 minutes. Gradually mix in the sugar, followed by vanilla and heavy cream until the consistency is right for piping or glazing.
Do I only need three ingredients for this icing?
No, this recipe requires five. To achieve the correct stability and flavor, you must use powdered sugar, salt, unsalted butter, heavy cream or milk, and vanilla extract.
What is the easiest type of icing?
A classic buttercream is the most straightforward. It requires minimal equipment and basic mixing, similar to the simple assembly used in a chocolate cheesecake.
What ingredients do you need for frosting?
You need powdered sugar, salt, softened unsalted butter, heavy cream or milk, and vanilla extract. Ensure your butter is truly at room temperature to prevent the mixture from separating.
Why is my icing lumpy?
You likely skipped sifting the powdered sugar. Sifting the sugar and salt into the bowl first is the only way to remove lumps before they are beaten into the butter.
How long does icing last in the fridge?
Up to 7 days in an airtight container. Because it stiffens when chilled, let it sit at room temperature for 30 minutes before using.
Is it true that icing cannot be frozen?
No, this is a common misconception. It lasts about 2 months in the freezer; simply thaw it in the fridge overnight and whip it again to restore the velvety texture.
Universal Vanilla Icing