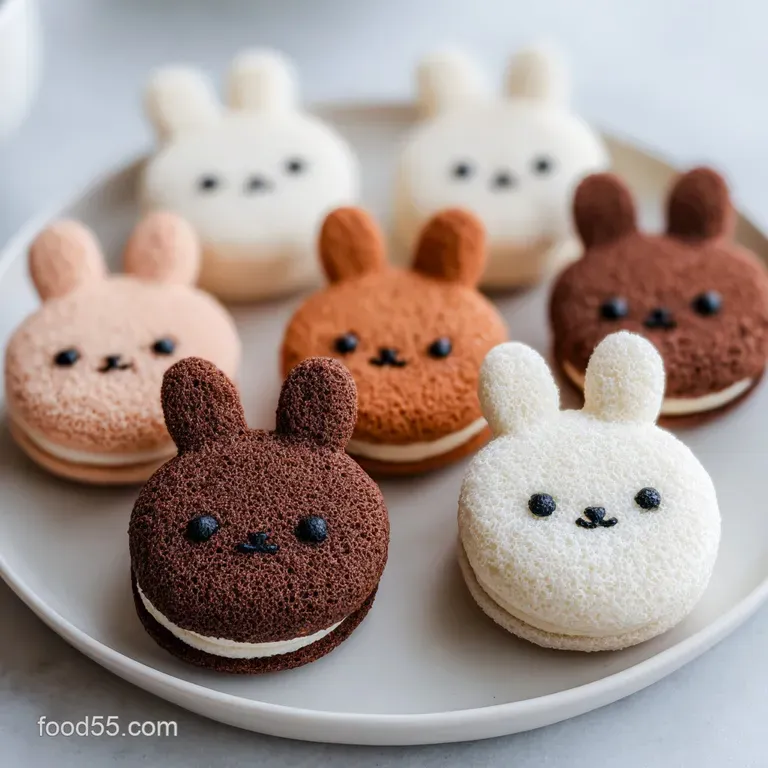
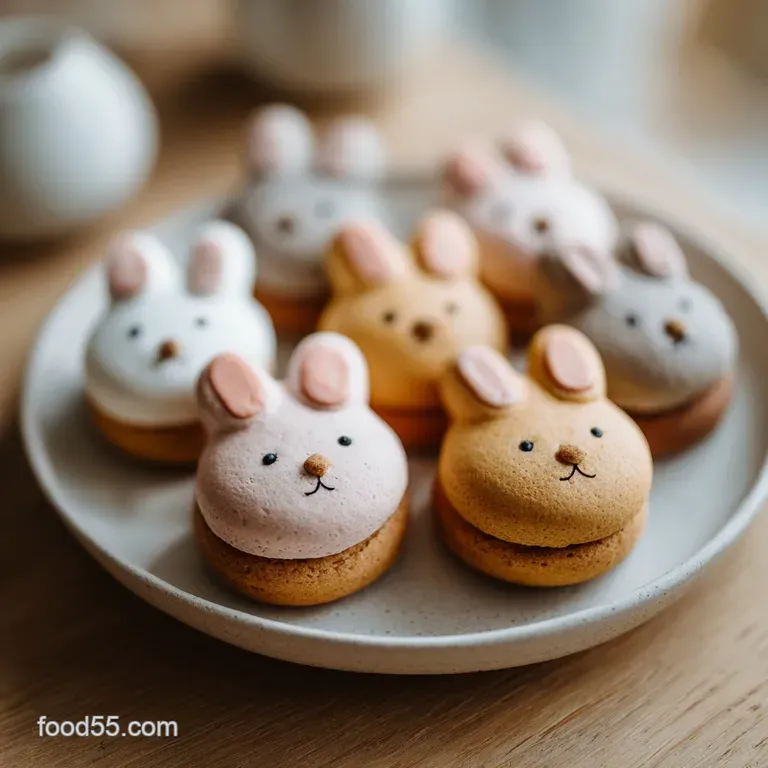
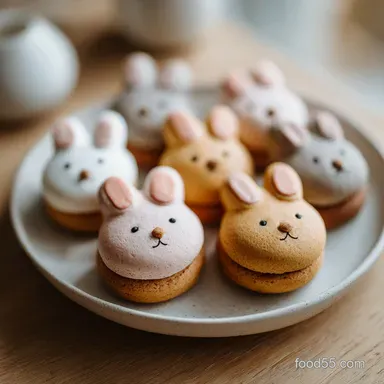
Bunny Oreo Balls: No Bake Easter Treats
- Time: Active 30 minutes, Passive 60 mins, Total 90 minutes
- Flavor/Texture Hook: Velvety cocoa centers with a shattering chocolate shell
- Perfect for: Easter celebrations, kid friendly kitchen projects, and Make-ahead holiday hosting
- Creating Your Own Cute Bunny Oreo Balls
- Why This No Bake Method Works
- Bunny Oreo Balls Recipe Specs
- Ingredients for Your Easter Treats
- Essential Tools for Holiday Baking
- Step-by-Step Guide to Success
- Solving Common Oreo Ball Problems
- Simple Substitutions and Dietary Swaps
- The Truth About Oreo Truffles
- How to Store Your Treats
- Best Drinks and Snack Pairings
- Recipe FAQs
- 📝 Recipe Card
Creating Your Own Cute Bunny Oreo Balls
The sharp crack of a white chocolate shell giving way to a dense, dark center is one of those kitchen sounds that just signals a holiday is here. I remember the first time I tried making these, the kitchen smelled like a mix of deep cocoa and sweet vanilla, and I had chocolate smudges on my forehead within ten minutes.
There's something so satisfying about watching 36 standard OREO Cookies turn into a fine, sandy powder in the processor, knowing they're about to become something much more decadent. We aren't just making a snack here, we're building a little edible landscape for the dessert table that people actually want to eat.
We've all seen those fancy bakery truffles that cost a fortune, but honestly, the homemade version has a soul that those store-bought ones lack. This recipe isn't just about the sugar, it's about the texture, that contrast between the slight tang of the cream cheese and the intense chocolate of the cookies.
It’s a shared experience, the kind of thing where you’ll have kids helping you stick on marshmallow ears while you try not to eat all the pink heart sprinkles. It’s messy, it’s fun, and by the time you're drawing those tiny eyes with an edible marker, you'll see why these become a tradition so quickly.
The best part about these Bunny Oreo Balls is that they don't require an oven, which is a massive win when you're already juggling a roast or a ham. You’re looking for a result that is silky on the inside and perfectly smooth on the outside.
We’ve all had those truffles that feel a bit gritty or too oily, but by following a few specific temperature rules, we can avoid all that. Trust me, once you see that first batch lined up on the parchment paper, looking like a little army of bunnies, you’ll be the hero of the Easter brunch.
Why This No Bake Method Works
- Fat Emulsification: The softened cream cheese acts as a high fat binder that coats the dry cocoa particles in the cookie crumbs, creating a stable, fudgy matrix that won't crumble.
- Starch Absorption: The flour and starches within the baked cookies soak up the small amount of moisture in the cheese, preventing the "sweating" that often ruins homemade truffles.
- Thermal Setting: White chocolate melting wafers contain specific fats that solidify rapidly when they hit the chilled surface of the truffle, creating that iconic snap.
- Frictional Binding: Processing the cookies into a fine dust increases the surface area, allowing the cream cheese to distribute evenly for a uniform, grit free mouthfeel.
| Method | Time | Texture | Best For |
|---|---|---|---|
| Room Temp Mix | 15 minutes | Soft and tacky | Quick snacking |
| Chilled Setting | 60 minutes | Firm and snappy | Gifting/Display |
| Freezer Flash | 20 minutes | Very hard shell | Hot climates |
When we talk about making a treat that lasts, we have to consider how the ingredients play together. If the cream cheese is too cold, it won't mix; if the chocolate is too hot, it will seize. It's all about that middle ground where everything is pliable but holds its shape. If you're looking for another fun variation for a different occasion, you might want to check out my Oreo Truffle Balls which use a similar base but focus on a different finish.
Bunny Oreo Balls Recipe Specs
| Component | Science Role | Pro Secret |
|---|---|---|
| OREO Cookies | Provides structural dry matter and cocoa intensity | Pulse until no large chunks remain to prevent cracking |
| Cream Cheese | Adds fat for silkiness and acidity to balance sugar | Use the brick style, never the spreadable tub version |
| White Chocolate | Creates a moisture barrier and a crisp outer shell | Melt in short bursts to avoid scorching the milk solids |
Before you start rolling, make sure your cream cheese is truly soft. If you try to force it while it's still chilly from the fridge, you'll end up with white lumps in your dark filling. I usually let mine sit on the counter for at least an hour. It should feel like room temperature butter when you press it.
This ensures that when the food processor starts spinning, the cheese and cookies become one single, glorious dough instead of a striped mess.
Ingredients for Your Easter Treats
- 36 standard OREO Cookies: These provide the bulk and the flavor. Why this? The filling to cookie ratio is specifically designed for structural binding.
- 8 oz (226g) brick style cream cheese: The glue of the recipe. Why this? Full fat brick cheese provides the necessary stability that tubs lack.
- 0.5 tsp (2.5ml) pure vanilla extract: Adds a floral backnote to the chocolate.
- 1 pinch fine sea salt: Essential for cutting through the heavy sweetness of white chocolate.
- 16 oz (450g) white chocolate melting wafers: This is your coating. Why this? Wafers contain thinning agents that make dipping much easier than bars.
- 12 large marshmallows: These will be cut to form the bunny ears.
- 0.5 cup (50g) sweetened shredded coconut: This provides the "fur" texture.
- 24 small pink heart sprinkles: These make the most adorable noses.
- 1 black edible ink marker: For the precision work on the bunny faces.
| Original Ingredient | Substitute | Why It Works |
|---|---|---|
| OREO Cookies | Chocolate Sandwich Cookies | Similar dry to filling ratio. Note: Flavor may vary by brand. |
| Cream Cheese | Mascarpone | Higher fat content. Note: Much richer and slightly less tangy. |
| White Chocolate | Almond Bark | Higher melt point. Note: Waxy texture but very easy to work with. |
It's tempting to use the "Double Stuf" cookies because, well, they're great, but for this specific recipe, the extra filling can actually make the balls too soft. Stick to the classics for the best structural integrity. If you're a fan of these types of flavors, you'll absolutely love my Oreo Cookie Dip which is basically a deconstructed version of this filling that's even faster to pull together.
Essential Tools for Holiday Baking
You don't need a professional pastry kitchen for this, but a food processor is pretty much non negotiable if you want that velvety interior. If you try to crush 36 cookies by hand in a bag, you'll almost certainly end up with big chunks that make the balls lumpy and prone to falling apart.
A standard processor like a Cuisinart or KitchenAid will turn those cookies into "sand" in about thirty seconds.
You’ll also want a good quality baking sheet lined with parchment paper or a silicone mat. This prevents the chocolate from sticking and makes clean up a breeze. For the dipping part, a dedicated chocolate dipping tool is great, but a simple dinner fork works just as well.
Just make sure you have a small, microwave safe glass bowl for the chocolate. Glass holds heat better than plastic, which keeps your chocolate melty for longer while you're working through the batch.
step-by-step Guide to Success
Phase 1: Pulverizing and Binding
- Place 36 OREO Cookies into a food processor. Pulse them 10-15 times until they reach a fine, uniform crumb consistency. Note: Any large chunks left behind will cause the balls to crack later.
- Add 8 oz softened cream cheese, 0.5 tsp vanilla, and a pinch of salt. Process the mixture for about 1-2 minutes until a cohesive, dense dough forms. You'll know it's ready when the dough pulls away from the sides and forms a ball.
- Roll the mixture into 1 inch spheres. Use your palms to get them smooth until they look like dark marbles. Place them on your parchment lined sheet.
- Chill the rolled balls for 30 minutes. Put them in the fridge until they are firm to the touch. This is crucial; if they are warm, they will melt into your chocolate.
Phase 2: The Enrobing & Decoration
- Melt 16 oz white chocolate wafers. Heat them in 30 second intervals until the liquid is completely smooth and glossy. Stir between each burst to prevent the bottom from burning.
- Submerge each chilled ball into the chocolate. Use a fork to lift it out and tap off the excess chocolate. Return it to the baking sheet gently.
- Attach the bunny ears and nose. While the chocolate is still wet, press two marshmallow halves and a pink heart sprinkle into the top. Note: If the chocolate sets too fast, the ears won't stick!
- Finish the faces. Once the coating is completely hard, draw two eyes with the edible marker.
- Add the coconut fur. If you want a shaggy look, roll the wet chocolate ball in coconut before adding the ears.
- Let everything set for 60 minutes. Keep them in a cool spot until the shells are rock hard.
Chef's Tip: Freeze your cookies for 10 minutes before pulsing. The cold fat in the cookie filling breaks down into cleaner, smaller pieces, resulting in a much smoother truffle base.
Solving Common Oreo Ball Problems
Why Your Chocolate Is Cracking
If you notice little hairline fractures in your white chocolate after they've set, it's usually a temperature shock issue. If the Oreo centers are freezing cold and the chocolate is very hot, the rapid expansion and contraction of the materials will cause the shell to snap.
You want the balls chilled but not frozen, and the chocolate should be warm, not boiling.
Why Your Bunnies Are "Sweating"
Sometimes you'll see tiny beads of moisture forming on the outside of the chocolate. This is condensation. It happens when you move the treats from a very cold fridge into a warm, humid room.
To prevent this, let the treats come to room temperature slowly inside a container, or simply keep the room cool while they are sitting out.
| Problem | Root Cause | Solution |
|---|---|---|
| Lumpy Coating | Cookie crumbs in chocolate | Wipe the fork between every 3-4 dips to keep it clean. |
| Soft Centers | Too much cream cheese | Add 2-3 extra crushed cookies to the mix to stiffen it up. |
| Yellowish Chocolate | Scorched milk solids | Never heat white chocolate for more than 30 seconds at a time. |
Common Mistakes Checklist
- ✓ Never use "Double Stuf" cookies; the extra cream causes the truffles to lose their shape.
- ✓ Ensure the cream cheese is at room temperature before mixing to avoid white streaks.
- ✓ Tap the fork against the side of the bowl to remove excess chocolate for a thin, professional shell.
- ✓ Don't skip the 30 minute fridge rest; warm dough will fall apart in the hot chocolate.
- ✓ Use a fresh edible marker; old ones can skip or smudge on the smooth chocolate surface.
Simple Substitutions and Dietary Swaps
If you have friends who can't do dairy, this recipe is actually surprisingly easy to adapt. You can find vegan cream cheese and dairy-free white chocolate chips at most grocery stores now.
Just keep in mind that vegan white chocolate often has a lower melting point, so you might need to keep those bunnies in the fridge until the very second you're ready to serve them. The flavor is still fantastic, though just a bit more "melty."
For a gluten-free version, simply swap the standard cookies for gluten-free chocolate sandwich cookies. They behave almost exactly the same way in the food processor. I've found that the gluten-free versions are sometimes a bit more absorbent, so you might need a tiny bit less cream cheese, or just be prepared for a slightly denser truffle.
| Servings | Ingredient Adjustments | Prep Time | Total Time |
|---|---|---|---|
| 12 People | 18 Cookies, 4 oz Cream Cheese | 20 minutes | 80 minutes |
| 24 People | 36 Cookies, 8 oz Cream Cheese | 30 minutes | 90 minutes |
| 48 People | 72 Cookies, 16 oz Cream Cheese | 50 minutes | 110 minutes |
Scaling this recipe is a breeze because the ratios are so simple. If you're doing a giant batch for a school party, just remember that you'll need to work in stages. Don't melt all 32 ounces of chocolate at once, or it will start to set before you can finish dipping all 48 balls.
Do it in two separate bowls to keep the chocolate fresh and fluid.
The Truth About Oreo Truffles
One big misconception is that you need to add butter to the mixture to make it hold. Actually, adding butter often makes the truffle too greasy and prevents the chocolate from adhering correctly. The cream cheese provides all the fat and binding power you need.
Another myth is that you must "seal" the cookies by baking them not true! The raw cookie crumb and cheese mixture is perfectly safe and delicious as is.
I’ve also heard people say that you can’t use white chocolate chips and must use expensive couverture chocolate. While high end chocolate is great, melting wafers (like Ghirardelli or Wilton) are actually better for beginners because they are formulated to be thinner.
This gives you that thin, professional looking "shatter" when you bite into the bunny. If you use thick, melted chips, the coating will be clunky and hard to manage.
How to Store Your Treats
Because of the cream cheese content, these Bunny Oreo Balls do need to live in the fridge. They’ll stay fresh and delicious for up to 7 days if kept in an airtight container.
If you leave them out on a dessert table, they are fine for about 2 hours, but any longer and the centers will start to get a bit too soft. I personally think they taste best when they've sat at room temp for about 10 minutes just long enough for the center to soften while the shell stays crisp.
For long term storage, these guys are freezer champions. You can freeze them for up to 2 months. Just make sure to freeze them in a single layer first so they don't stick together, then transfer them to a freezer bag. When you're ready to eat, thaw them in the fridge overnight.
As for zero waste, if you have leftover cookie crumbs that didn't make it into the balls, save them! They are incredible sprinkled over vanilla ice cream or folded into your morning yogurt. You can even use the leftover melted white chocolate to drizzle over pretzels for a quick "bonus" snack.
Best Drinks and Snack Pairings
When you're serving something this rich, you want a drink that can cut through the sweetness. A cold glass of whole milk is the classic choice, but for the adults, a strong, bitter espresso or a dark roast coffee is absolute heaven.
The bitterness of the coffee balances the sugar of the white chocolate in a way that makes you want to reach for a second (or third) bunny.
If you're putting together a full Easter spread, these pair beautifully with lighter, fruit based desserts. Think of them as the "heavy hitters" next to a bright lemon tart or a bowl of fresh strawberries. The contrast between the deep cocoa truffles and a zingy fruit dish keeps the palate from getting overwhelmed by sugar. If you find yourself with extra Oreos, you could even make some Oreo Stuffed Cookies to round out the chocolate theme for the true addicts in your family!

Recipe FAQs
How to shape the bunny ears?
Cut the large marshmallows diagonally with a sharp knife to create a sticky interior surface. Press these halves onto the wet chocolate immediately after dipping so they adhere securely as the coating sets.
Is it true I can use any Oreo variety for these?
No, this is a common misconception. You must use standard Oreo cookies because the extra cream in "Double Stuf" versions contains too much moisture, which prevents the truffles from holding their shape.
What is the secret to a smooth chocolate coating?
Melt your wafers at 30-second intervals and stir thoroughly between each to prevent overheating. If you enjoyed the sensory precision required for this step, you will find it useful when mastering the even heating logic used for our savory brunch snacks.
How to prevent the balls from falling apart in the chocolate?
Chill the rolled spheres in the refrigerator for exactly 30 minutes before dipping. If the dough is too warm, the heat from the melted chocolate will cause the structure to collapse.
Do I need to pulse the cookies to a fine powder?
Yes, a uniform, fine crumb is essential. Using a food processor ensures the cookies reach the correct consistency to form a cohesive, dense dough once the cream cheese is added.
Can I speed up the chilling process?
No, avoid rushing the 30-minute fridge rest. This specific timeframe ensures the fat in the cream cheese and cookie filling firms up enough to withstand the dipping process without softening.
What is the best way to get a clean finish without drips?
Tap the dipping fork against the side of the bowl repeatedly after lifting the ball from the chocolate. This action removes excess coating, resulting in a thin, professional looking shell rather than a thick, messy puddle.
Bunny Oreo Balls
Ingredients:
Instructions:
Nutrition Facts:
| Calories | 230 kcal |
|---|---|
| Protein | 2.6 g |
| Fat | 13.0 g |
| Carbs | 26.3 g |
| Fiber | 0.6 g |
| Sugar | 20.1 g |
| Sodium | 122 mg |
