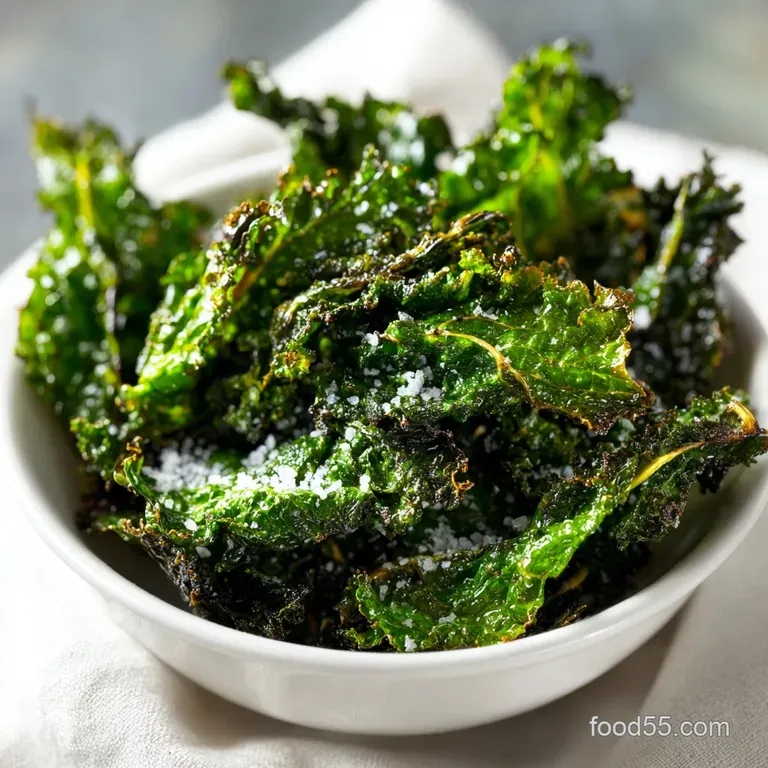
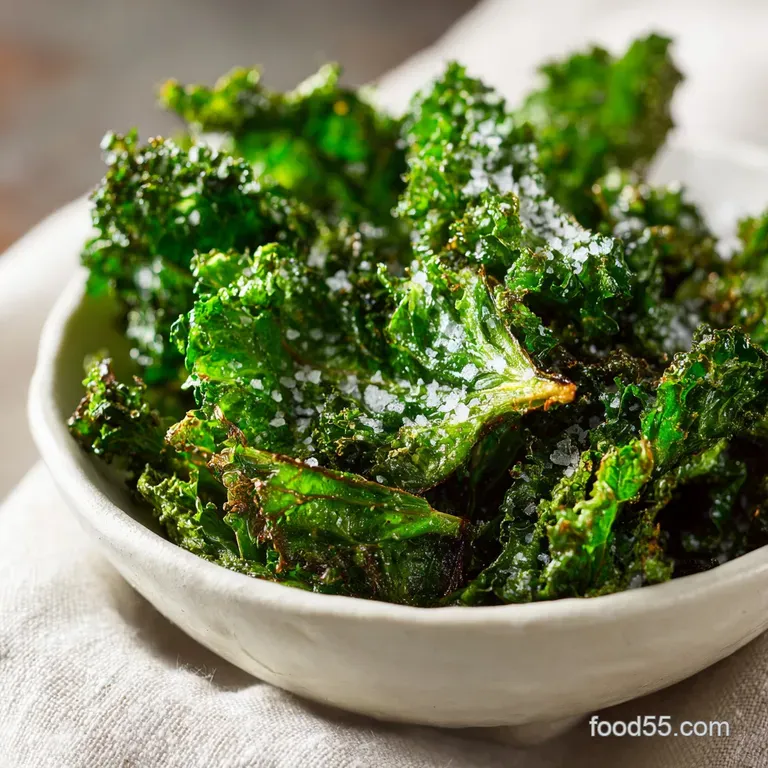
Kale Chips: Ultimate Crispy Snack
- Time:5 minutes active + 20 minutes baking = Total 25 minutes
- Flavor/Texture Hook: Shatteringly crisp with a savory garlic punch
- Perfect for: Healthy mid day snacking or a vibrant party appetizer
- The Secret to Truly Shattering Kale Chips
- What Actually Makes Them Crisp
- Method Comparison for the Perfect Crunch
- Component Analysis for Seasonal Greens
- Gathering the Freshest Seasonal Greens
- The Right Tools for a Crisp Finish
- Steps for Getting That Golden Crunch
- Solving the Sogginess and Burn
- Customizing Your Batch for Every Taste
- Storage Guidelines and Waste Reduction
- Adding Vibrant Color to Your Plating
- Common Kitchen Misconceptions
- Recipe FAQs
- 📝 Recipe Card
The Secret to Truly Shattering Kale Chips
That first crack when you bite into a leaf is everything. I remember walking through the local farmers market last October, seeing these massive, curly bundles of deep green kale that looked more like ornamental plants than food.
I wanted something that felt like a treat but stayed true to those vibrant, seasonal ingredients, so I spent a whole afternoon experimenting with the oven temperature.
But have you ever wondered why some batches come out like burnt paper while others are just... limp? I used to think it was the type of kale, but it turns out the secret is all in the moisture management. If you leave even a drop of water on the leaf, you're essentially steaming your snack instead of roasting it.
Trust me on this, once you get the oil to leaf ratio right, you'll never go back to those overpriced bags from the store. This version is all about balancing that earthy bitterness with a hit of garlic and salt, creating something that's velvety in flavor but aggressive in crunch.
What Actually Makes Them Crisp
- Moisture Evaporation: Low heat allows water to leave the leaf slowly, preventing the kale from becoming tough or rubbery.
- Oil Barrier: A thin layer of fat protects the nutrients and creates a conductive heat shield for a uniform brown.
- Surface Area: Tearing the leaves into smaller pieces increases the area exposed to heat, speeding up the drying process.
Method Comparison for the Perfect Crunch
| Method | Time | Texture | Best For |
|---|---|---|---|
| Classic Oven | 20 mins | Uniformly crisp | Large batches |
| Air Fryer | 5-8 mins | Extra shatter | Single servings |
| Dehydrator | 6-8 hours | Brittle & intense | Nutrient preservation |
Component Analysis for Seasonal Greens
| Ingredient | Science Role | Pro Secret |
|---|---|---|
| Curly Kale | Structural base | Use the curliest leaves for maximum "grip" on seasonings |
| Olive Oil | Heat conductor | Massage it in by hand to avoid clumps |
| Sea Salt | Flavor enhancer | Use flaked salt for a textural pop on the tongue |
| Garlic Powder | Umami layer | Add it after the oil to prevent the powder from burning |
Gathering the Freshest Seasonal Greens
For the best results, look for curly kale with a vibrant, deep green hue. If the leaves look yellowed or limp, they'll likely turn out soggy. I love using local produce whenever possible, as the freshness really impacts the final peppery note of the chip.
The Lineup: 1 bunch (approx. 200g) curly kale Why this? Curly variety creates more nooks for oil and salt 1 tbsp extra virgin olive oil Why this? High smoke point and rich, fruity flavor 1/2 tsp flaked sea salt Why this? Provides a clean, sharp saltiness 1/4 tsp garlic powder Why this? Adds a savory depth without burning like fresh garlic
Smart Swaps:
| Original Ingredient | Substitute | Why It Works |
|---|---|---|
| Extra Virgin Olive Oil | Avocado Oil | Very high smoke point. Note: Neutral flavor, less richness |
| Garlic Powder | Onion Powder | Similar savory profile. Note: Sweeter and less pungent |
| Flaked Sea Salt | Kosher Salt | Fine grain distributes easier. Note: Slightly less "crunch" |
The Right Tools for a Crisp Finish
You don't need a professional kitchen to pull this off, but a few specific tools make the process a lot smoother. Right then, let's look at the arsenal.
First, a salad spinner is a total lifesaver. If you don't have one, a clean lint free kitchen towel works, but you'll need to be more patient. The goal is "bone dry."
Then, you'll need a large mixing bowl for the massage phase. If you try to season the kale directly on the pan, you'll end up with some leaves that are drenched in oil and others that are completely dry, leading to uneven burning. Finally, parchment paper is non negotiable.
Without it, the kale tends to stick to the metal, and you'll lose those beautiful, delicate edges when you try to peel them off.
Steps for Getting That Golden Crunch
- Wash the kale thoroughly. Use a salad spinner or clean kitchen towel to pat dry until the leaves feel bone dry to the touch. Note: Residual water creates steam, which kills the crunch.
- Tear the leaves into 2 inch pieces, discarding the tough center ribs.
- Place the dry kale in a large bowl and drizzle the olive oil over the leaves.
- Use your hands to massage the oil into the kale, ensuring every leaf is lightly glistening but not dripping.
- Sprinkle the salt and garlic powder over the top and toss once more to distribute evenly.
- Preheat the oven to 300°F (150°C) and line a baking sheet with parchment paper.
- Spread the kale in a single layer on the baking sheet, ensuring the leaves do not overlap to prevent steaming.
- Bake for 15-20 minutes, checking every 5 minutes. Remove immediately until the leaves are crisp and have turned a light mahogany brown.
Solving the Sogginess and Burn
Why Your Greens Are Soggy
This usually happens because of overcrowding. When leaves overlap, they trap moisture between them, turning your chips into a wilted salad. If you have too much kale, just bake it in two separate batches.
Why They Burned Quickly
Kale has very thin edges that can go from "perfect" to "charred" in about 60 seconds. This is why checking every 5 minutes is crucial. If your oven runs hot, drop the temperature to 285°F.
| Problem | Root Cause | Solution |
|---|---|---|
| Limp Texture | Too much moisture | Dry leaves more thoroughly |
| Bitter Taste | Overbaked/Burnt | Reduce oven temp by 10°C |
| Uneven Seasoning | Poor oil distribution | Massage the oil by hand |
Avoid These Mistakes:
- ✓ Don't use the stems - they stay tough and chewy
- ✓ Avoid over oiling - too much oil makes them greasy, not crispy
- ✓ Don't skip the parchment paper - it prevents sticking and burning
- ✓ Never leave the oven unattended during the final 5 minutes
Customizing Your Batch for Every Taste
If you're feeling adventurous, you can easily tweak the flavor profile. I love adding a bit of nutritional yeast for a nutty, cheesy vibe without using dairy. It gives them a beautiful golden glow that looks great on a platter.
For those who want a bit of heat, a pinch of smoked paprika or cayenne pepper added to the oil mixture works wonders. If you're serving these as part of a larger spread, they pair wonderfully with a cheesy crab and artichoke dip for a contrast of textures.
Adjustment Guide:Scaling Down (½ batch): Use a smaller baking sheet. Reduce the bake time by about 2-3 minutes since there is less moisture in the oven. Scaling Up (2x batch): Use two separate trays. Do not pile them on one tray.
Increase the salt to 3/4 tsp rather than doubling it fully to avoid over salting.
Storage Guidelines and Waste Reduction
Keep your chips in an airtight glass jar or a zip top bag with a piece of paper towel tucked inside. The paper towel absorbs any stray moisture, keeping them shatter crisp for up to 3 days in the pantry. Don't bother refrigerating them, as the humidity in the fridge will make them soggy almost instantly.
As for the scraps, don't toss those tough center ribs! I usually throw mine into a freezer bag. Once I have a handful, I blend them into a smoothie or toss them into a simmered turkey soup to add bulk and nutrients without wasting any of the produce.
Adding Vibrant Color to Your Plating
Since kale chips are a deep, earthy green, they can look a bit one dimensional on a plate. To make them pop, I focus on a color balance strategy using specific garnishes added right before serving.
First, sprinkle some red chili flakes over the top for a sharp red contrast. Second, a dusting of gold colored nutritional yeast or finely grated Parmesan adds a bright, warm highlight. Finally, garnish the platter with a few sprigs of bright, fresh parsley or microgreens.
This layering of red, gold, and bright green transforms a simple snack into a vibrant dish that looks as fresh as the local ingredients it's made from.
Common Kitchen Misconceptions
The "Seal in Juices" Myth: You might hear people talk about searing vegetables to "seal in" flavor. With kale, it's the opposite. We want to remove moisture, not seal it in. The goal is dehydration, not steaming.
The Raw Nutrient Myth: Some claim that baking destroys all the nutrients in kale. While high heat can degrade some vitamins, the low temperature of 150°C preserves a significant amount of the minerals while making the snack much easier to digest than raw leaves.
Recipe FAQs
Are kale chips actually healthy?
Yes, they are. They provide a nutrient dense, low-calorie alternative to processed snacks. If you enjoy savory vegetable sides, try our stewed tomatoes.
Can I eat kale chips while pregnant?
Yes, they are safe. Kale is rich in essential vitamins and minerals that are beneficial for both the mother and the baby.
How to make kale chips quickly?
Use an air fryer for 5-8 minutes. This method achieves a shatter crisp texture much faster than the traditional oven approach.
What are some common kale chip mistakes?
Overcrowding the baking sheet or leaving leaves damp. Overlapping leaves will steam instead of crisp, and any remaining moisture prevents the leaves from becoming brittle.
How to keep kale chips from getting soggy?
Store them in an airtight glass jar with a paper towel. The towel absorbs stray moisture, keeping the chips crisp for up to 3 days in the pantry.
Can I use a dehydrator to make kale chips?
Yes, for a more brittle and intense texture. Dehydrating for 6-8 hours is a slower process but is excellent for nutrient preservation.
Can I store kale chips in the refrigerator?
No, avoid the fridge. The high humidity inside a refrigerator will make the chips soggy almost instantly.
Crispy Baked Kale Chips

