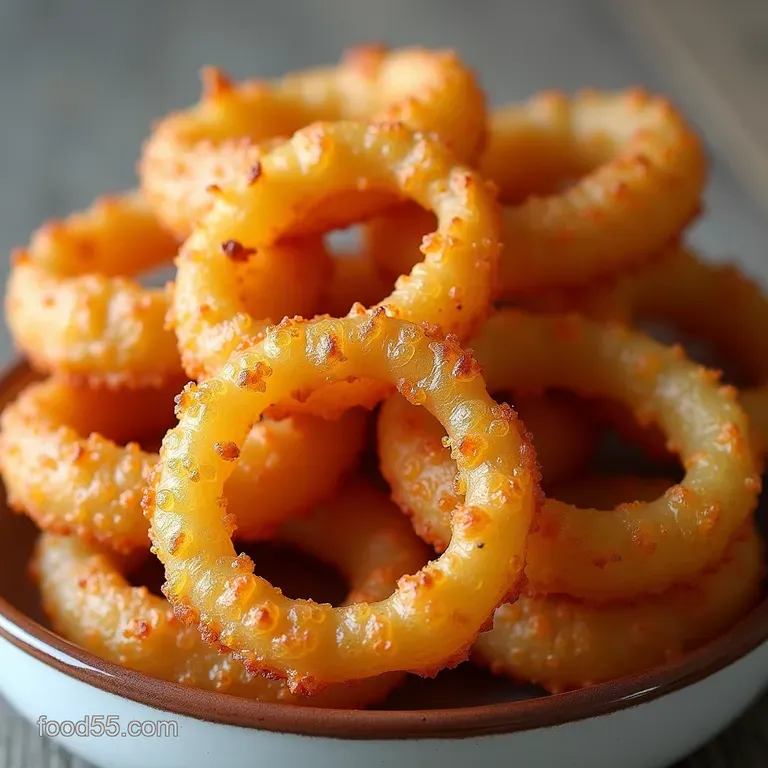
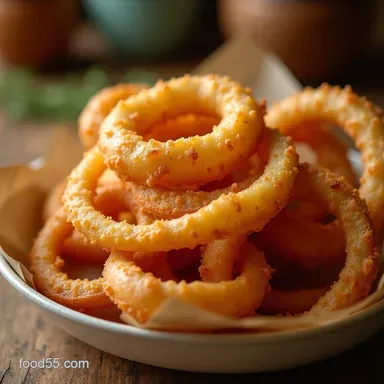
The Properly Crispy Baked Onion Rings Light Golden and Totally Addictive
- Ditching Deep Fry: The Revolution of Guilt-Free Crunch
- Why These Are the Ultimate Healthy Baked Onion Rings
- Assembling Your Crispy Coating Components
- The Step-by-Step Journey to Flawless Baked Onion Rings
- Mastering the Baking Technique for Maximum 'Snap'
- Variations: Customizing Your Crunchy Snack Profile
- Storage and Reheating: Preserving the Baked Perfection
- Recipe FAQs
- 📝 Recipe Card
Ditching Deep Fry: The Revolution of Guilt Free Crunch
There’s a universal truth in the culinary world: few things hit the spot quite like perfectly crisp onion rings. Traditionally, that satisfying snap comes courtesy of being submerged in scorching hot oil, a process that leaves them delicious but undeniably heavy.
But what if I told you we could capture that golden brown glory, that irresistible crunch, using nothing more than an oven and a smart coating technique? Welcome to the revolution of guilt free snacking.
We are reimagining this classic favourite, transforming it into Healthy Baked Onion Rings that satisfy the craving without the corresponding caloric bomb.
Why These Are the Ultimate Healthy Baked Onion Rings
When developing this recipe, the goal wasn't just to bake onions; it was to engineer a genuinely crispy result. Many Oven Baked Onion Rings recipes disappoint because they rely too heavily on dry coatings alone.
Our Healthy Baked Onion Rings Recipe introduces a few crucial elements that elevate the texture dramatically, making them a star among Vegetarian Recipes and Healthy Finger Foods .
The Secret to Achieving True Golden Crispness (Without the Oil Spill)
The true secret lies in managing moisture and maximizing surface area adhesion. We start by giving our onion slices a mandatory soak in buttermilk. This step does two wonderful things: it tenderises the onion slightly so it cooks evenly, and it creates the perfect acidic, slightly tacky surface for the initial dry dredge to cling to.
This is followed by our unique three stage breading system that locks in flavour and texture before they even see the heat.
A Lighter Alternative: Good Food You Can Feel Great About Eating
We are committed to low-fat Baking . By substituting gallons of oil with a light, strategic spritz of high heat cooking spray, we slash the fat content significantly while still achieving the desired Maillard reaction that creates that deep, appealing colour.
These lighter bites mean you can enjoy a substantial serving about four generous side servings worth knowing you haven't derailed your entire day’s nutrition goals.
Why We Trade the Fryer for the Oven
The oven offers unparalleled control and consistency for this type of coating preparation. While a deep fryer demands constant temperature vigilance, the oven provides consistent radiant heat from all sides, helping the coating bake through evenly.
On top of that,, by utilizing a wire rack set atop a baking sheet (more on this later), we promote maximum airflow, which is essential for drying out that exterior layer and producing truly Crispy Baked Onion Rings .
Assembling Your Crispy Coating Components
The integrity of these Baked Onions rests entirely on the quality and structure of the breading. Think of this as setting up your personal assembly line for perfection.
We use a classic three dish setup, but the ingredients inside each dish are specifically chosen for their role in achieving that desired snap.
Selecting the Best Onions for Uniform Baking
For the best result, select large, firm sweet onions, such as Vidalia or good quality yellow onions, weighing around 500g total. Precision matters here; use a sharp chef’s knife to slice the onions into uniform rounds, about 1/4 inch thick.
If the slices are too thin, they will burn before the coating crisps; too thick, and the interior will remain raw and watery. Once sliced, separate the rings immediately and set aside the bowl for the crucial buttermilk bath.
The Two-Stage Dredging System Explained
Our system moves from dry to wet to ultra crisp. Station 1 is your basic dry base: 1/2 cup of all-purpose flour seasoned simply with salt and pepper. This layer acts as the glue. Station 2 is the binder two large eggs, lightly beaten which adheres the flour base to the final coating.
Station 3 is where the magic happens: 1 1/2 cups of Panko breadcrumbs, which we enhance with savory depth using 1/4 cup of grated Parmesan cheese (optional, but highly recommended), 1 teaspoon of smoked paprika for colour, and 1/2 teaspoon of garlic powder for an aromatic foundation.
Minimal Oil Application: Choosing Your Healthy Fat Spray
The final stage of coating isn't a dip, but a spritz. When you arrange the breaded rings on the tray, you must give them a visible, generous coating of cooking spray ideally avocado or canola oil spray, as they handle high heat well.
This thin film of fat is what conducts the oven heat directly into the breadcrumbs, achieving that golden brown, crackling finish so characteristic of Healthy Baked Onion Rings .
Related Recipes Worth Trying
- Easy Baked Buffalo Chicken Meatballs with Blue Cheese Drizzle — Toss out the frying pan These Baked Buffalo Chicken Meatballs pack all the pub flavour perfect for easy football food recipes or weeknight dinners Get the...
- Easy Baked Chicken Cordon Bleu Recipe Golden Crispy — Skip the fryer This Oven Baked Chicken Cordon Bleu delivers maximum flavour and a perfect crunch Get the easy steps for this healthy juicy classic
- Easy Baked Salmon Cakes with Lemon Dill Foolproof Recipe — Forget dry fish cakes These Healthy Baked Salmon Cakes are moist bright and wonderfully crisp using Panko A truly Easy Salmon Cakes recipe
The step-by-step Journey to Flawless Baked Onion Rings

Once your components are ready, the assembly process moves quickly. First, ensure your oven is preheated to a robust 425° F ( 220° C), and have at least two baking sheets lined with parchment paper ready.
Next, take the separated onion rings and immerse them completely in 1/2 cup of buttermilk. Let them soak for a minimum of 15 minutes; this time is essential for texture softening and adhesion promotion. While they soak, meticulously arrange your three dredging dishes as described above.
After the soak, drain off the excess buttermilk before beginning the coating sequence.
Mastering the Baking Technique for Maximum 'Snap'
The transition from coated raw ingredient to Crispy Baked Onion Rings requires careful orchestration within the oven environment. This stage dictates whether you end up with a satisfying crunch or a slightly soft texture.
Prepping the Rings: Separation and Sequence Strategy
Working in small batches is key to maintaining efficiency and coating integrity. After the buttermilk bath, you must manage the layering order perfectly.
Achieving Optimal Adherence: The Wet and Dry Dip Order
Take the damp rings and first dredge them thoroughly in the flour mixture (Station 1), ensuring they are fully covered, then vigorously shake off any loose excess. Next, transition them into the beaten egg (Station 2), allowing any heavy drips to fall back into the bowl.
Finally, roll them generously in the Panko mixture (Station 3), pressing gently with your fingers to ensure the Panko adheres tightly all over.
Rack Placement Matters: Maximizing Airflow Underneath
Do not place the coated rings directly onto parchment paper alone if you want superior crispness. The ideal arrangement involves placing a wire cooling rack over your parchment lined baking sheet.
This elevates the rings, allowing hot air to circulate underneath them, preventing the bottom from steaming in its own moisture a critical factor for successful low-fat Baking . Arrange the coated rings on this rack, ensuring none of them touch each other.
Flipping Protocol: Ensuring Even Browning on These Healthy Baked Onion Rings
After 9 to 11 minutes in the hot oven, the tops should look dry and slightly golden. Carefully flip each ring using tongs. Once flipped, administer another light, even spritz of your cooking oil spray to the newly exposed side.
Return them to the oven for another 9 to 11 minutes until both sides achieve that deep, uniform golden hue. They are best served the moment they emerge from the heat.
Variations: Customizing Your Crunchy Snack Profile
While the base recipe yields spectacular results for these Healthy Onion Rings , experimentation is encouraged to keep your snack rotation exciting.
Spice It Up: Innovative Flavor Twists for Next Time
To introduce depth beyond the basic salt and pepper, consider transforming Station 3. For a fiery kick, incorporate cayenne pepper or a teaspoon of smoked paprika into the Panko. Alternatively, for an umami boost, try swapping the Parmesan for nutritional yeast if you require a dairy-free option, or add dried herbs like finely minced rosemary or thyme to the breadcrumbs for a more sophisticated, savoury profile.
Nutritional Snapshot: Understanding the Lightened Load
By utilizing this oven based technique, we drastically reduce the caloric density typically associated with this appetizer. A standard serving of deep fried rings can easily top 450 calories and contain over 25 grams of fat.
Our Healthy Baked Onion Rings keep the enjoyment high while typically hovering around 220-240 calories with only about 5 grams of fat, thanks to the strategic use of Panko and minimal sprayed oil.
How to Revive Leftover Rings to Their Former Glory
Baked Onions , like most breaded items, lose their initial snap upon cooling as they absorb ambient moisture. To restore their texture, never microwave them.
Instead, spread any leftovers in a single layer on a dry baking sheet and return them to a hot oven (around 400° F or 200° C) for about 5 to 7 minutes.
The dry heat will quickly re-crisp the coating, bringing them back to their perfectly crunchy state.
Storage and Reheating: Preserving the Baked Perfection
If you manage to have any leftovers (which is unlikely once you taste them!), proper storage is vital. Ensure the rings are completely cooled to room temperature before sealing them in an airtight container. Storing them while warm traps steam, guaranteeing sogginess later.
They can generally be kept refrigerated for up to two days.

Recipe FAQs
Why aren't my Healthy Baked Onion Rings crispy enough? They taste a bit limp.
This is the most common niggle when ditching the deep fryer! The main culprit is usually insufficient oil spray or overcrowding. Make sure you spray both sides liberally before baking, as that fat content is key to browning. Also, ensure you bake them in a single layer, giving each ring space to breathe on the tray.
Can I make these Healthy Baked Onion Rings ahead of time, or do I need to freeze them?
For the best texture, they really are best served immediately after baking, as the crispiness starts to fade quickly. If you must prep ahead, coat the rings and lay them out on a baking sheet covered in the fridge for up to an hour before baking.
Never store coated, uncooked rings the moisture will turn your beautiful coating soggy!
What is the secret to making the coating stick so well? My breading always falls off!
The three step dredging process is your best mate here: Flour (to dry the surface), Egg (the glue), and Panko (the crunch). Critically, don't skip the 15-minute buttermilk soak beforehand; it tenderises the onion and creates the perfect tacky surface for the flour to adhere to before the next steps.
I don't have buttermilk what's a good substitution for the onion soak?
No need to pop to the corner shop for buttermilk; it’s easily faked! Just take 1/2 cup of regular milk (whole or semi skimmed) and stir in about 1/2 teaspoon of white vinegar or fresh lemon juice. Give it five minutes to curdle slightly, and it will work just as brilliantly as the real deal.
Can I use something other than Panko breadcrumbs for a healthier option?
Panko is highly recommended for superior crispness in the oven, but if you’re after a different texture, you can finely pulse wholemeal or whole wheat bread in a food processor until they resemble coarse crumbs.
Just be aware that denser crumbs might absorb slightly more spray, so keep an eye on that golden colour developing during baking.
Crispy Baked Onion Rings
Ingredients:
Instructions:
Nutrition Facts:
| Calories | 2143 kcal |
|---|---|
| Protein | 26.6 g |
| Fat | 31.7 g |
| Carbs | 97.5 g |
| Fiber | 19.2 g |
| Sodium | 742 mg |
