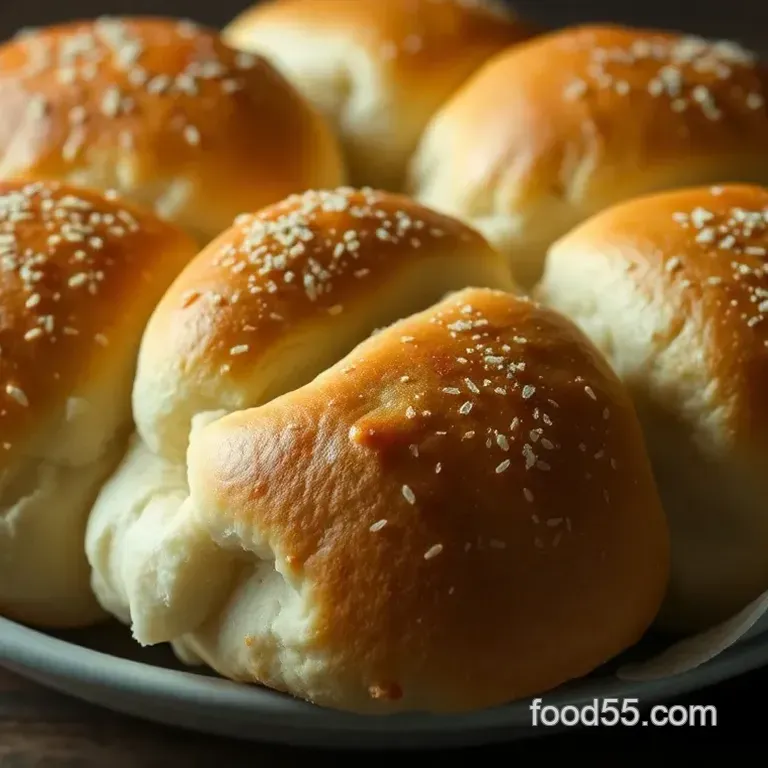
Homemade Kaiser Rolls: Irresistibly Crunchy and Soft
Oh my gosh, can we talk about the joy of freshly baked bread? just last week, i decided it was time to give homemade rolls a shot.
I mean, who doesn’t love those warm, soft bread rolls that practically melt in your mouth? so, there i was, standing in my kitchen, flour flying everywhere, as i tried my hand at making kaiser rolls for the first time.
Spoiler alert: it was a grand success!
Kaiser rolls, also known as "vienna rolls," have a rich history in german cuisine. they’re this perfect blend of a crunchy bread crust and a soft interior, and i’m telling you, once you take a bite, you’ll be hooked.
Let’s dive into why you’ll want to embrace this easy kaiser roll recipe as your go-to for every gathering!
Recipe Overview
Kaiser rolls have been around for ages, dating back to austria in the 18th century. these beauties were originally shaped to represent the crown of the holy roman empire, which is pretty neat if you ask me! today, they’re a staple in many homes, beloved for their versatility.
Whether you're serving them with soup, as part of a barbecue, or just with some artisan butter spreads , they fit in everywhere.
Concerned about time? no worries! while making these rolls requires a bit of patience and some experience with yeast bread baking , the total time from start to finish is just about 2 hours and 10 minutes with some dough rising techniques thrown in.
And the best part? you can whip up 8 soft bread rolls without breaking the bank. the ingredients are common staples found in most kitchens!
Key Benefits
Now, here’s where it gets really exciting. not only are these rolls downright delicious, but they also pack a nutritional punch.
With each roll averaging around 180 calories , they're a great option for anyone looking to enjoy a tasty treat without a ton of guilt.
Plus, you can control what goes into them, tailoring your bread dough ingredients to fit your dietary needs.
Kaiser rolls are an excellent choice for special occasions. imagine serving these alongside your thanksgiving soup or as sliders at a summer cookout they’ll steal the show! and let’s not forget their unique shaping.
That traditional star pattern not only looks awesome, but it also creates those perfectly crunchy bits. honestly, who wouldn’t want a piece of that?
When comparing with other roll recipes for beginners , kaiser rolls stand out for their delightful texture and flavor. the slightly sweet note from the yeast and the coarse sea salt topping create a lovely balance that you won’t find in your typical sandwich rolls.
Thinking about ways to enjoy these? Picture fresh rolls smeared with butter or stuffed with hearty meats and cheeses. Talk about a match made in heaven!
Transition to Ingredients
Ready to roll? Great! Here’s what you’ll need to get started on your own homemade kaiser rolls. Grab your flour, yeast, and a few other basic goodies, and let’s make some magic happen in the kitchen!
Essential Ingredients Guide: The Secret to Perfect Kaiser Rolls
When it comes to baking, understanding your essential ingredients is like having a map before a big road trip it sets you up for success! today, we’re diving deep into everything you need to make those delectable kaiser rolls that are soft on the inside and have that oh-so-satisfying crunchy bread crust.
Premium Core Components
First things first, let’s talk about the premium core components of your Kaiser rolls dough. You’ll need:
- 4 cups (500g) all-purpose flour : Go for quality! Look for finely milled flour. It’ll make a big difference.
- 1 ½ cups (360ml) warm water (about 110° F or 43° C ): This warm hug activates the yeast. Not too hot, or you’ll kill it.
- 2 teaspoons (7g) active dry yeast : Check the expiration date! Fresh yeast means bubbly dough.
- 2 tablespoons (25g) granulated sugar : Just a pinch of sweetness to help the yeast bloom.
- 2 teaspoons (10g) salt : Essential for flavor, don’t skip it.
- 2 tablespoons (30ml) olive oil : Gives your rolls that soft texture.
Storage guidelines ? keep your flour in a cool, dry place and your yeast sealed tight in the fridge. fresh yeast will last a few months, while dried yeast has a longer shelf life.
And here’s a tip: if your yeast doesn't get foamy in the water and sugar mix, it might be a goner!
Signature Seasoning Blend
Now, let’s talk about signature seasoning blends . While Kaiser rolls are often just perfect on their own, jazzing them up can be fun! Consider adding in:
- Herbs like rosemary or thyme for a twist.
- Aromatics like garlic powder or onion powder.
Just remember, regional variations of Kaiser rolls can include cheese or poppy seeds, so feel free to get creative!
Smart Substitutions
Not everything goes according to plan in the kitchen, right? If you’re out of an ingredient, don’t sweat it! Here are some smart substitutions :
- Flour : You can use bread flour for a chewier bite.
- Olive oil : Melted butter works great if you’re craving that rich flavor.
- Dairy modifications : For that lactose issue? Try coconut or almond milk instead of regular.
Having a few common alternatives up your sleeve can save dinner time drama.
Kitchen Equipment Essentials
Let’s chat about what you’ll need to make these homemade bread recipes perfect. You’ll need some must have kitchen equipment :
- Large mixing bowl : Go big; you want room for those dough rising techniques!
- Baking sheets : Parchment paper is your bestie for easy clean-up and even baking.
- Kitchen towel : To keep your dough cozy while rising.
If you’re just starting, don’t feel pressured to have the fanciest tools. A decent set of measuring cups and a timer can do wonders when baking with yeast!
Wrapping It Together
Whether you’re using this as a basic easy kaiser roll recipe or playing around with flavors, these rolls are just waiting to be the star of your next meal! Imagine biting into a warm roll, perfect for dipping in soups or loaded with your favorite sandwich fillings so delicious!
And hey, don’t forget to prep for that egg wash for bread if you're aiming for an extra beautiful shine. Trust me, it makes a difference!
Ready to dive into the nitty gritty of making those rolls? Let’s get into the fun part our step-by-step instructions to make your homemade Kaiser rolls a reality!
Mastering the Art of Baking Homemade Kaiser Rolls
Alright, my fellow kitchen adventurers, let's dive into the world of professional cooking and make some dreamy kaiser rolls ! these little bundles of joy are not just another recipe; they’re essential for any baker.
They’re crispy on the outside and soft on the inside, making them perfect for sandwiches or just slathered with butter! trust me, once you’ve got the hang of this easy kaiser roll recipe , you’ll never want store-bought rolls again.
Essential Preparation Steps
First things first, let’s talk about mise en place . this fancy term just means getting everything ready before you start.
Measure your bread dough ingredients and have your tools laid out. you'll want a large mixing bowl, a baking sheet, and a clean kitchen towel.
Oh, and if you’ve got a kitchen scale, pull it out it’ll save you a lot of guesswork!
Next up is time management . your rolls will need some rising time, so plan to kick back for 1 hour 30 minutes while they do their thing.
Use that time to clean up your workspace (trust me, you’ll thank yourself later).
As for organization strategies , keep your ingredients grouped together. Flour in one spot, liquids in another. It makes you feel like a pro.
And don’t forget about safety considerations ! Just be careful with hot water when activating the yeast. We don’t want anyone getting burnt, right?
step-by-step Process
Alright, let’s break it down step-by-step.
Activate yeast: in a small bowl, mix 1 ½ cups of warm water (about 110° f / 43° c ) with 2 teaspoons of sugar and 2 teaspoons of active dry yeast .
Wait about 5- 10 minutes for it to foam. it’s like a science experiment!
Prepare dough: grab your mixing bowl, add 4 cups of all-purpose flour and 2 teaspoons of salt , and then pour in that frothy yeast mixture and 2 tablespoons of olive oil .
Stir until it’s a shaggy mess.
Knead dough: time to roll up your sleeves! knead that dough for about 10 minutes until it’s smooth and elastic.
If it’s sticking, sprinkle a bit of flour, but don’t overdo it!
First rise: place your dough in an oiled bowl, cover it with a towel, and let it rise in a warm spot for 1 hour or until it’s doubled in size.
A cozy oven turned off works like a dream.
Shape rolls: punch it down (yes, punch it!), and divide the dough into 8 equal pieces . roll them into balls, flatten them slightly, and use a knife to create that classic star shape on top.
Second Rise: Place them on a lined baking sheet, cover, and let them rise again for 30 minutes .
Preheat Oven: While your rolls are rising, preheat your oven to 425° F ( 220° C) .
Prepare for baking: brush those beauties with a beaten egg for a shiny finish (you can skip this if you want).
Sprinkle a bit of coarse sea salt on top for that extra crunch!
Bake: Slide them into that preheated oven and let them bake for 15- 20 minutes , or until they’re golden brown and crusty.
Cool: Let them cool on a wire rack before diving in. The smell will be unbelievable, I swear.
Expert Techniques
So, here’s where we get a bit fancy. for that crunchy bread crust , place a pan of water in the oven while your rolls are baking.
The steam helps develop that perfect texture.
When you shape the rolls, make sure the imprints are deep enough to create that signature look. it’s all about those bread shaping techniques .
And hey, if they don’t look perfect, don’t stress! it’s about the taste, not the insta worthy appearance.
Success Strategies
Let’s wrap this up with some quick tips. avoid over proofing your dough if it’s too puffy before baking, your rolls can end up flat.
Be patient during those rising times, as yeast bread baking is all about giving it time to do its magic.
Also, when storing your leftover rolls, keep them in an airtight container for freshness or freeze them for later. Everyone loves a warm, fresh roll straight from the oven!
Additional Information
Now that you’re armed with the skills to make incredible homemade sandwich rolls , you can explore all kinds of kaiser roll variations .
Take it up a notch with different toppings or spices mixed in. just think of all the delicious possibilities waiting for you in the world of baking with yeast !
So go fire up that oven, and get ready to impress your friends and family with these classic German bread rolls. You’ve got this!
Additional Recipe Information for Homemade Kaiser Rolls
Alright, baking buddies! let’s dive into some extra goodies about homemade kaiser rolls that’ll make your rolls the star of the dinner table.
These tips will not only help you whip up the perfect batch but will also keep your creativity flowing. you’re gonna love it!
Pro Tips & Secrets
First things first, let’s get into some of my favorite baking tips . If you’re feeling a bit shy about yeast bread baking, don’t worry! I’ve got you covered.
Activate your yeast like a pro: always check that your warm water is about 110° f ( 43° c) . if it's too hot, it'll kill off the yeast.
You want it bubbly and frothy, like a soft cloud.
Knead with love: this is where the magic happens! knead your dough until it’s smooth and elastic. i usually go for about 10 minutes .
It’s a little workout for your arms, but so worth it!
Dough rising techniques: the best way to ensure your dough rises nicely is to find a cozy, warm spot. a trick i learned is to preheat the oven to the lowest setting, turn it off, and stick the dough inside without opening the door.
That warm space will give it a nice boost!
Egg wash for a shine: brushing the tops of your rolls with a beaten egg before baking creates that gorgeous, golden color.
Plus, it catches the sea salt perfectly for the finishing touch.
Perfect Presentation
Let’s get real food should look as good as it tastes, right? Here are some simple ways to plate your Kaiser rolls :
Plating Techniques: Use a simple wooden board or a clean white plate to showcase your rolls. Stacking them in a pyramid shape can make a neat centerpiece.
Garnish Ideas: Consider placing some fresh herbs, like rosemary or thyme, around your rolls. It adds color and a lovely aroma!
Color Combinations: Keep it vibrant! Serve your rolls with a colorful salad or some roasted veggies. The contrast can really make your meal pop.
Visual Appeal Tips: Don’t forget to showcase those lovely rolls with the crunchy bread crust on top! A sprinkle of coarse sea salt gives that gourmet feel.
Storage & make-ahead
Got leftovers? No problem! Here’s how to keep those rolls fresh:
Storage Guidelines: Keep your rolls in an airtight container at room temperature for about 2-3 days . If you want to keep them longer, toss them in the freezer!
Preservation Methods: Wrap the rolls tightly in plastic wrap before freezing. This keeps them from drying out and maintains that soft interior.
Reheating Instructions: When you’re ready to dive in, pop them in the oven at 350° F ( 175° C) for about 10 minutes to get that crispy crust back.
Freshness Duration: Homemade bread typically stays good for about 3 days on the counter and up to a month in the freezer. Trust me, you’ll want to savor every bite!
Creative Variations
Let's get those ideas flowing! Here are some fun twists on the classic Kaiser rolls :
Flavor Adaptations: Ever thought about adding some Italian herbs or garlic powder into the dough? Yum! It transforms those soft bread rolls into something extravagant.
Dietary Modifications: Want to cater to gluten-free friends? Just swap the flour for a good gluten-free blend and add xanthan gum for binding.
Seasonal Twists: Think pumpkin spices in the autumn or herbs de Provence in the summer. You can really have fun with what’s in season!
Regional Variations: Try shaping them into a different style, or topping them with caraway seeds for a German flair!
Complete Nutrition Guide
Finally, let’s chat about how these rolls fit into a healthy lifestyle! Here’s a little breakdown:
- Calories: A single roll packs about 180 calories —not too shabby for such a treat!
- Health Benefits: With protein and a good source of carbs, they’re a great pick for energy.
- Dietary Considerations: If you’re counting carbs or watching your sodium, just be mindful of portion sizes.
- Portion Guidance: Aim for one or two rolls with a meal. They’re filling, trust me!
So there you have it, folks! you’re all set to take on some serious bread making. these tips and tricks will have your homemade sandwich rolls turning heads and tantalizing taste buds.
Don’t fret if you run into bumps along the way. baking is an adventure, and sometimes those “mistakes” lead to the best new flavors.
Embrace the process, enjoy the aroma filling your kitchen, and share them with friends and family. you’ve got this, and i can already taste those warm, crunchy kaiser rolls with a slab of butter on top.
Happy baking!
Frequently Asked Questions
What are kaiser rolls, and how are they different from other rolls?
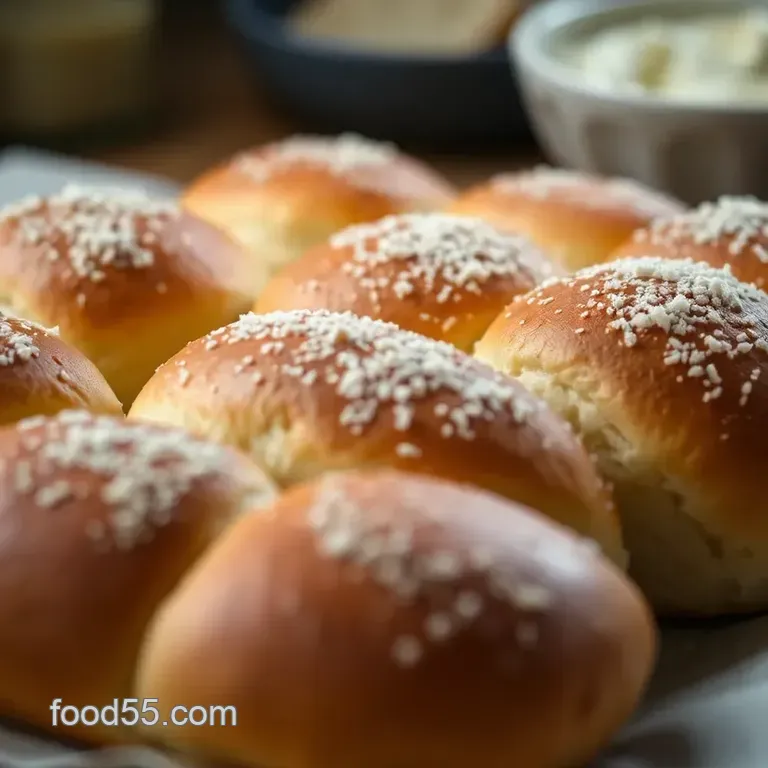
Kaiser rolls are classic German bread known for their crusty exterior and soft, airy interior. They often have a unique star pattern created during shaping, contributing to their crunchy texture and visual appeal.
Unlike softer bread rolls, kaiser rolls maintain their shape and texture even when filled, making them ideal for sandwiches.
Can I make kaiser rolls ahead of time?
Yes, you can prepare kaiser rolls ahead of time! After the first rise, shape the rolls and then refrigerate them overnight. Allow them to come to room temperature and rise again for about 30 minutes before baking. This method enhances their flavor and texture.
What is the best way to store leftover kaiser rolls?
To keep leftover kaiser rolls fresh, store them in an airtight container at room temperature for up to 2 days. For longer storage, freeze them in a zip-top bag for up to 3 months. To reheat, simply pop them in the oven for a few minutes or toast them to bring back their crispness.
Can I customize my kaiser rolls with different flavors?
Absolutely! You can add fresh herbs, cheese, or spices to the dough for unique flavor variations. For example, mixing in some grated Parmesan or chopped rosemary can elevate your kaiser rolls. Additionally, you can experiment with different toppings such as seeds or finely crushed garlic before baking.
What nutritional considerations should I keep in mind when making kaiser rolls?
Kaiser rolls are typically moderate in calories and provide some protein and carbohydrates, making them a suitable option for a meal or snack. If you're watching your sodium intake, consider reducing the amount of salt in the dough or the sprinkle of coarse sea salt on top.
Also, you can substitute with whole grain flour for added fiber and nutrients.
What if my dough isn’t rising properly when making kaiser rolls?
If your dough isn't rising, check that your yeast is fresh and that the water is warm but not hot, ideally around 110°F (43°C). Sometimes, a cooler environment can slow down the rising process.
If needed, place your dough in a warm spot, like an oven preheated to its lowest setting and then turned off, to encourage proofing.
Homemade Kaiser Rolls Irresistibly Crunchy And S

Ingredients:
Instructions:
Nutrition Facts:
| Calories | 180 |
|---|---|
| Protein | 5g |
| Fat | 3g |
| Carbs | 32g |
| Fiber | 1g |
| Sugar | 0.5g |
| Sodium | 200mg |
