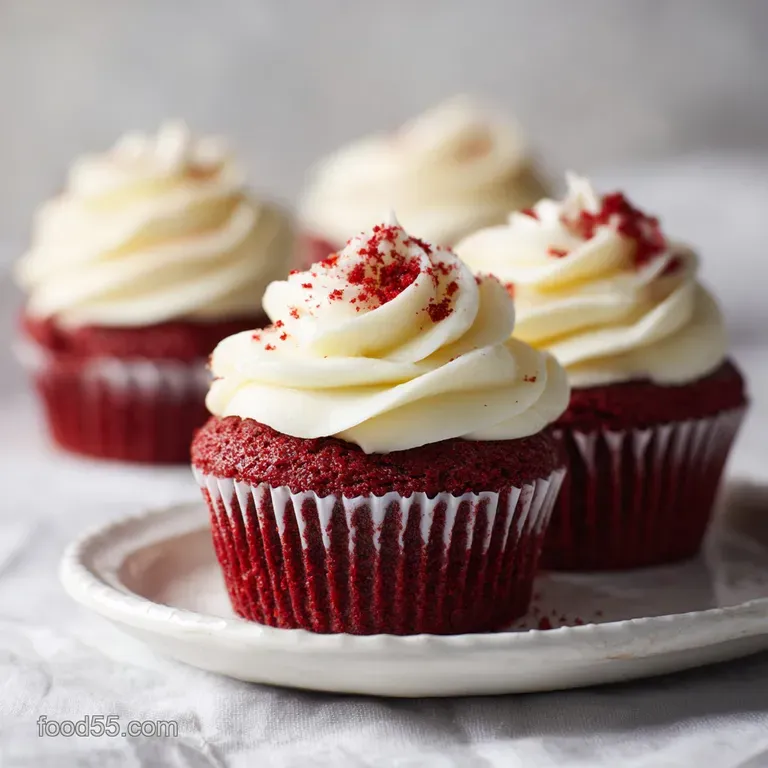
Soft and Moist Red Velvet Cupcakes
- Time: Active 20 minutes, Passive 20 minutes, Total 40 minutes
- Flavor/Texture Hook: Velvety crumb with a subtle cocoa finish
- Perfect for: Milestone birthdays and holiday gatherings
- Soft and Moist Red Velvet Cupcake for Celebrations Delight recipeinspiredcom
- Why These Cupcakes Stay Moist
- Component Analysis for Perfect Crumb
- Ingredients and Smart Substitutions
- Essential Tools for Velvet Texture
- Step-By-Step Mixing and Baking
- Troubleshooting Your Red Velvet Batch
- Scaling Your Cupcake Recipe
- Adapting for Different Diets
- Freezing and Reheating Guidelines
- Debunking Common Red Velvet Myths
- Serving Your Celebration Treats
- Recipe FAQs
- 📝 Recipe Card
Soft and Moist Red Velvet Cupcake for Celebrations Delight recipeinspiredcom
The air in my kitchen always changes when I start sifting cocoa powder. There is that sharp, earthy scent that hits you before the sugar even enters the bowl. I remember the first time I pulled a batch of these out of the oven - the way the vibrant red tops looked against the white cooling rack was enough to make me stop and just stare.
Indulge in this recipe for a supremely soft and moist red velvet cupcake perfect for any celebration.
For years, I struggled with red velvet. They were either too dry, like a sad muffin, or they tasted like nothing but food coloring. It was frustrating because I wanted that specific, plush texture that feels like a hug for your taste buds.
After plenty of sunken middles and brownish cakes that looked more like rust than rubies, I finally cracked the code on how to keep them tender without losing that signature tang.
What you're looking at here isn't just a chocolate cupcake dyed red. It is a specific chemistry experiment that results in a velvety crumb. We use oil instead of butter for the base because oil stays liquid at room temperature, which means every bite feels hydrated.
When you pair that with the fizz of baking soda meeting vinegar, you get a lift that is light as air. Let's get into why this specific method works so well for your next big event.
Why These Cupcakes Stay Moist
To understand this treat, we have to look at the interaction of acids and fats that create the signature "velvet" feel.
- The Acid Base Lift: The 1 tsp of distilled white vinegar reacts instantly with the 1 tsp of baking soda, creating tiny carbon dioxide bubbles that expand the 1.5 cups of cake flour into a light, airy structure.
- Oil Based Hydration: Unlike butter which can feel firm when cold, the 0.75 cup of vegetable oil provides a consistent moisture level that coats the flour proteins, preventing excess gluten development.
- Buttermilk Tenderness: The lactic acid in the 0.5 cup of buttermilk breaks down the tough gluten strands, ensuring the crumb remains plush rather than chewy.
- Cocoa Buffering: A small amount of unsweetened cocoa powder (1 tsp) adds just enough acidity to help the red gel coloring pop while providing a complex, earthy undertone.
Before we dive into the specific weights and measures, it helps to choose the right environment for your bake. Whether you are using a standard oven or a fan forced setting, the timing changes slightly.
| Method | Time | Texture | Best For |
|---|---|---|---|
| Standard Oven (180°C) | 20 minutes | Dense and plush | Traditional decorations |
| Convection Oven (160°C) | 17-18 mins | Light and airy | High volume batches |
| Air Fryer (150°C) | 14-15 mins | Crispy edges | Small 4 cup batches |
Picking the right method depends on how many people you're feeding. If you're doing a single tray, the standard oven is your best friend. If you're rushing for a last minute party, that convection setting will shave off a few minutes without sacrificing the height of the rise.
Component Analysis for Perfect Crumb
Every ingredient in this list has a specific job to do. We aren't just throwing things in a bowl; we are building layers of flavor and structural integrity to ensure the cupcakes don't collapse under the weight of the cream cheese frosting.
| Ingredient | Science Role | Pro Secret |
|---|---|---|
| Cake Flour (190g) | Low protein structure | Sift three times for a cloud like feel |
| Vegetable Oil (180ml) | Moisture retention | Use a neutral oil like canola or sunflower |
| Distilled White Vinegar | Leavening catalyst | Add it last to keep the reaction fresh |
The cake flour is the real hero here. Because it has a lower protein content than all purpose flour, it produces less gluten. This is why the cupcakes have that "melt in your mouth" quality. If you use regular flour, they might turn out a bit more bread like, which is exactly what we want to avoid for a celebration.
Ingredients and Smart Substitutions
Getting the right ingredients is half the battle. I always make sure my 0.5 cup of buttermilk and large egg are at room temperature before I even think about turning on the oven. Cold ingredients don't emulsify well, and you'll end up with a lumpy batter that doesn't rise evenly.
- 1.5 cups cake flour (190g)Why this? Lower protein prevents a tough, bread like texture in the finished cake.
- Substitute: 1.5 cups AP flour minus 3 tbsp, replaced with 3 tbsp cornstarch.
- 1 cup granulated sugar (200g)Why this? Provides sweetness and helps the oil emulsify into the batter.
- Substitute: Caster sugar for a finer, more even dissolve.
- 1 tsp unsweetened cocoa powderWhy this? Adds the traditional hint of chocolate and reacts with the acid.
- Substitute: Carob powder if you are strictly avoiding caffeine.
- 1 tsp baking sodaWhy this? Works with vinegar to create the necessary lift and rise.
- Substitute: 3 tsp baking powder (but omit the vinegar if you do this).
- 0.5 tsp saltWhy this? Sharpens the sweetness and balances the tang of the buttermilk.
- Substitute: Sea salt, but grind it very fine first.
- 0.75 cup vegetable oil (180ml)Why this? Guarantees the cupcake stays moist even after two days in the fridge.
- Substitute: Melted coconut oil for a subtle tropical hint.
- 0.5 cup buttermilk (120ml)Why this? The acid tenderizes the flour and adds a signature tang.
- Substitute: 0.5 cup whole milk mixed with 1 tsp lemon juice.
- 1 large eggWhy this? Binds the fats and liquids together for structural stability.
- Substitute: 1/4 cup unsweetened applesauce for a denser version.
- 1 tbsp vanilla extractWhy this? Enhances the chocolate and cream notes throughout the cake.
- Substitute: Vanilla bean paste for those beautiful black specks.
- 1 tsp red food coloring gelWhy this? Provides the iconic, vibrant celebration color without adding excess liquid.
- Substitute: 2 tbsp beet juice concentrate for a more natural hue.
- 1 tsp distilled white vinegarWhy this? Activates the soda and brightens the red color of the cocoa.
- Substitute: Apple cider vinegar for a slightly fruitier back note.
For the frosting, you will need 8 oz full fat cream cheese, 0.5 cup unsalted butter, 4 cups powdered sugar, and 1 tbsp heavy cream. Honestly, don't even bother with low-fat cream cheese. It lacks the stability to hold its shape, and you'll end up with a puddle on top of your beautiful red cakes.
Essential Tools for Velvet Texture
You don't need a professional kitchen, but a few specific tools make this process much smoother. I personally love using a silicone spatula to scrape the bottom of the bowl it’s the only way to ensure the red gel isn't hiding in a pocket of oil at the very bottom.
- Standard 12 cup muffin tin: This recipe is specifically calibrated for a "Red velvet 12 cupcake recipe" yield.
- Fine mesh sifter: Essential for the cake flour and cocoa powder to prevent lumps.
- Electric hand mixer or stand mixer: Needed to get that cream cheese frosting velvety and smooth.
- Liquid measuring cup: Accuracy with the 180ml of oil is vital for the crumb.
- Wire cooling rack: This prevents the bottoms of the cupcakes from steaming and getting soggy.
Chef Science Note: If you don't have a sifter, whisk your dry ingredients for at least 60 seconds. This incorporates air and breaks up the clumps of cocoa powder that can cause dark, bitter spots in your cake.
step-by-step Mixing and Baking
Let's get cooking. The goal here is a gentle emulsion. We aren't trying to beat air into the batter like a sponge cake; we are folding and whisking just enough to bring the elements together.
- Preheat your oven to 180°C (350°F) and line your 12 cup muffin tin with paper liners.
- Sift the 1.5 cups cake flour, 1 cup sugar, 1 tsp cocoa, 1 tsp baking soda, and 0.5 tsp salt into a large bowl. Note: Sifting prevents "cocoa pockets" which can taste bitter.
- In a separate medium bowl, whisk the 0.75 cup vegetable oil, 0.5 cup buttermilk, 1 large egg, 1 tbsp vanilla, and 1 tsp red food coloring gel.
- Create a well in the center of your dry ingredients and pour in the wet mixture.
- Whisk by hand until the batter is smooth and no streaks of white remain.
- Stir in the 1 tsp of distilled white vinegar quickly at the very end. Note: You will see tiny bubbles forming; this is the lift starting!
- Divide the batter evenly among the 12 liners, filling them about two thirds full.
- Bake for 20 minutes until the tops spring back when gently pressed.
- Transfer the cupcakes to a wire rack and let them cool completely. Note: Frosting a warm cupcake leads to a melted mess.
- Whip the 8 oz cream cheese and 0.5 cup butter for 3 minutes, then gradually add the 4 cups powdered sugar and 1 tbsp heavy cream until the frosting is stiff and glossy.
When you're learning How to Bake recipe style treats, the most important part is the cooling phase. If you rush it, the heat from the center of the cake will break the emulsion in your cream cheese frosting. I usually wait at least an hour before I even touch the piping bag.
Troubleshooting Your Red Velvet Batch
Sometimes things go sideways. Maybe the oven was too hot, or the buttermilk was past its prime. Don't panic most of these issues are easy to fix once you know what caused the "shatter" in your plan.
Why Your Cupcakes Sunk
If you open the oven door too early, the sudden drop in temperature can cause the delicate air bubbles to collapse. Red velvet is particularly sensitive to this because the rise relies so heavily on the chemical reaction of the vinegar.
Always wait until at least 15 minutes have passed before checking for doneness.
The Problem of the Brownish Hue
If your cupcakes look more like mahogany than crimson, your cocoa powder might be too alkaline. Natural cocoa powder is acidic and helps the red stay bright. If you used Dutch processed cocoa, the higher pH can turn the red dye into a muddy brown color.
Stick to standard unsweetened cocoa for that "Celebrations Delight recipeinspiredcom" look.
| Problem | Root Cause | Solution |
|---|---|---|
| Greasy Liners | Too much oil or low quality liners | Use grease proof liners and measure oil by weight |
| Rubbery Texture | Over mixing the flour | Stop whisking as soon as the white streaks vanish |
| Runny Frosting | Warm butter or cream cheese | Chill the frosting for 15 minutes before piping |
It's all about the details. If you follow the steps, you'll avoid these common pitfalls. But just in case, here is a quick checklist of things I always do to stay on track.
- ✓ Pat your measuring cups dry before measuring the flour to ensure accuracy
- ✓ Ensure the egg is truly room temperature (soak in warm water for 5 mins if needed)
- ✓ Sift the powdered sugar for the frosting to avoid "gritty" bites
- ✓ Don't overfill the liners - two thirds is the sweet spot for a flat top
- ✓ Let the cupcakes sit in the pan for only 5 minutes before moving to a rack
Scaling Your Cupcake Recipe
Planning a huge wedding or just a quiet night in? You can adjust this batch easily, but keep in mind that baking isn't always linear. When you double the batch to make a "Giant red velvet cupcake recipe" or a double tier cake, you need to watch the leavening agents closely.
For a half batch (making 6 cupcakes), simply halve every ingredient. Use a small egg or whisk a large one and use half the weight (about 25g). Reduce the baking time by about 2-3 minutes since the oven won't be as crowded.
If you are scaling up to 24 or 36 cupcakes, don't triple the salt or the vinegar directly. I usually find that 1.5x the salt is plenty for a double batch. Also, work in batches when mixing. If you try to mix 36 cupcakes in one giant bowl, the vinegar soda reaction might fizz out before the last tray even hits the oven.
It is better to mix two separate 12 cup batches to keep that lift consistent.
Adapting for Different Diets
We want everyone at the party to enjoy these, so making a few swaps is perfectly fine. If you're looking for Ways to Bake recipe variations that fit different needs, the red velvet base is surprisingly forgiving.
The dairy-free Version
You can easily swap the buttermilk for a mixture of almond milk and lemon juice. For the frosting, use a vegan butter stick and a firm vegan cream cheese. Just be aware that vegan cream cheese is often softer, so you might need an extra cup of powdered sugar to get it to pipe correctly.
gluten-free Swaps
A high-quality 1 to-1 gluten-free flour blend (like King Arthur or Bob's Red Mill) works well here. Because the recipe uses oil and buttermilk, the gluten-free flour stays hydrated and doesn't get that "sandy" texture often found in GF bakes. Add an extra 1/2 tsp of xanthan gum if your blend doesn't already have it.
Mini Cupcake Variations
To make "Red velvet mini cupcakes recipe" style bites, use the same batter but reduce the bake time to 10-12 minutes. You'll get about 36 to 40 minis from this single batch.
These are perfect for office parties or kid friendly snacks where you want a "pop" of flavor without the commitment of a full sized cake.
Freezing and Reheating Guidelines
I actually think these taste better the second day. The flavors have time to settle, and the moisture redistributes throughout the crumb. If you're wondering "How to store red velvet cupcakes" for a big event, the fridge is your best friend but only if they are frosted.
Storage: Keep frosted cupcakes in an airtight container in the fridge for up to 4 days. The sugar in the frosting acts as a preservative, but the cream cheese definitely needs the cold. Take them out 30 minutes before serving so the frosting can soften slightly.
Freezing: You can freeze the unfrosted cupcakes for up to 2 months. Wrap them individually in plastic wrap and then put them in a freezer bag. When you're ready to eat, let them thaw on the counter for an hour.
I don't recommend freezing the cream cheese frosting, as the texture can become grainy once thawed.
Zero Waste Tip: If you have leftover frosting, use it as a dip for graham crackers or strawberries. If you have a stray cupcake that's gone a bit dry, crumble it up and mix it with a spoonful of frosting to make a quick cake pop!
Debunking Common Red Velvet Myths
There are so many stories about where red velvet comes from, and some of them lead to bad baking habits. Let's clear the air so you can bake with confidence.
One big myth is that red velvet is just chocolate cake with a ton of food coloring. In reality, a true red velvet has a very low amount of cocoa just enough to provide a hint of flavor and react with the acids. If you add too much cocoa, you lose the "velvet" texture and the vibrant red color.
It’s a delicate balance.
Another misconception is that the red color originally came from a chemical reaction between the cocoa and the vinegar. While natural cocoa does have a reddish tint when exposed to acid, it was never the bright "fire engine" red we see today.
That vibrant look became popular in the mid-20th century with the rise of food dyes. You can bake it without dye, but it will be a soft, pale maroon rather than a bright celebration red.
Serving Your Celebration Treats
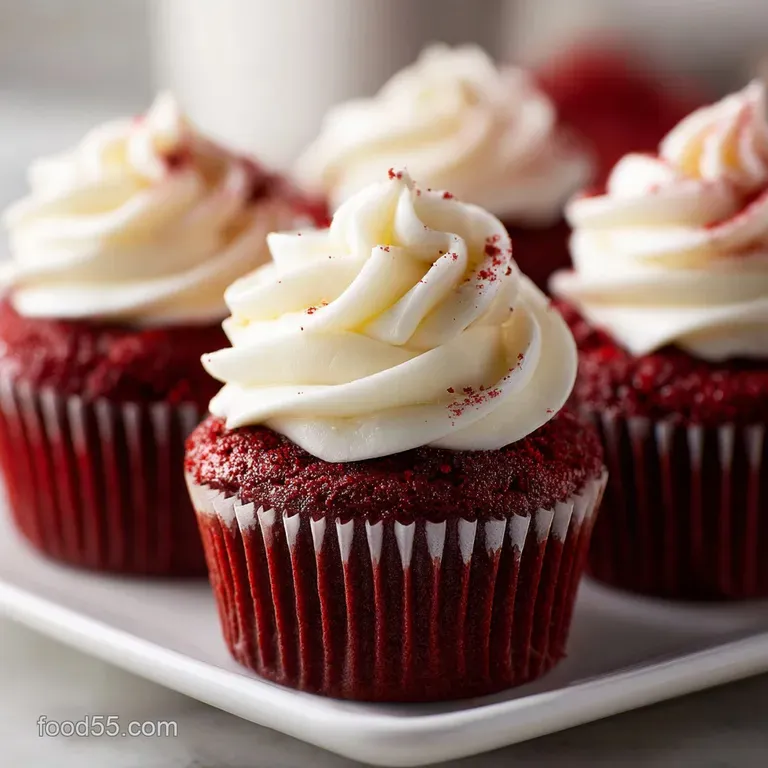
When it comes to the final presentation, the "whipped crown" of frosting is everything. I like to use a large open star tip (like a 1M) to create a high swirl. It gives the cupcake that professional bakery look that makes people say "wow" before they even take a bite.
If you are serving these for a wedding or a fancy dinner, a tiny sprinkle of the leftover cake crumbs on top of the white frosting adds a beautiful contrast. Just take one cupcake, crumble it into fine dust, and pinch a little over each swirl. It’s a simple trick that makes them look coordinated and expensive.
The tang of the cream cheese, the hint of cocoa, and that velvety, moist crumb are what make this "Celebrations Delight recipeinspiredcom" a permanent resident in my recipe binder.
Whether it's a birthday, Valentine's Day, or just a Tuesday that needs a little more color, these cupcakes never fail to bring people together. Trust me, once you see that first "shatter" of the frosting as someone takes a bite, you'll know exactly why this recipe is a keeper.

Recipe FAQs
How to make red velvet cupcake moist?
Use oil instead of butter and include buttermilk. Oil remains liquid at room temperature, guaranteeing a plush, hydrated crumb. The acid in the buttermilk tenderizes the flour, preventing a tough structure.
What is the secret to moist cupcakes?
The secret is balancing fat and acid in an oil-based batter. The oil coats the flour proteins, inhibiting gluten formation, while the vinegar and buttermilk create a light, tender rise. If you enjoyed mastering this texture control, see how the same principle applies to stabilizing emulsions in our Classic Cheesecake with recipe.
How long can red velvet cupcakes sit out?
Up to 4 days refrigerated, or 1 day at cool room temperature. Store them in an airtight container to protect them from drying out or absorbing fridge odors. Always let them sit out for 30 minutes before serving so the frosting softens.
What is the secret to a good red velvet cake?
The secret lies in the leavening reaction and the quality of the flour. Use cake flour for a lower protein structure, and ensure your baking soda and vinegar are fresh so they react quickly to create a velvety lift.
Should I use Dutch processed cocoa powder for red velvet?
No, this is a common misconception that can ruin the color. Dutch processed cocoa is alkaline and can react poorly with the vinegar and red dye, often resulting in a dull, brownish maroon color instead of bright red.
How do I ensure the frosting stays stiff on the cupcakes?
Chill the cream cheese and butter thoroughly before creaming. The temperature of your dairy is critical for a stable emulsion; warm ingredients lead to soft, runny frosting. If the frosting becomes too soft while piping, chill the bowl for 15 minutes.
How do I get my cupcakes to rise evenly without sinking?
Bake at the correct temperature and do not open the oven door prematurely. The delicate structure created by the vinegar soda reaction is sensitive to rapid temperature changes, which causes the center to collapse. For perfectly risen bases, use the convection setting at 160°C if available.
Moist Red Velvet Cupcakes

Ingredients:
Instructions:
Nutrition Facts:
| Calories | 552 kcal |
|---|---|
| Protein | 3 g |
| Fat | 29 g |
| Carbs | 71 g |
| Fiber | 0 g |
| Sugar | 57 g |
| Sodium | 275 mg |
