Preparing Chickpeas: the Tender Bean Guide
- Ditch the Can Opener: The Ultimate Guide to Preparing Chickpeas
- Achieving the Perfect Texture: The Science Behind Creamy Chickpeas and Preparing Chickpeas
- Essential Components for Perfectly Cooked Garbanzo Beans
- Foundational Cooking Methods: Transforming Dried Chickpeas
- Troubleshooting Your Batch: Pro Tips for Preparing Chickpeas
- Maximizing Shelf Life: Storing and Freezing Your Cooked Batch
- Beyond the Bowl: Creative Culinary Uses for Your Tender Chickpeas
- Recipe FAQs
- 📝 Recipe Card
Ditch the Can Opener: The Ultimate Guide to Preparing Chickpeas
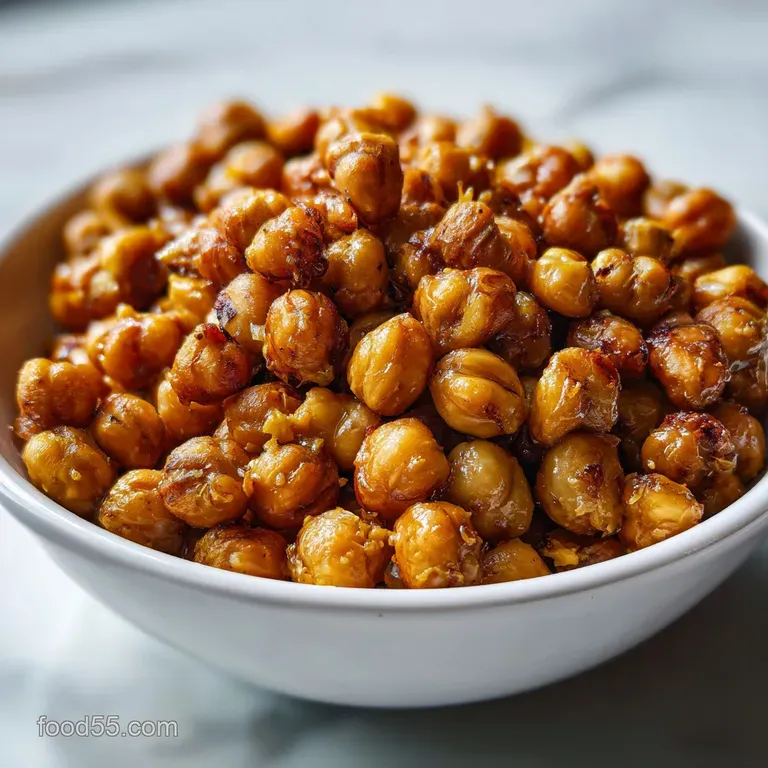
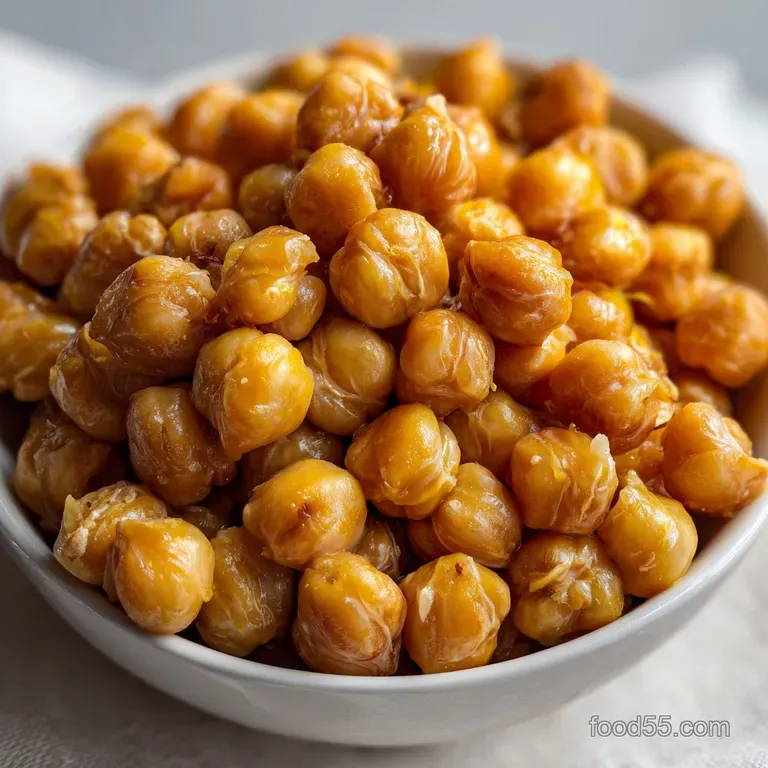
That unbelievably creamy texture, the subtle nutty aroma filling your kitchen that’s the profound difference between sad canned beans and the gloriously homemade kind.
If you’re truly serious about silky hummus or hearty, satisfying stews, the journey starts right here, with proper Preparing Chickpeas from dry. The upgrade in flavor and texture is genuinely monumental.
Seriously, ditch the can opener forever. Learning how to prepare chickpeas for cooking from scratch is an absolute game changer for flavor, cost, and ultimately, control over your final dish.
It’s unbelievably cheap, ridiculously easy, and it sets the perfect foundation for almost every classic vegetarian dish you could ever want to master. This simple foundational knowledge is power.
I know the soaking seems annoying it demands a tiny bit of forward planning but trust me, the minimal effort pays off ten times over. Let's dive into the foolproof process for to prepare chickpeas for cooking , ensuring they turn out perfectly tender and ready for action every single time.
Achieving the Perfect Texture: The Science Behind Creamy Chickpeas and Preparing Chickpeas
Why Dried Chickpeas Deliver Supreme Creaminess
Canned chickpeas have been sitting in brine for ages, subjected to extreme heat which often leads to inconsistent texture mushy on the outside, potentially firm in the center. Dried beans allow you to control the entire cooking process.
They absorb moisture slowly and evenly, which is the secret sauce for achieving that elusive, uniform tenderness required when Preparing Chickpeas .
The Kitchen Zen: Minimal Active Time, Maximum Reward
While the total time for Preparing Chickpeas looks long (hello, overnight soak!), the active labor is maybe five minutes of sorting and rinsing. You set them up, walk away, and the water does all the work. It’s the ultimate set-it and forget-it cooking project that rewards patience.
Understanding the Dried-to-Cooked Volume Conversion
This is where planning saves money. A single pound (450g) of dried chickpeas swells dramatically. Once cooked, that pound yields about five to six cups of ready-to-eat beans that's the equivalent of four large cans!
Cooking in bulk means you save massively, making Preparing Chickpeas highly economical.
The Role of Soaking: Maximizing Hydration and Digestibility
The initial soak is non-negotiable for two major reasons. First, soaking jump starts hydration, ensuring the beans cook evenly and cutting down the simmering time by nearly half. Second, soaking helps break down oligosaccharides, the complex sugars that cause digestive discomfort.
Always drain and discard that soaking water; it’s a crucial step in healthy Preparing Chickpeas .
The Alkali Advantage: Why Baking Soda is a Hummus Game Changer
Ah, the magic secret ingredient! Baking soda (bicarbonate of soda) raises the pH of the cooking water, effectively helping to break down the pectin in the chickpea’s tough outer skins. This is the ultimate hack to achieving that unbelievably smooth, restaurant quality texture.
If you are specifically preparing chickpeas for hummus , this tiny pinch of baking soda is absolutely critical.
Comparing Methods: Stovetop vs. High Pressure Tenderizing
Both methods of Preparing Chickpeas work beautifully, but they cater to different schedules. The stovetop method allows for deep, slow flavor development, yielding a very nutty, traditional result.
The high pressure method (Instant Pot) sacrifices a tiny bit of flavor complexity for speed, getting you tender beans in under 45 minutes, total.
Essential Components for Perfectly Cooked Garbanzo Beans
Sourcing Quality: Choosing the Best Dried Chickpeas
Old beans won't soften properly period. If your dried chickpeas have been sitting in the pantry for years, their cooking quality degrades significantly. Try to buy dried legumes from a store with high turnover, ensuring they are relatively fresh.
When preparing chickpeas for cooking , fresh ingredients make all the difference in tenderness.
Water Matters: Filtration and Mineral Content
Hard water is the enemy of tender beans! The minerals in hard water (calcium, magnesium) can chemically bind to the bean’s skin and prevent them from softening, even after hours of simmering. If you live in an area with hard water, please use filtered or bottled water for the soaking and cooking stages.
Optional Additions: Aromatics and Flavor Infusion
You can subtly perfume your finished beans by adding aromatics to the cooking water. Try tossing in half an onion (peel on for color!), a smashed head of garlic, or a couple of bay leaves.
These additions won’t drastically change the flavor profile but will lend a lovely savory depth that makes these chickpeas for cooking far superior.
Foundational Cooking Methods: Transforming Dried Chickpeas
Phase 1: The Critical Overnight Soak (or Quick Soak Method)
- Sort and Rinse: Spread your 1 pound of dried beans and remove any pebbles or shriveled specimens. Rinse them thoroughly in a colander until the water runs completely clear.
- Soak: Transfer the rinsed chickpeas for cooking to a large pot, cover them with at least 4 inches of cold water, and stir in ½ teaspoon of baking soda. Let them sit, covered, for 8 to 12 hours.
- Quick Soak (If You Forgot): If you're in a pinch, cover the beans with water and baking soda, bring to a full boil for 2 minutes, remove from heat, cover, and let them stand for 1 hour. This cheats the system pretty well.
Phase 2: Stovetop Simmering for Deep Flavor Development
This is my preferred method for Preparing Chickpeas when I have the time. The flavor is unbeatable.
- Rinse Again: Drain the soaking water completely and rinse the swollen beans one last time. This is key for digestibility.
- New Water & Bicarb: Return the beans to the pot, cover with 6 cups of fresh cold water, and add the remaining ½ teaspoon of baking soda. Do not add salt.
- Boil and Skim: Bring the water to a rapid rolling boil. You'll see foam rise this is impurities and proteins. Skim that foam off ruthlessly with a spoon; you want clear water.
- Simmer Gently: Reduce the heat immediately to the lowest setting possible. The water should barely bubble; it should look like the water is just shivering. Cover loosely and simmer for 60 to 90 minutes. Start checking at 60 minutes a bean should mash easily between your fingers.
- Salt: Once tender, stir in the tablespoon of salt and simmer for a final 5 minutes to season the bean right to the core.
Chef's Note: Resist the urge to stir vigorously while simmering. Excessive stirring can tear the delicate skins and lead to mushy results. Just let them simmer in peace.
Phase 3: Rapid Results Using the Electric Pressure Cooker
If you need fast beans, this method of Preparing Chickpeas is flawless.
- Set Up: After the overnight soak and rinse, place the chickpeas, fresh water, and the full 1 teaspoon of baking soda into your pressure cooker liner.
- Pressure Cook: Seal the lid, set the valve to sealing, and cook on High Pressure for 15 minutes. (Use 12 minutes if you want them slightly firmer for salads).
- Release: Allow a full 15 minutes of Natural Pressure Release (NPR). This slow depressurization prevents the skins from tearing. Then manually release any remaining pressure.
- Salt: Stir in the salt once the lid is open.
Troubleshooting Your Batch: Pro Tips for Preparing Chickpeas
When to Salt: Preserving Tenderness vs. Enhancing Flavor
As mentioned, early salting is a major reason why people end up with tough beans. Salt draws moisture out, inhibiting the hydration process that softens the skins. Wait until the beans are fully tender before adding the salt.
This slight delay in Preparing Chickpeas makes all the difference in the final product.
Avoiding Hard Centers: Ensuring Consistent Softness
If you followed the instructions exactly but still have hard centers, chances are your beans were very old, or you live somewhere with excessively hard water. Next time, try increasing the soaking time to 18 hours or adding a tiny extra pinch of baking soda (no more than half a teaspoon!) to the cooking water.
We want even, consistent results when Preparing Chickpeas for cooking.
The Foam Factor: Skimming Impurities During Cooking
Do not skip skimming the foam when the water first comes to a boil! That cloudy, grey residue should be removed. It contains impurities and starches that can make your finished liquid cloudy and sometimes leave a slightly off flavor.
A clean start is essential for delicious, flavorful chickpeas for cooking .
Maximizing Shelf Life: Storing and Freezing Your Cooked Batch
Short Term Refrigeration: Keeping Cooked Chickpeas Fresh
Once your chickpeas are cooked and seasoned, they are best stored submerged in their own cooking liquid (aquafaba). This keeps them moist, plump, and prevents them from drying out or becoming strangely sticky. Store them in an airtight container in the refrigerator for up to 5 days.
Long Term Solution: Flash Freezing for Future Use
Preparing Chickpeas in bulk is the move, and freezing makes it easy. Drain the cooked beans (saving the liquid, please!) and spread them single layer on a sheet pan lined with parchment paper. Flash freeze for about an hour until solid, then transfer them to a heavy duty freezer bag.
They won’t clump and can be frozen for up to 6 months.
Utilizing Aquafaba: Saving the Cooking Liquid
That starchy, glorious liquid isn't just bean water it's gold! This byproduct of Preparing Chickpeas is called aquafaba, and it’s an incredible vegan egg white substitute. Cool and strain it, then use it to whip up fluffy vegan meringues or creamy homemade mayo.
Just think of the possibilities!
Beyond the Bowl: Creative Culinary Uses for Your Tender Chickpeas
Once you’ve mastered this foundational technique, the culinary world opens up. You now have the superior base required for vibrant recipes.
When to Use Creamy vs. Firm Beans
For super smooth hummus or thick curries, you want that melt-in-your mouth texture achieved using baking soda. For salads or roasting, aim for slightly firmer beans that hold their shape better. If you’re making a simple salad, try my lemon paprika seasoning blend. You can find that exact method in my recipe for Crispy Air Fryer Chickpeas My LemonPaprika FailProof Snack .
The Hummus Advantage
There is simply no comparison between hummus made from canned beans and hummus made from these freshly cooked, incredibly tender ones. For that truly next level creamy dip, try peeling the skins after cooking! It's tedious, but life changing. I walk you through that specific, super creamy technique in my Cooked Chickpeas: Ultra Creamy Homemade Garbanzo Beans guide.
Preparing Chickpeas for Falafel
If you are preparing chickpeas for falafel , remember they should be soaked, but not cooked . The dried, soaked texture is necessary to get that coarse, bindable mixture needed to achieve the perfect crispy fried shell.
Drain them thoroughly after soaking and they are ready for the food processor.
Mastering the foundational art of Preparing Chickpeas is truly a vital skill for any home cook. It’s cheap, incredibly rewarding, and produces results that taste infinitely better than anything you can buy pre-packaged. Now go forth and conquer the garbanzo bean!

Recipe FAQs
Is soaking the chickpeas truly necessary, or can I skip it?
Soaking is highly recommended as it significantly reduces the overall cooking time and aids in better digestibility by breaking down complex sugars. While you can technically cook unsoaked beans, they will take twice as long and often result in a less creamy, firmer final texture.
Always soak for at least 8 hours or overnight.
Why are my cooked chickpeas still hard or tough after the recommended cooking time?
Hardness usually stems from using very old dried chickpeas or cooking them in hard water, which prevents proper softening. If they remain firm after the recommended time, simply continue simmering and test every 15 minutes, ensuring the water is kept at a gentle boil.
Adding a small pinch of baking soda to the cooking water can also help mitigate the hardening effect.
Should I add baking soda to the cooking water for the best results?
Yes, adding about ½ teaspoon of baking soda per cup of dried chickpeas helps tenderize the skins and achieve that highly sought after creamy texture. This step is particularly crucial if you plan to use the chickpeas for making silky smooth hummus or dips.
The mild alkaline environment promotes softening of the bean structure.
How should I properly store cooked chickpeas, and can I freeze them?
Cooked chickpeas can be stored in an airtight container in the refrigerator for 4 5 days. For long term storage, drain the chickpeas and freeze them flat in freezer bags or containers, preferably along with a tablespoon or two of their cooking liquid for moisture retention.
They maintain excellent quality in the freezer for up to six months.
Can I use the pressure cooker or Instant Pot for this recipe?
Absolutely; a pressure cooker drastically cuts down the cook time, turning soaking time into a huge advantage for speed and efficiency. After soaking, cook them on high pressure for only 15 20 minutes, followed by a minimum of 10 minutes of natural pressure release.
This method yields superior, consistently tender results with minimal monitoring.
The recipe doesn't mention salt. When should I season the chickpeas?
While many cooks prefer to add salt towards the end to avoid toughening, modern culinary science confirms that seasoning early enhances flavor without negative texture consequences, especially when using fresh beans.
Add a generous tablespoon of kosher salt and any other aromatics like bay leaves during the final 30 minutes of simmering for maximum flavor infusion.
Is the cooking liquid (aquafaba) safe to use, and what is it good for?
Yes, the cooking liquid, known as aquafaba, is highly valued as a completely safe and powerful egg white replacement in vegan cooking. Strain and chill the liquid separately; it can be whipped into stiff peaks for meringues, used as a binding agent, or emulsified into vegan mayonnaise or aioli.
Ensure the liquid is thick and viscous for the best results.
Preparing Chickpeas Perfectly

Ingredients:
Instructions:
Nutrition Facts:
| Calories | 444 kcal |
|---|---|
| Protein | 21.6 g |
| Fat | 7.7 g |
| Carbs | 72.6 g |
