Homemade Caramel Dip: the Ultimate, Silky Smooth Salted Sauce
- The Ultimate Homemade Caramel Dip: Achieve Perfect Silky Smoothness
- Essential Ingredients for the Best Homemade Caramel Dip
- Step-by-Step: Mastering the Wet Caramel Method
- The Science of Texture: Why This Recipe Works Every Time
- Chef's Corner: Troubleshooting and Common Caramel Dip Mistakes
- Storage Solutions: Keeping Your Caramel Dip Fresh
- Beyond Apples: Creative Serving Ideas for Your Homemade Caramel Dip
- Recipe FAQs
- 📝 Recipe Card
The Ultimate Homemade Caramel Dip: Achieve Perfect Silky Smoothness
Can we just talk about the smell for a minute? Walking into a kitchen where sugar is just hitting that perfect amber stage it’s pure magic. The rich, nutty fragrance mingling with the scent of melting butter is instantly comforting, promising something truly luxurious.
When you’re looking for a luscious, silky smooth salted caramel dip , forget the jarred stuff; this homemade version wins every single time.
This isn't just a recipe; it’s a total game changer, especially because it’s so fast. You seriously don't need highly specialized equipment or endless complicated steps to create a perfect homemade caramel dip.
It takes less than 20 minutes of active cooking, and you end up with a huge batch of the most decadent dipping sauce imaginable that lasts for weeks in the fridge.
I’m going to walk you through the precise temperature cues and safety measures I learned the hard way (yes, I have absolutely burnt sugar and set off every smoke alarm in the house). Let’s crack on and master this essential dipping sauce recipe.
Why Ditch the store-bought Goo: Flavor and Purity
store-bought caramel dip is usually packed with corn syrup and stabilizing gums that dull the flavor. This homemade caramel dip, however, focuses on pure ingredients: real butter, heavy cream, and sugar.
The result is a sauce that tastes intensely of butterscotch, offering a complexity that those industrial jars just can't touch. You will feel the difference in texture immediately.
The Secret to Stable, Non-Crystallizing Caramel
Crystallization is the absolute nemesis of the home cook making caramel. It happens when microscopic sugar particles cling together, turning your beautiful amber liquid into a gritty, grainy mess. We fight this using the wet caramel method .
By starting the sugar with a small amount of water, we dissolve the crystals completely before heating, which acts as an insurance policy. Sometimes, a tiny bit of corn syrup (or acid, if you skip the syrup) acts as the ultimate guard against those dreaded sugar chains forming.
What Makes This Dip Truly 'Salted'?
The salt isn't just there for a trendy name; it’s a necessary counterpoint. Sugar without salt is flat and overwhelmingly sweet. A high-quality sea salt cuts through that richness, making the overall flavor profile much deeper and more complex.
It ensures you can actually eat more than two bites without getting palate fatigue.
Essential Ingredients for the Best Homemade Caramel Dip
You don’t need a long list of ingredients for this ultimate homemade caramel recipe , but you do need to use good quality products. Remember, simple ingredients mean that every flavor shines through.
| Ingredient | Role in Caramel | Substitute Suggestion |
|---|---|---|
| Heavy Cream | Essential for richness and stabilization. | Use evaporated milk or 1 cup whole milk + 1 Tbsp melted butter (thicker, less rich). Must be warmed. |
| Unsalted Butter | Adds fat, flavor, and stops the cooking process. | Salted butter, but must omit the added 1 tsp of sea salt. Taste first! |
| Granulated Sugar | The base structure and sweetness. | Fine brown sugar (adds molasses flavor) but makes judging the caramel color much harder. |
| Sea Salt | Flavor balance and enhancement. | Kosher salt (use 1.5x the volume for the same flavor punch). |
Choosing the Right Dairy: Heavy Cream vs. Half and Half
You really want the fat content of heavy cream (around 35%) here. That high fat percentage is crucial for creating that luxurious, velvety mouthfeel we’re chasing. If you use half and half or whole milk, the resulting dip will be thinner and more prone to splitting because there isn't enough fat to emulsify with the hot sugar and butter.
Salt Selection: Fine vs. Flaky Sea Salt for Balance
I prefer a fine sea salt mixed in because it dissolves perfectly, ensuring the saltiness is distributed throughout the sauce. However, flaky sea salt is brilliant for that final sprinkle, giving you little crunchy bursts of salty flavor. Use the fine salt internally and save the flaky salt for garnishing.
The Necessity of high-quality Unsalted Butter
Since butter is basically half of the flavor profile, splurge a little here. Buy the good stuff. Using cold butter is key it aggressively cools the caramel down instantly, halting the cooking process the moment you add it in.
Sugar: Why Granulated White is Non-Negotiable
We use white granulated sugar because it allows us to track the color perfectly as it cooks. Color is flavor in caramel making. You want a deep amber color, and trying to spot that change using brown sugar is like trying to find a needle in a haystack.
step-by-step: Mastering the Wet Caramel Method
Safety warning: Hot caramel is extremely dangerous. Be cautious, and keep children and pets away from the stove during these stages.
Stage 1: Achieving the Perfect Amber Color Without Burning
- Prep Everything: Measure out all your ingredients precisely and cut your butter into cubes. Gently warm your heavy cream in a separate pan or microwave until it’s steaming slightly; this is non-negotiable .
- Combine and Cook: In a heavy bottomed saucepan, combine the granulated sugar, water, and corn syrup (if using). Stir gently just to moisten the sugar completely, then stop. Place the pan over medium high heat.
- Watch the Transformation: The mixture will boil furiously. Resist the urge to stir! Let it cook, watching as it goes from clear to pale yellow, then golden, and finally to a deep, coppery amber (like an old penny). This is where the magic and the danger happens. Once it hits that deep color, remove it from the heat immediately.
CRUCIAL CHEF’S NOTE: If you see any white sugar crystals forming on the sides of the pan, use a damp pastry brush dipped in water to gently wash them back down. If they drop in, the whole batch will seize up.
Stage 2: Safely Deglazing the Sugar with Warm Cream
- Add the Cold Butter: Immediately drop in the cold butter cubes. Whisk vigorously and continuously until the butter is fully melted and incorporated. The mixture will foam up, which is exactly what we want. The cold butter shocks the heat out of the sugar.
- Pour in the Warm Cream: Stand back and very slowly, carefully pour the warmed heavy cream into the caramel. It will bubble up violently and steam like a dragon. Keep whisking, even through the eruption, until the bubbling subsides and the mixture is smooth again. If you add cold cream, the caramel will seize into a hard lump, guaranteed.
Stage 3: Whisking in the Finishing Touches (Butter and Salt)
- Dissolve and Season: Return the saucepan to the absolute lowest heat setting just to maintain warmth. Stir in the fine sea salt and the vanilla extract. Stir for about two minutes until the salt is fully dissolved and the sauce is perfectly uniform.
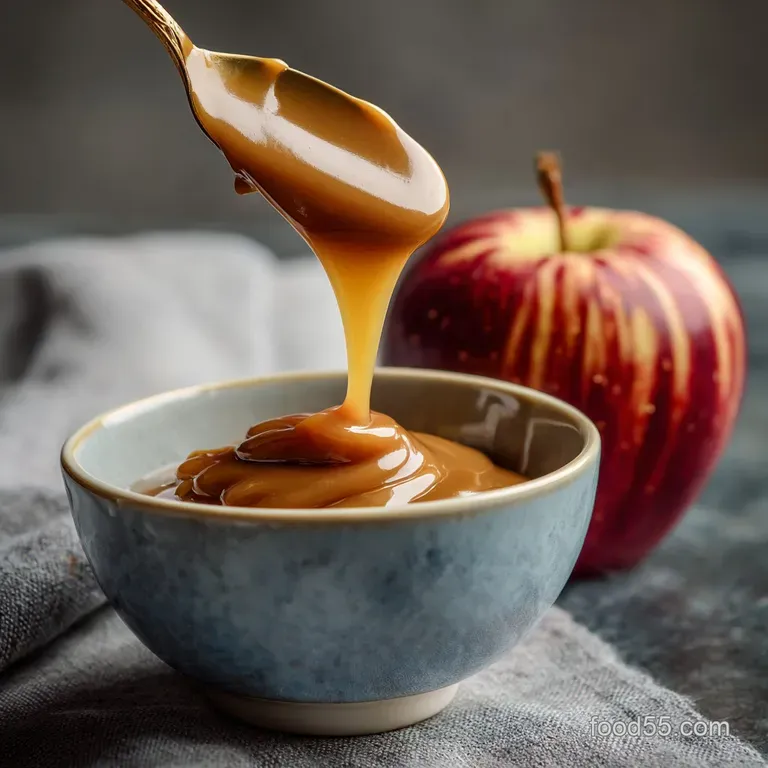
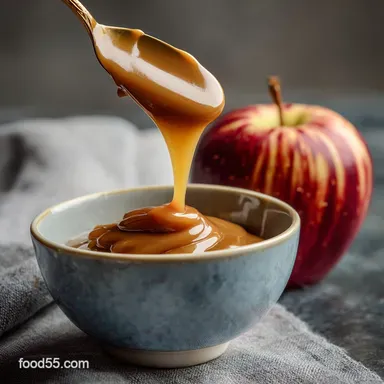
- Cool to Dip: Pour the completed sauce through a fine mesh sieve into a heatproof jar or bowl. Let it cool completely for about 45 minutes to an hour. It will thicken considerably into that beautiful, perfect consistency for dipping.
The Science of Texture: Why This Recipe Works Every Time
This recipe relies heavily on proper emulsification. We are essentially forcing fat (butter and cream) to combine smoothly with sugar (caramel). The sequence of adding ingredients is mathematically critical. Adding cold butter first immediately introduces fat and halts the cooking process, preventing scorching.
Then, the warm cream is added slowly. Since the cream is already warm, the temperature drop isn't radical enough to cause the sugar to seize. The combination creates a stable, lasting emulsion that silky smooth salted caramel dip texture you crave.
Chef's Corner: Troubleshooting and Common Caramel Dip Mistakes
Mistakes happen, especially when cooking sugar. I definitely dumped cold cream into screaming hot sugar once and watched the whole batch turn into a giant sugar rock. Learn from my errors!
Preventing Granularity: Controlling Sugar Crystals
If your final caramel feels gritty, it means your sugar crystallized. Next time, make sure you don't stir the sugar/water mixture once it starts boiling. If you absolutely must interfere, use that damp pastry brush trick to wash down the sides.
Emulsification: Combining Hot Sugar and Fat Successfully
If the sauce looks oily or grainy right after adding the cream and butter, you’ve broken the emulsion (it’s split). The key is rapid, vigorous whisking when the butter goes in and smooth, slow pouring of the warm cream.
What to Do if Your Sauce Splits (Breaking the Emulsion)
Don't toss it yet! Transfer the mixture to a heatproof bowl set over a saucepan of simmering water (a double boiler setup). Whisk in 1 2 tablespoons of fresh, hot heavy cream very slowly until the sauce comes back together and looks homogenous and smooth again.
Rescuing Overcooked or Scorched Caramel
If your caramel smells smoky or tastes even slightly burnt before you add the cream, I have terrible news: there is no fixing it. Scorched sugar tastes bitter forever. You have to start over. It is always better to slightly under cook your caramel than to risk burning it.
Storage Solutions: Keeping Your Caramel Dip Fresh
Refrigeration Guidelines and Shelf Life
This homemade caramel dip stores beautifully. Transfer it to an airtight container or a jar and keep it in the refrigerator. It will last easily for three weeks, though mine never makes it past a week. It becomes very firm when chilled, just like a soft candy.
Reheating and Restoring Ideal Dip Consistency
To restore the perfect dipping consistency, you have a few options. The best way is to microwave a portion in 15 second bursts, stirring well between each. Alternatively, place the jar in a bowl of hot water for 10 minutes, or gently warm the entire batch in a saucepan over low heat until it reaches your desired velvety thickness.
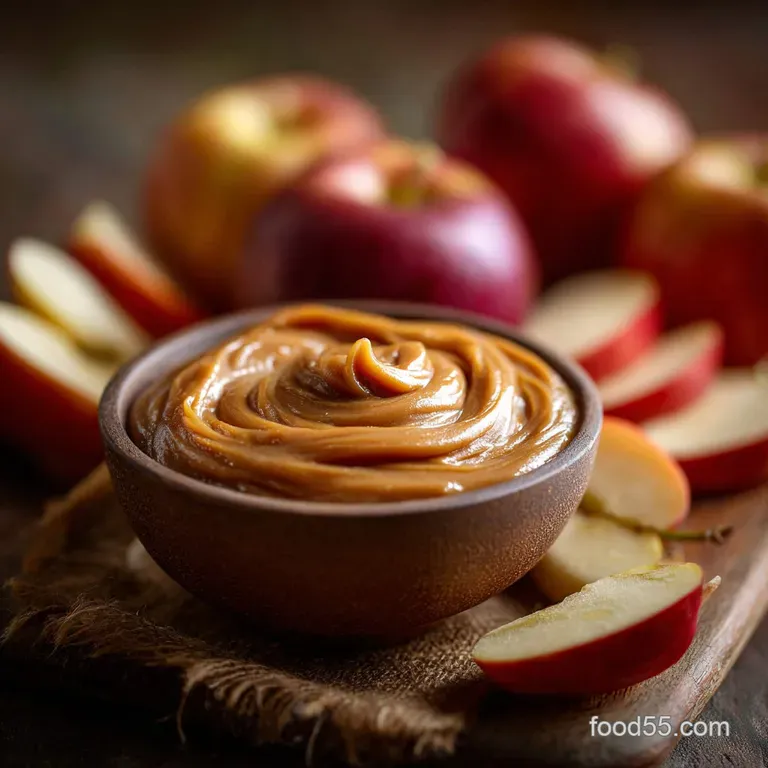
Beyond Apples: Creative Serving Ideas for Your Homemade Caramel Dip
While it is the quintessential homemade caramel dip for apples, this sauce is so versatile. It’s perfect slathered on pretzels, drizzled over popcorn, or spooned onto morning oats.
- Pecan Perfection: This caramel makes a world class filling base. I use it every year in my MakeAhead Thanksgiving Dessert Recipes: Salted Caramel Pecan Tart .
- Cheesecake Layer: It is absolutely mandatory for the top layer of my famous Caramel Apple Cheesecake Bars Recipe: Ultra Creamy, Spiced Sticky .
- Fruit Contrast: Use it as a deep, rich dip alongside tart fruit slices. I sometimes serve it alongside a small bowl of my Simple Cranberry Relish: The quick, easy, and vibrant homemade recipe. for an incredible sweet and sour contrast.

Recipe FAQs
Why did my sugar crystallize or turn grainy while cooking?
Crystallization occurs when stray sugar granules stick to the side of the pot and trigger the rest of the dissolved sugar to seize up. To prevent this, ensure your pot is clean before starting, and avoid stirring the sugar syrup as it cooks, relying only on swirling the pot.
A culinary trick is to occasionally wipe the sides of the pot down with a wet pastry brush to wash any rogue crystals back into the solution.
My finished caramel dip looks greasy or separated. What happened?
This is a broken emulsion, often caused by adding the heavy cream too quickly or using cold cream, which shocks the hot sugar mixture. If your caramel has separated, take it off the heat and try whisking in one tablespoon of boiling water or warm cream vigorously until the sauce comes back together and becomes cohesive and smooth.
How should I store the caramel dip, and how long does it last?
Store the cooled caramel dip in an airtight container in the refrigerator for up to 3 to 4 weeks. Because this dip contains dairy, it is not recommended for freezer storage, as freezing and thawing can cause the emulsion to break, resulting in a grainy or separated texture.
If stored at room temperature, it should be consumed within 2 days.
Do I really need to use corn syrup? Can I omit it?
While you can omit it, corn syrup acts as an inverted sugar, which is a powerful agent for preventing crystallization, making the cooking process much more forgiving. If you skip it, you must rely entirely on the wet caramel technique and be extremely meticulous about not stirring the sugar and keeping the sides of the pot clean to ensure a smooth sauce.
Why did my caramel harden in the refrigerator, and how do I soften it?
Caramel is a highly concentrated sugar solution, so thickening to a firm, solid state when cold is completely normal. To soften it, gently reheat the required amount in the microwave in 15-second increments, or place it on the stovetop over very low heat, stirring until it returns to a pourable or dip-friendly consistency.
Can I use whole milk or half and-half instead of heavy cream?
You can use lower fat dairy options, but the resulting dip will be significantly thinner and lack the rich, luxurious mouthfeel of the classic recipe. Heavy cream provides the high fat content necessary for stability and structure, which creates that coveted silky smooth and thick texture suitable for dipping.
Is it safe to use brown sugar instead of white granulated sugar?
Yes, you can substitute light brown sugar, which will impart a deep, molasses flavor that complements the richness of the caramel beautifully. However, brown sugar contains moisture and may take longer to reach the desired temperature, and the final dip color will naturally be much darker than a traditional white sugar caramel.
Silky Homemade Caramel Dip For Apples
Ingredients:
Instructions:
Nutrition Facts:
| Calories | 374 kcal |
|---|---|
| Protein | 0.2 g |
| Fat | 17.5 g |
| Carbs | 54.0 g |
