Silky Smooth Roasted Garlic: the Flavor Bomb You Need
Silky Smooth Roasted Garlic: The Flavor Bomb You Need
Ever wondered how restaurants get that amazing garlic flavor? well, this roasted garlic recipe is the secret! it's all about transforming pungent garlic into something mellow and sweet.
Honestly, once you try this, you'll be putting it on everything. i promise!
Why Roast Garlic?
Roasting garlic unlocks a whole new level of flavor. it originates from simple cooking techniques that evolved across cultures. this recipe is easy as pie and takes about an hour.
One head of garlic makes enough for tons of dishes! it is truly a great addition to any recipes with roasted garlic .
Health Boost and Happy Taste Buds
Did you know garlic is great for your immune system? plus, roasted garlic adds a special something to any meal.
It's perfect for cozy nights in or fancy dinner parties. this recipe is different because it's so simple yet packs a huge flavor punch.
You will never want to purchase premade from the store again!
From Bulb to Bomb: What You'll Need
Alright, let's get to it! Here's what you'll need for the most delicious Roasted Garlic Recipe ever:
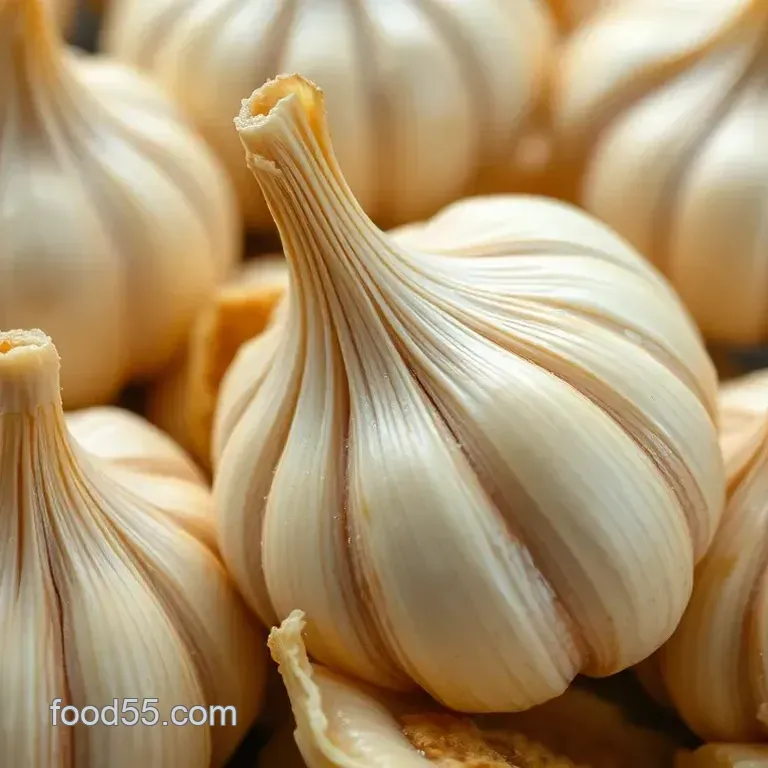
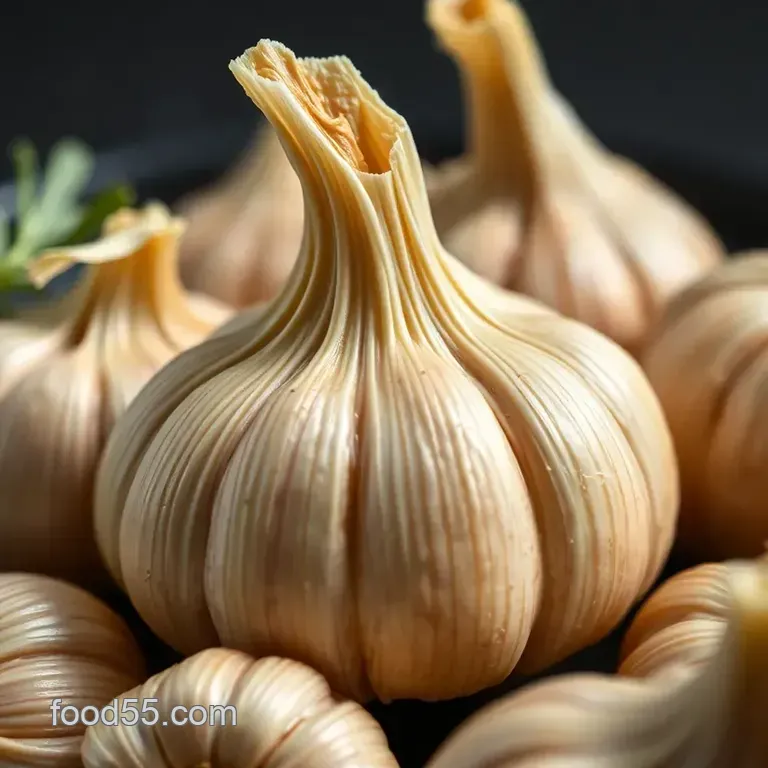
- 1 head of garlic (the plumper, the better)
- 2 tablespoons of extra virgin olive oil (the good stuff)
- A pinch of sea salt
- A pinch of freshly ground black pepper
- Optional: fresh thyme or rosemary (if you're feeling fancy)
Seriously, that's it! See how easy it is?
Tools of the Trade
For the task at hand, you’ll need a sharp knife, a small oven safe dish or ramekin, and aluminum foil (optional).
From Basic to Brilliant: The Secret Steps
Here’s how to make this happen, don’t worry it’s super simple. first, preheat your oven to 400° f ( 200° c).
Now, slice off the top of the garlic head. drizzle with olive oil, salt, and pepper. add herbs if you like.
Roast to Perfection
Cover it with foil for 30 minutes or roast uncovered. Roast for another 15- 30 minutes until soft and golden. Seriously, watch it carefully so it doesn't burn!
Cool, Squeeze, Enjoy!
Let it cool, then squeeze out the cloves. pop them in your mouth, or better yet, add them to something amazing.
You could store the garlic butter aioli in olive oil in the fridge.
Garlic Gold: Benefits Beyond Belief
Roasting garlic reduces the pungency and enhances the sweetness of garlic. This makes it a wonderful addition to creamy dips. I absolutely recommend adding roasted garlic to your homemade aioli sauce .
Creative Culinary Creations
Garlic aioli pasta is so good when you add a bunch of garlic. homemade roasted garlic butter is also a great condiment that goes well with almost anything.
It is super easy garlic butter for bread !
Next time
Enjoy this magic ingredient, whether you're making ajillo sauce recipe or slathering it on bread! You'll be using these butter recipes homemade for life!
Right then, let's get to the good stuff. this isn't just any roasted garlic recipe . this is the recipe. we're talking pure, unadulterated, mellow, sweet, garlicky goodness.
Honestly, it's a flavour bomb. it will change your life.
Ingredients & Equipment: The Flavor Foundations
Alright, mates, before we get started, let's make sure we have the right gear. Don't worry, it's simple stuff. I promise!
Main Ingredients
Here's what you'll need.
- 1 head of garlic. It should be nice and plump.
- 2 tablespoons (30ml) extra virgin olive oil. Quality matters here, folks. Go for something decent.
- Pinch of sea salt. Just a wee pinch.
- Pinch of freshly ground black pepper. Because, you know, everything's better with pepper.
- Optional: 1 sprig of fresh thyme or rosemary. For that extra fancy touch.
When you grab your garlic, make sure it's firm. it shouldn't feel soft or squishy. the cloves should be tightly packed.
This is important for getting that amazing roasted garlic recipe just right.
Seasoning Notes
Let’s chat spices, yeah?
Garlic loves a good pinch of salt and pepper. It brings out its natural sweetness. But feel free to experiment. You know?
Fancy roasted garlic aioli sauce ? add a touch of dijon mustard after roasting. craving a garlic aioli dipping sauce ? mix with mayo, lemon juice, and parsley.
If you're out of fresh herbs, dried ones work too. just use less. i learned that the hard way, lol.
Equipment Needed
Keep it simple, keep it real.
- Sharp knife.
- Small baking dish or ramekin. Needs to be oven safe, obviously.
- Aluminum foil (optional).
Don't have a ramekin? no worries. use a small oven safe dish. or even wrap the garlic head in foil. i've done it all, honestly.
This ain't rocket science. this is an easy homemade garlic butter in the making! honestly you will love this creamy garlic dip .
This works wonders in garlic aioli pasta too. it's a versatile tool for recipes with roasted garlic .
Right then, let's get roasting! we're gonna make something utterly versatile. i'm thinking a garlic confit of sorts. this will be great in everything from fancy pasta sauces to slathering on toast.
Honestly, it will be foolproof for even the most kitchen shy cook.
Silky Smooth Roasted Garlic Recipe : The Flavor Bomb You Need
This is the go-to roasted garlic recipe . we are creating a mellow and sweet flavor that elevates everything. you know? like a hug from your grandma.
Comforting, delicious, and irresistible. this will yield sweet, soft, and intensely garlicky goodness.
Difficulty Level: Easy. Why? Minimal work, mostly hands off roasting time. Anyone can pop garlic in the oven!
Time Estimates:
- Prep Time: 5 minutes
- Cook Time: 45- 60 minutes
- Total Time: 50- 65 minutes
Serving Size: About 1 head of roasted garlic. Enough for multiple uses.
Prep Steps for flavor Roasted Garlic Recipe
Essential mise en place means getting everything ready before you start. this is key. first, preheat your oven to 400° f ( 200° c) .
Grab your ingredients and equipment. it’s like prepping your battlefield for a flavor war.
-
Essential Mise en Place
- 1 head of garlic, preferably plump and firm
- 2 tablespoons (30ml) extra virgin olive oil
- Pinch of sea salt
- Pinch of freshly ground black pepper
- Optional: 1 sprig of fresh thyme or rosemary
-
Equipment
- Sharp knife
- Small baking dish
- Aluminum foil (optional)
Time saving organization tips are simple. Have your baking dish ready. Measure your olive oil. Salt and pepper? At the ready, mate. This is all about efficiency.
Safety reminder: Don’t burn yourself. The oven gets hot! Oven gloves are your friend.
step-by-step Process for amazing flavor
- Prep the Garlic: Cut off the top of the garlic head. Expose the cloves. Remove about 1/4 to 1/2 inch.
- Drizzle and Season: Place garlic in the baking dish, cut-side up. Drizzle with olive oil. Sprinkle with salt and pepper. Add herbs, if using.
- Roast (Covered or Uncovered): Option 1: Cover with foil for the first 30 minutes , then remove. Option 2: roast uncovered for entire time.
- Roast (Open): Roast for 15- 30 minutes more. The cloves will be soft. They'll easily pierced with a fork. Watch to prevent burning.
- Cool and Squeeze: Remove from oven. Let cool slightly. Squeeze the cloves from the head.
- Store (Optional): Store cloves in olive oil in the fridge.
Pro Tips for your garlic
Here are some expert techniques:
- Don't burn it! Burnt garlic is bitter.
- Use good quality extra virgin olive oil. It adds so much to the Homemade Aioli Sauce .
Common mistakes to avoid: Burning the garlic, or using rancid olive oil.
make-ahead options: You can make this ahead of time. Store the roasted garlic in olive oil. This helps to make it last longer.
Serving Suggestions:
- Garlic Bread Upgrade : Spread on crusty bread for an elevated garlic bread experience.
- Pasta Perfection : Stir into your favourite pasta sauce for a burst of flavour.
- Delicious Dips : Add roasted garlic to hummus, white bean dip for an unexpected twist.
This is now all you need for your roasted garlic aioli sauce . give it a go and tell me what you think! it’s the flavor bomb you never knew you needed.
Enjoy your homemade roasted garlic butter ! this recipe really shines when used for making garlic butter .
Alright, let’s get this roasted garlic recipe party started! you know, sometimes the simplest things are the best. and honestly, roasted garlic is up there with sliced bread, right? let's dive into the nitty gritty so you can become a roasted garlic pro.
Recipe Notes: Your Garlic Guru Guide
So, you've got your beautiful head of garlic all roasted. Now what? This section is your cheat sheet for making the most of it.
Serving Suggestions: Beyond Just Eating It (Though, Honestly...)
Okay, the obvious one is just squeezing those cloves out and popping them straight into your mouth. Don't judge! But if you want to get fancy , here are a few ideas:
- Plating and Presentation: Think rustic chic. A smear of Roasted Garlic Aioli Sauce on a wooden board, topped with crusty bread. Pure artistry, my friend.
- Complementary Sides or Beverages: Imagine a warm bowl of tomato soup with a swirl of Homemade Aioli Sauce on top. Or how about a crisp, dry white wine to cut through the richness?
Storage Tips: Keep That Garlic Goodness Going
Don’t let your precious roasted garlic go to waste! Here are some rules to live by:
- Refrigeration Guidelines: Pop those cloves in an airtight container. They'll last in the fridge for up to a week.
- Freezing Options (if applicable): For long term storage, freeze the cloves in a single layer on a baking sheet. Once frozen, transfer them to a freezer bag.
- Reheating Instructions: No need to reheat! Just let them come to room temperature before using. Or, if you're adding them to something hot like Garlic Aioli Pasta , they'll warm up beautifully.
Variations: Spice It Up (Or Not!)
The beauty of this roasted garlic recipe is that it's a blank canvas.
- Dietary Adaptations: If you're vegan, use avocado oil instead of olive oil. Boom! Vegan Garlic Butter Aioli !
- Seasonal Ingredient Swaps: In the fall, try adding a sprig of sage to the roasting garlic. It's delish!
Nutrition Basics: Feel Good About Eating Garlic
Garlic is basically a superfood. I remember my grandma always used to say something to the effect "Garlic is magic, its good for your heart".
- Simplified Nutrition Information: One clove is only about 20 calories. That's practically nothing!
- Key Health Benefits: It's packed with antioxidants and may help boost your immune system.
Listen, i started making this roasted garlic recipe years ago. i would like to offer you a different perspective that there's something magical about taking something so simple and transforming it into something so flavourful.
So go on, get roasting! you won't regret it. next thing you know, you will be using recipes with roasted garlic non-stop.
Try adding this into garlic aioli dipping sauce or an ajillo sauce recipe and you'll go crazy!

Frequently Asked Questions
Can I really mess up this roasted garlic recipe? I'm a bit of a beginner in the kitchen!
Don't you worry your little heart! This roasted garlic recipe is practically foolproof. The biggest thing to watch out for is burning the garlic keep an eye on it in the last 15-20 minutes of roasting. If you smell something a bit too toasty, it's time to pull it out.
A little golden brown is perfect; blackened is a no-no!
How long does roasted garlic last, and what's the best way to store it? I don't want it going off like a bad penny!
Roasted garlic is best used within a week if stored in the refrigerator. You can keep it in an airtight container, or, for added flavour and preservation, submerge the cloves in olive oil (making sure they're completely covered). But remember, when storing garlic in oil, food safety is key, so use it promptly.
Alternatively, pop those little flavour bombs into a freezer bag and freeze them for longer storage they'll be good for a few months!
What's the deal with storing roasted garlic in oil? Is it safe? My nan always warned me about it!
Ah, Nan's wisdom! She's right to be cautious. Storing garlic in oil at room temperature can create an environment where botulism bacteria can grow. Always refrigerate roasted garlic stored in oil and use it within a week. Ensuring the garlic is completely submerged helps. Or, as mentioned, freezing is a super safe bet.
Better safe than sorry, eh?
Can I use different types of garlic for this roasted garlic recipe? Or does it have to be the standard white kind?
You absolutely can! While the standard white garlic (Allium sativum) is most commonly used, feel free to experiment. Elephant garlic, for example, will yield larger, milder cloves. Just be aware that different varieties might have slightly different roasting times. Keep an eye on them and adjust accordingly.
Essentially, you're looking for that soft, easily pierced texture.
Besides spreading it on toast, what are some clever ways to use roasted garlic? I'm looking for some inspiration, like a contestant on MasterChef!
Oh, the possibilities are endless! Stir it into mashed potatoes for a comforting side. Whisk it into salad dressings for a flavour boost. Add it to pizza sauce, or use it in a gourmet grilled cheese. Mix it with softened butter and herbs to create a compound butter for steak or grilled vegetables.
Or, as mentioned in the recipe, use the leftover oil to drizzle onto your food. Get creative you might just invent the next culinary sensation!
Silky Smooth Roasted Garlic The Flavor Bomb You
Ingredients:
Instructions:
Nutrition Facts:
| Calories | 20 calories |
|---|---|
| Fat | 2g |
| Fiber | <1g |
