The No Fuss White Chicken Chili Speedy Smoky in the Instant Pot
- Why This Instant Pot Chicken Chili Beats Slow-Cooked Versions
- Unlocking Deep Flavor in Under 30 Minutes
- Stocking Your Pantry for Superior Flavor Infusion
- The Essential Component Checklist for Your Chicken Chili
- Mastering the Sauté Function for Maximum Depth
- The Pressure Cooking Phase: Setting Up Your Instant Pot Chicken Chili
- Elevating Your Bowl: Toppings and Pairing Suggestions
- Troubleshooting and Making Ahead with Your Instant Pot Recipe
- Recipe FAQs
- 📝 Recipe Card
Why This Instant Pot Chicken Chili Beats Slow Cooked Versions
There’s a special place in the culinary world reserved for deeply simmered comfort food, but let's be honest: sometimes life demands speed without sacrificing depth. That’s where the magic of pressure cooking truly shines.
While traditional slow cooker chicken chili develops flavor over hours, our Instant Pot Chicken Chili masterfully condenses that rich, nuanced profile into about an hour total time.
The high pressure environment forces moisture and flavor molecules into the chicken and spices at an accelerated rate, resulting in incredibly tender meat that shreds effortlessly. You get the satisfying texture and robust taste of a Sunday dinner chili while still being home in time to enjoy it before bedtime.
It’s efficient culinary alchemy, delivering big taste with minimal kitchen babysitting.
Unlocking Deep Flavor in Under 30 Minutes
The secret to maximizing flavor in a short time lies in smart layering, even when using a machine to do the heavy lifting. Before we seal the lid, we dedicate a few crucial minutes to building a foundation that ensures every spoonful of this Chicken Chili Recipe sings.
The Weeknight Warrior: Our Go-To Comfort Meal
This particular Instant Pot Chicken Chili Recipe is designed specifically for the mid-week rush. We keep the active prep time under 15 minutes by relying on pantry staples like canned beans and pre-portioned spices.
The beauty of using the Instant Pot here is that it moves the entire process from the stovetop where you might be tempted to stir or check on it constantly to a self contained, high pressure cooking environment.
This frees you up to set the table, help with homework, or simply relax, knowing that a fantastic, hearty meal is minutes away from completion.
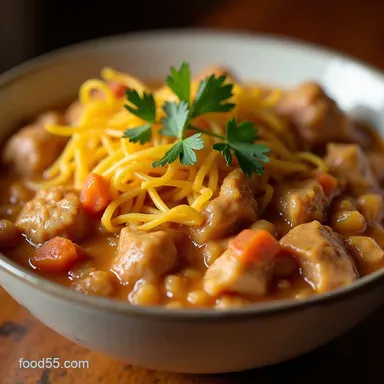
Defining This Recipe: Creamy, Smoky White Chicken Chili Secrets
We are focusing on a vibrant white chili profile here, which feels a little lighter but no less satisfying than its red counterpart. The key components that define this version of Instant Pot Chicken Chili with Beans are the use of white beans (like Great Northern or Cannellini), bright acidity from fresh lime juice added at the end, and most importantly, a generous hit of smoked paprika.
This smoky element mimics the long, slow cooking process and adds a complexity that turns a simple white chicken chili into something truly memorable. It treads the line perfectly between a thick stew and a comforting Instant Pot Chicken Chili Soup .
Essential Gear for Perfect Pressure Cooking
While you don’t need a specialized arsenal, having the right tools makes this experience seamless. Naturally, a 6-quart or 8-quart Instant Pot is the star. Beyond that, a sturdy wooden spoon or silicone spatula is non-negotiable for scraping the bottom of the stainless steel insert this step is vital to prevent that frustrating ‘Burn’ error message.
Finally, having a small bowl ready for mixing your thickening slurry ensures you can incorporate it smoothly right after the pressure cooking phase is complete.
Stocking Your Pantry for Superior Flavor Infusion
A great pressure cooked meal is only as good as the ingredients you start with. Because the cook time is short, the quality and potency of your spices matter significantly. Focus on fresh, high-quality items for this recipe.
The Essential Component Checklist for Your Chicken Chili

For our Healthy Instant Pot Chicken Chili , we are aiming for a blend of savory aromatics, lean protein, and complementary textures. You’ll need about 1.5 lbs of boneless, skinless chicken breasts cut into two-inch chunks to start, four cloves of minced garlic, one large diced yellow onion, and one medium green bell pepper.
The liquid base is four cups of low-sodium chicken broth, ensuring we can control the final salt level.
Aromatics and Spice Foundations: Cumin, Paprika, and Heat
This flavor profile leans heavily on earthy warmth. You must include one tablespoon of ground cumin don't skimp here, as it’s central to the chili’s character. Complement this with one and a half teaspoons of smoked paprika ; this ingredient is what truly elevates this dish beyond a basic chicken stew, lending that barbecue like depth.
We also incorporate one teaspoon of dried oregano and the entirety of one small (4-ounce) can of diced green chiles for brightness and mild heat, undrained.
Selecting the Ideal Protein: Breast vs. Thigh in the Instant Pot
For this recipe, we utilize boneless, skinless chicken breasts. The advantage here is that after the 12-minute high pressure cook time followed by a natural release, the breast meat is perfectly tender and easily shreds with two forks.
While chicken thighs offer more fat and potentially more moisture, the breast keeps this recipe lighter and leaner, aligning well with the goal of a satisfying yet relatively healthy comfort meal.
Lending Richness: Choosing the Right Beans and Broth
The texture and body come from the beans. We rely on one 15-ounce can of Great Northern or Cannellini beans, thoroughly rinsed and drained, to maintain the white chili aesthetic. Using low-sodium chicken broth is the professional move; it allows you to season precisely at the end rather than battling overly salty results that are impossible to reverse once cooked under pressure.
Related Recipes Worth Trying
- Zesty Lime Honey Grilled Chicken with Mango Salsa — Make this foolproof Grilled Chicken with Black Bean Mango Salsaa flavourful chicken dinner perfect for summer grilling season Easy prep
- Tender Instant Pot Corned Beef and Cabbage in Under 2 Hours — Forget the long wait This easy Instant Pot Corned Beef and Cabbage recipe delivers perfectly tender brisket and root vegetables with amazing flavour in half...
- Golden Baked Chicken Nuggets Healthy Homemade Crispy — Forget deepfried These Healthy Baked Chicken Nuggets are coated in Parmesan Panko for a genuinely crispy bite Perfect oven recipe for kids and adults
Mastering the Sauté Function for Maximum Depth
Even in a pressure cooker, taking the time to "bloom" your aromatics makes a massive difference. Before sealing the pot, switch the Instant Pot to the ‘Sauté’ function. Add two tablespoons of olive oil, then gently cook the diced onion and green bell pepper until softened, about five minutes.
Next, introduce the minced garlic and cook for just one minute until fragrant. It is crucial to hit ‘Cancel’ immediately after this step so the garlic doesn't burn while you prep the next phase.
The Pressure Cooking Phase: Setting Up Your Instant Pot Chicken Chili
Once the aromatics have softened, it’s time to build the liquid base. Pour in about half a cup of the chicken broth and use a wooden spoon to thoroughly scrape the bottom of the pot.
This deglazing step is essential; any stuck bits from the sautéing process can trigger a 'Burn' notice during pressure cooking. After ensuring the bottom is clean, add the remaining broth, the chicken chunks, the rinsed beans, all the dried seasonings (cumin, paprika, oregano), and the canned green chiles.
Secure the lid, ensuring the vent is set to ‘Sealing’. For the ideal texture, set the Instant Pot to Manual/Pressure Cook on High Pressure for exactly 12 minutes .
Building the Base: Browning Onions and Spices
As detailed above, the initial sauté phase is where we develop the savory foundation. By softening the onions and briefly warming the cumin and paprika alongside the garlic, we release their essential oils and deepen their inherent flavors long before the pressure builds.
This prevents the spices from tasting raw or flat after a short cook time.
Sealing in Juices: Pressure Settings for Tender White Meat
The 12-minute high pressure setting is calibrated perfectly for these two-inch chunks of chicken breast to become incredibly moist while retaining enough structure to shred effectively. This precise timing is the key difference between this speedy method and waiting hours on the stovetop.
Natural Release vs. Quick Release: Timing the Magic
Once the 12 minutes of cooking conclude, do not immediately vent. Allowing a 10-minute Natural Pressure Release (NPR) is mandatory. This slow drop in pressure allows the chicken fibers to relax and reabsorb residual moisture.
Only after those ten minutes pass should you carefully switch the valve to the ‘Venting’ position to manage the remaining pressure via Quick Release (QR). This two-stage release ensures maximum juiciness in the final product.
Achieving Perfect Texture: Blending Techniques Explained
After removing the chicken to shred it, the chili liquid remaining in the pot is often slightly thinner than desired. To thicken this without sacrificing flavor, we create a slurry.
Whisk two tablespoons of cornstarch (or, for an authentic flavor boost, Masa Harina) with three tablespoons of cold water until perfectly smooth. Return the shredded chicken to the pot, set the unit back to ‘Sauté’ on Low, and slowly whisk in the slurry until the chili thickens beautifully this takes only a minute or two of gentle simmering.
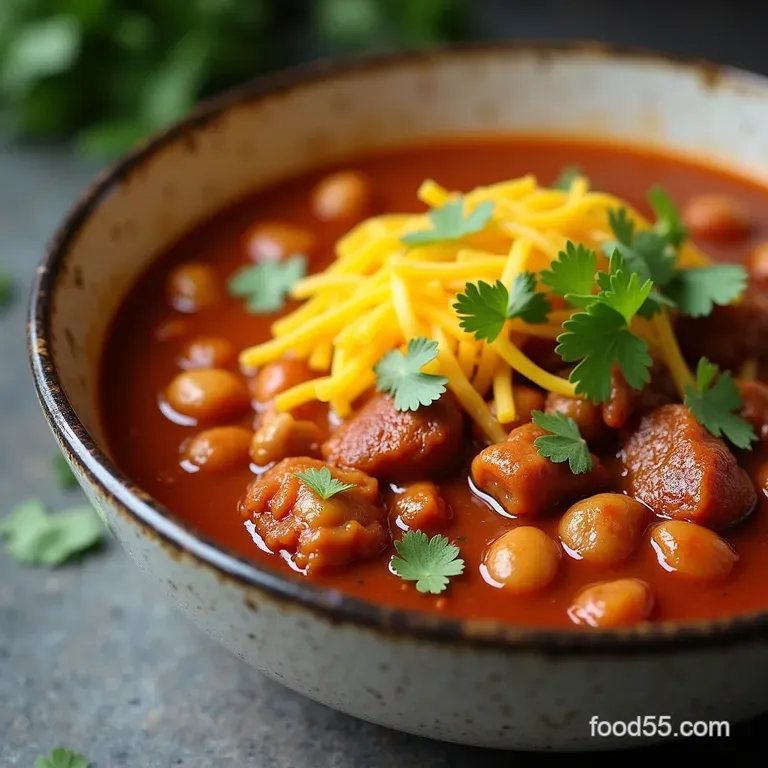
Elevating Your Bowl: Toppings and Pairing Suggestions
What transforms a great Instant Pot Chicken Chili into an unforgettable meal is the finishing touch the Chili Toppings . This is where personalization comes into play.
For brightness, a generous squeeze of two tablespoons of fresh lime juice stirred in right at the end cuts through the richness and wakes up all the spices. Then, present your bowl with an array of garnishes.
Think crumbled Cotija cheese, slices of creamy avocado, a sprinkle of fresh cilantro, and maybe a dash of your favorite hot sauce if you like extra zing.
Troubleshooting and Making Ahead with Your Instant Pot Recipe
One of the greatest perks of using this pressure cooker method is its reliability and excellent storage characteristics. Whether you're looking to adjust the recipe or store leftovers, this method is forgiving.
Fresh Fixings: The Brightest Garnishes for Chili
To counteract the smokiness of the paprika and the richness of the beans, fresh, acidic garnishes are critical. Beyond lime juice added to the pot, serving with thinly sliced radishes or a spoonful of plain Greek yogurt (as a lighter substitute for sour cream) adds that necessary textural and temperature contrast.
Make It Heartier: Customizing Your Chicken Chili Variations
While this specific recipe leans toward a white chili, feel free to explore other robust flavors that work well in the pressure cooker. If you want something more akin to a Chicken Taco Chili , simply add 1/2 cup of frozen corn during the pressure cooking phase and finish with a teaspoon of chili powder alongside the cumin.
For an even richer experience, you can substitute half the chicken broth with a light cream or half and-half during the final thickening stage, though this moves it away from the "healthy" designation.
Storage Secrets: Freezing and Reheating This Pressure Cooked Meal
This chili freezes exceptionally well. Once cooled completely, store it in airtight containers for up to three months. When reheating, do so slowly on the stovetop or in the microwave, stirring occasionally.
If it seems slightly thinner after thawing, you can always employ the quick slurry thickening trick mentioned earlier to restore that perfect consistency.
Nutritional Snapshot: Understanding the Macros of This Comfort Classic
Because we use lean chicken breast and rely on beans for body rather than heavy creams or excessive cheese, this makes for a fantastic Healthy Instant Pot Chicken Chili .
You'll find it’s densely packed with protein (around 40 45g per serving), making it incredibly satisfying, while maintaining moderate fat content. It’s an ideal choice for a filling meal that supports wellness goals.

Recipe FAQs
Can I make this Instant Pot Chicken Chili vegetarian or use different meat?
Absolutely! For a veggie version, simply omit the chicken and use vegetable broth instead, doubling up on your beans or adding something hearty like sweet potato chunks for texture.
If you fancy red meat, swap the chicken for ground turkey or even shredded pork shoulder, though you might need to adjust the pressure cook time slightly depending on the cut.
My chili keeps showing a 'Burn' warning what am I doing wrong?
That 'Burn' notice is a proper nuisance! It almost always happens because something is sitting directly on the bottom of the pot without enough liquid around it. Make sure you properly deglaze the pot after sautéing, scraping up those lovely browned bits before adding the rest of your broth.
Also, avoid putting thicker ingredients like cheese or cream directly on the bottom when pressure cooking.
This is a White Chicken Chili recipe, but I prefer a traditional red chili can I adapt it?
You certainly can tweak it if you're feeling more of a brick house chili vibe! To transition this Instant Pot Chicken Chili towards red, skip the white beans and swap them for kidney or pinto beans.
Crucially, swap the green chiles for canned diced tomatoes (undrained) and increase the standard chili powder, perhaps adding a dash of cocoa powder for richness.
How should I store leftovers, and how long will this chili keep in the fridge?
This chili keeps wonderfully, making it ideal for meal prepping it often tastes even better the next day! Store cooled leftovers in an airtight container in the fridge for up to 4 days, just like a good Sunday roast.
For longer storage, it freezes brilliantly for up to three months; just ensure you leave some headspace in the container for expansion.
The chili seems a bit thin after pressure cooking how do I get that perfect, hearty consistency?
Don't fret; a little thickening is standard when using the Instant Pot! Once the chicken is shredded and returned to the pot, switch it to the 'Sauté' function on low. Whisk together the cornstarch (or Masa Harina, if you have it) with cold water to make a slurry, then slowly whisk it into the simmering chili until it thickens up nicely.
This usually takes just a couple of minutes.
Speedy White Chicken Chili
Ingredients:
Instructions:
Nutrition Facts:
| Calories | 1676 kcal |
|---|---|
| Protein | 13.5 g |
| Fat | 55.0 g |
| Carbs | 62.7 g |
| Fiber | 30.5 g |
| Sodium | 267 mg |
