Tenderloins Made Truly Tender Remove the Tendon Pansear
Quick Hook
How To Remove the Tendon is a tiny skill that changes your whole Chicken Tenderloin game. Honestly, once you learn it, your next Chicken Dinner will feel restaurant level.
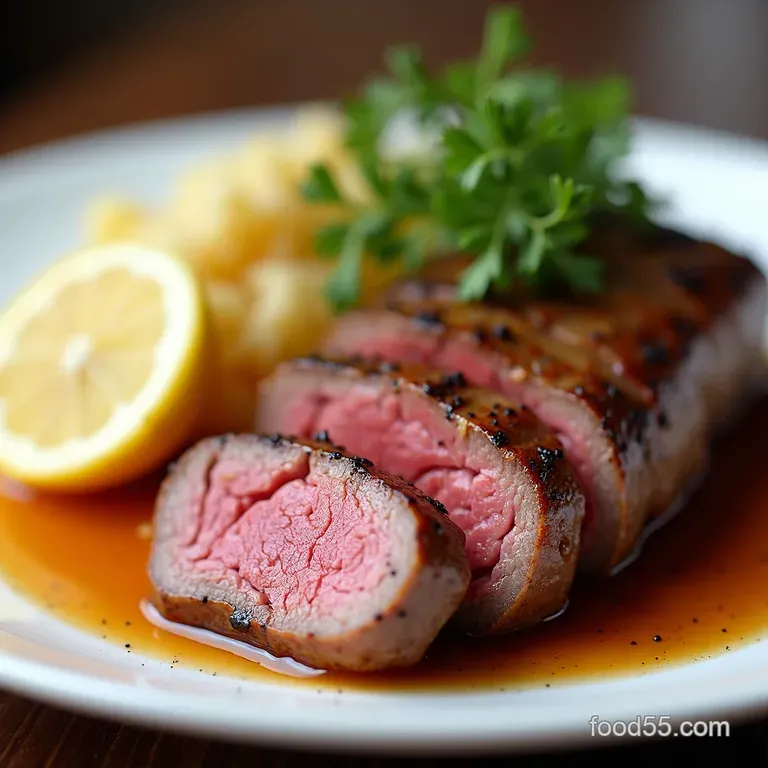
The flavor is simple lemon, garlic, butter and the texture becomes unreal.
I remember my first time. Oh my gosh, the tendon pulled like a white string. I felt proud and a little smug.
Fun fact: chicken is the most eaten meat in the U.S., so this trick matters.
Brief Overview
This method comes from simple American prep. It’s common in home kitchens and casual restaurants. Removing the tendon keeps the meat from puckering and cooks evenly.
Difficulty is easy. Prep takes 10 15 minutes for 1 pound. Cook time is 6 10 minutes. Total time is 20 30 minutes.
Yields about 3 4 servings. Great for weeknight dinners and fast Chicken Dishes .
If you want a visual, search short clips. But this guide keeps things plain and real. The pan finish is a classic Pan-seared chicken tenderloins recipe you’ll repeat.
Main Benefits
Top health win: lean protein with minimal fat. Each serving gives roughly 28 grams of protein. That’s great for quick meals and muscle recovery.
Best for casual plates and light entertaining. Serve with roasted veg, mash, or salad. It makes a humble Chicken Dinner feel special.
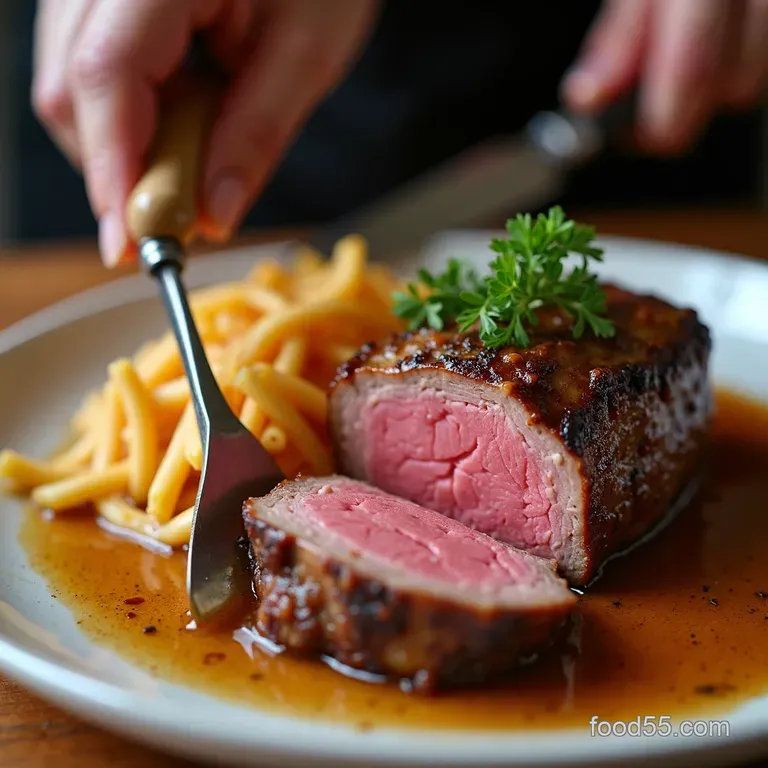
What makes this special is texture. Learning How to remove tendon from chicken tenderloins means no chewy surprise when you bite.
My go-to is the pull method. Grip with a paper towel and slide the blade. That Pull tendon from chicken tenderloin technique protects meat and speeds things up.
Want to Remove chicken tendon from tenderloins without fuss? Chill tenders 10 minutes to firm them. Use a sharp paring knife and keep the blade nearly flat.
These Chicken tendon removal tips and tricks saved me from wasting meat.
Next up: ingredients and gear. I’ll walk you through how to clean and prep. Whether you’re looking for How to clean chicken tenders or How to make chicken tenderloins tender , I’ve got you.
Oh, and cook until the internal temp reaches 165° F ( 74° C) for safety.
Ingredients & Equipment
Funny little secret first. Fun fact: 1 lb (450 g) gives about 10 12 tenderloins. That matters when shopping. It also matters when you learn How To Remove the Tendon .
Main Ingredients
For tendon removal stage:
- 1 lb (450 g) Chicken Tenderloin , fresh or thawed.
- Paper towels for grip.
For quick pan-sear finish:
- 1 tbsp (15 ml) olive oil or neutral oil.
- 1 tbsp (14 g) unsalted butter.
- 2 cloves garlic, smashed and sliced.
- 1 tsp (5 g) kosher salt.
- 1/2 tsp (1 g) freshly ground black pepper.
- 1 tbsp (15 ml) lemon juice or 1 tsp (5 ml) white wine vinegar.
- 1 tbsp (8 g) chopped parsley or 1 tsp (1 g) thyme.
Quality tips: buy pale pink meat. Avoid gray edges. Tenderloins should smell fresh. They should feel slightly springy. If floppy, chill 10– 15 minutes .
Seasoning Notes
Essential combo: salt, black pepper, lemon, garlic. It’s classic. It makes a great Chicken Dinner .
Flavor enhancers: a pinch of smoked paprika. A splash of white wine. A pat of butter at the end.
Quick substitutions: use avocado oil instead of olive oil. Swap parsley for cilantro. Use ghee for dairy-free options.
Equipment Needed
Must haves only:
- Cutting board with damp towel under.
- Small sharp paring or boning knife ( 2.5 7.5 cm blade).
- Paper towel for grip.
- Nonstick or stainless skillet.
- Tongs or spatula.
- Instant read thermometer (recommended).
Household alternatives: use kitchen shears if no paring knife. Use a plate as cutting board in a pinch. A wooden spoon works for flipping.
Little story. I mangled tenders on my first try. Paper towel saved me. I learned to keep the blade nearly parallel.
That trick keeps meat intact. After that, my Pan-seared chicken tenderloins recipe turned out perfect every time.
Closing note. This list helps you Remove chicken tendon from tenderloins with ease. Try it once. You’ll never eat puckered tenders again.
Cooking Method
Prep Steps
Start with a clean board and a towel. Pat the Chicken Tenderloin dry. Lay out your paring knife, paper towels, and skillet. This mise en place saves time and stress.
I learned this the hard way. Once I tried removing tendons with wet hands. Messy. Don’t do that. Keep tenders slightly chilled. Firm meat is easier to handle.
Safety first. Cut away from your fingers. Use a damp towel under the board. Toss used paper towels quickly. Raw chicken hygiene matters.
step-by-step Process
- Locate the thin white strip. That’s the tendon. This is the core of How To Remove the Tendon properly.
- Grip the far end with a paper towel. Loosen the tendon tip with the knife.
- Pull the tendon while sliding the knife. Keep the blade nearly parallel. Remove in one long motion when possible.
- Trim ragged bits with shears. Pat the tenders dry again.
- Season both sides. Heat skillet over medium high. Add oil. Sear 2– 3 minutes per side until golden.
- Add butter and garlic. Spoon butter for 30 60 seconds .
- Check doneness. Aim for 165° F ( 74° C) internal temperature. Juices should run clear. Meat should feel springy, not jiggly.
Visual cues matter. Tendon comes out as a long white string. Golden crust forms in 2– 3 minutes . If meat browns too fast, lower the heat.
Pro Tips
- Use the paper towel grip trick. It gives control without crushing meat. This is a top Chicken tendon removal tip I always use.
- Slight chill trick: refrigerate tenders 10– 15 minutes to firm them. Makes the Pull tendon from chicken tenderloin technique easier.
- Common mistake: cutting too deep. Keep the knife flat. You’ll lose less meat that way.
make-ahead option: remove tendons and season up to 24 hours ahead. Store covered in the fridge. Cook fresh when ready for a quick Chicken Dinner .
Texture sells dishes. Remember that. Clean tenders change simple Chicken Dishes into something worth talking about. Honestly, once you nail this, you’ll never eat puckered tenders again.
Recipe Notes: quick thoughts before you start
If you ever Googled How To Remove the Tendon, welcome. I struggled first time too. Oh my gosh, that little white string annoyed me so much.
Removing it makes a huge difference. Your Chicken Tenderloin will cook evenly. Your bite will be tender, not rubbery.
Serving Suggestions
For a simple Chicken Dinner , plate three tenderloins per person. Add roasted carrots and garlic mashed potatoes. A crisp salad keeps it fresh.
Try a drizzle of lemon butter pan sauce. For drinks, pour a light Sauvignon Blanc or iced tea. For family meals, serve with crusty bread.
It looks great on a plain white plate. Trust me, it photographs well.
Storage Tips
Cool leftovers quickly. Chill within two hours. Store in an airtight container. Refrigerate up to 3 days . Freeze if needed.
Wrap tightly for up to 3 months . Thaw overnight in fridge before reheating.
Reheat gently. Warm in a skillet over low heat. Add a splash of water or stock. Cover for even heat. Do not microwave on high. That ruins texture.
Variations
Make it dairy-free easily. Use avocado oil and skip butter. Swap parsley for cilantro. For low-carb meals, serve over cauliflower mash.
Want seasonal flair? Add roasted peaches in summer. Swap thyme for sage in autumn. Try the Pan-seared chicken tenderloins recipe with a soy-ginger twist.
These swaps are simple and tasty.
Nutrition Basics
Per serving is about 180 kcal . You get roughly 28 g protein . Fat stays low with modest oil. This is a lean protein choice.
Chicken helps muscle repair. It supports satiety and steady energy. Perfect for a weekday Chicken Dishes rotation.
Quick tips from my kitchen
I always use a paper towel for grip. If tenders flop, chill them for 10 15 minutes . Use the pull method.
It’s the best Pull tendon from chicken tenderloin technique I found. Two words: patience and grip. Those saved me.
How to remove tendon from chicken tenderloins? Start slow. Feel the tendon. Grip and slide the knife. Remove chicken tendon from tenderloins in one smooth move.
Final note. You got this. Try it tonight. Your dinner will thank you.

Frequently Asked Questions
How To Remove the Tendon from chicken tenderloins without tearing the meat?
Grip the far end of the tendon with a paper towel, use the tip of a sharp paring knife to loosen it, then pull steadily while sliding the blade almost parallel to the meat that keeps you from taking off chunks.
If a tendon is stubborn, try the cut-and-hold method (cut small sections as you pull) or chill the tenders for 10 15 minutes to firm them up before you start.
Do I really need to remove the tendon, and what happens if I leave it in?
It’s not unsafe to leave the tendon, but it will be rubbery and can make the tenderloin pucker during cooking, which ruins the texture and presentation. For quick cook methods like pan-searing or breading (think pub-style strips or weeknight sandwiches), removing it gives a much more pleasant, even bite.
What's the easiest, most foolproof method for beginners to remove the tendon?
For beginners the pull method is the simplest: loosen the tendon with a knife tip, grab it with a paper towel and pull while guiding a knife along to free it. Try the toothpick trick for tiny tenders and save the tendons for stock if you make homemade chicken stock it’s a great zero waste move.
How should I cook tenderloins after removing the tendon so they stay juicy and cook evenly?
Pan-sear over medium high heat in a tablespoon of oil, cook 2 3 minutes per side until golden, add butter and garlic at the end and baste for 30 60 seconds; finish when an instant read thermometer reads 165°F (74°C), then rest 3 5 minutes.
Variations are easy lemon garlic, Asian style marinades, or oven baking at 425°F for 10 12 minutes work well and nutritionally an average serving is about 180 kcal and 28 g protein, though salt and added fats will change that.
How long can I store cleaned or cooked tenderloins, and can I freeze them?
Raw, tendon removed tenderloins will keep 1 2 days in the fridge; cooked pieces last 3 4 days refrigerated. Both raw and cooked tenderloins freeze well for up to about 3 months (wrap tightly or use a freezer bag), and thaw overnight in the fridge before reheating gently to avoid drying out a quick sauté or low oven does the trick.
Tenderloins Made Truly Tender Remove The Tendon

Ingredients:
Instructions:
Nutrition Facts:
| Calories | 180 kcal |
|---|---|
| Protein | 28 g |
| Fat | 6 g |
| Carbs | 1 g |
| Fiber | 0 g |
| Sugar | 0 g |
| Sodium | 280 mg |
