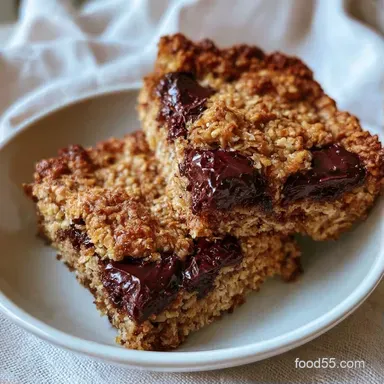
Chewy Chocolate Chip Granola Bars: Soft and Hearty
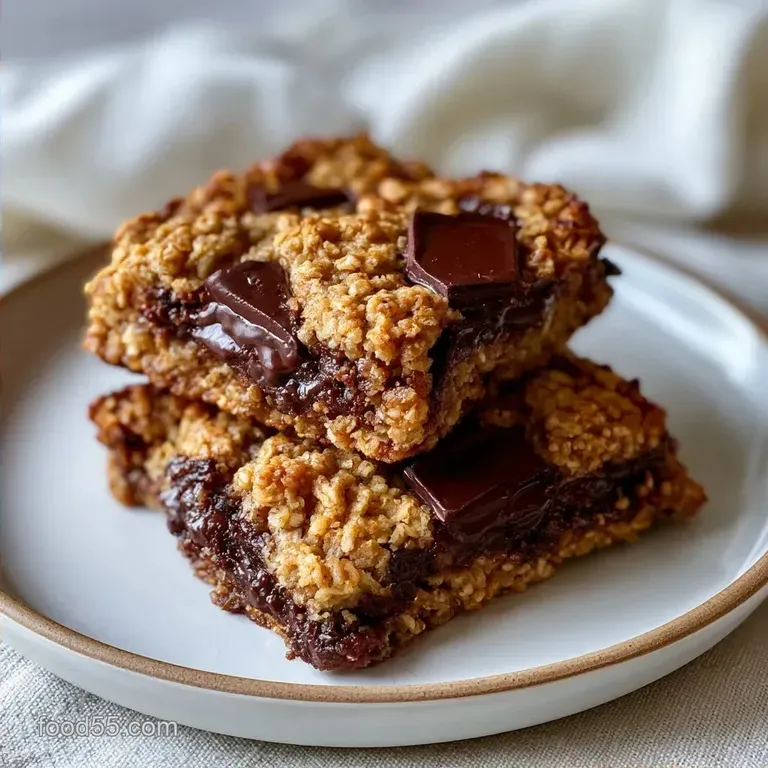
- Prep/Wait: 15 min active + 2 hours chilling
- Taste & Feel: Hearty, oat-heavy chew with melty chocolate bits
- Ideal for: Hiking trips, school snacks, or weekly meal prep
The aroma of simmering honey and toasted oats fills the room as soon as the butter melts. It's pure comfort, yet it provides a real energy boost. I used to rely on store-bought options, but they always seemed too parched almost like chewing on cardboard.
My initial try was a complete failure. Because I didn't pack the mixture tightly enough, I created what I call "granola gravel." The bars disintegrated into tiny shards when sliced, leaving me with a tray of pricey oat crumbles.
I've since mastered the technique. This recipe is a fast victory since there's no oven to preheat and no risk of scorched edges. Just simmer, stir, and let them chill.
Quick Specs for Chewy Chocolate Chip Granola Bars
| Feature | Detail |
|---|---|
| Prep Time | 15 minutes |
| Cook Time | 5 minutes |
| Total Time | 2 hours 20 mins |
| Yield | 12 bars |
| Texture | Dense and chewy |
The Trick Behind the Texture
The Sugar Blend: Mixing honey and brown sugar prevents the mixture from crystallizing. This keeps the bars bendable and soft rather than giving them a hard, candy like snap.
The Two Minute Simmer: Boiling the syrup for exactly two minutes evaporates just enough water to create a strong glue. If you skip this, the bars stay mushy. If you go too long, they turn into bricks.
Precision Pressing: Forcing the oats together removes air pockets. This is what actually stops the bars from crumbling when you cut them.
| Method | Time | Texture | Best For |
|---|---|---|---|
| Stovetop | 2 hours 20 mins | Dense and chewy | Quick prep |
| Baked | 4 hours | Toasted and crisp | Long shelf life |
The Building Blocks
We use old-fashioned rolled oats for the base. According to King Arthur Baking, these provide better structural integrity than quick oats, which can turn paste like.
Honey is the primary binder here, creating that classic pull. To complement the chocolate, brown sugar contributes a deep, molasses like undertone. Unsalted butter adds richness and prevents the bars from becoming overly sticky.
The Main Components
- 1/2 cup (115g) unsalted butterWhy this? Supplies fat for a rich, tender chew
- 1/3 cup (110g) honeyWhy this? Natural adhesive that keeps the bars flexible
- 1/4 cup (50g) packed light brown sugarWhy this? Adds complexity and prevents crystallization
- 1 tsp (5ml) vanilla extractWhy this? Balances the sweetness
- 1/4 tsp (1.5g) saltWhy this? Offsets the sugar
- 2 1/2 cups (225g) old-fashioned rolled oatsWhy this? Robust texture that stays intact
- 1/2 cup (85g) mini semi sweet chocolate chipsWhy this? Ensures chocolate in every single bite
Easy Swaps
- Honey → Maple syrup (results in less stickiness)
- Brown sugar → Coconut sugar (for a nuttier profile)
- Mini chips → Chopped dark chocolate (for a more intense cocoa flavor)
Equipment Needed
You don't need much here. A medium saucepan is the main tool. Make sure it has a heavy bottom so the honey doesn't scorch in the corners.
I use a silicone spatula for folding the oats. It's much better than a spoon because it scrapes the sides of the pan, ensuring no syrup is left behind. For the pan, an 8x8 inch square is the standard.
Line the pan with parchment paper. Let the paper hang over the edges like handles. This makes lifting the whole block out a breeze. If you don't have parchment, grease the pan heavily with butter, but the paper is way more reliable.
How to Make It
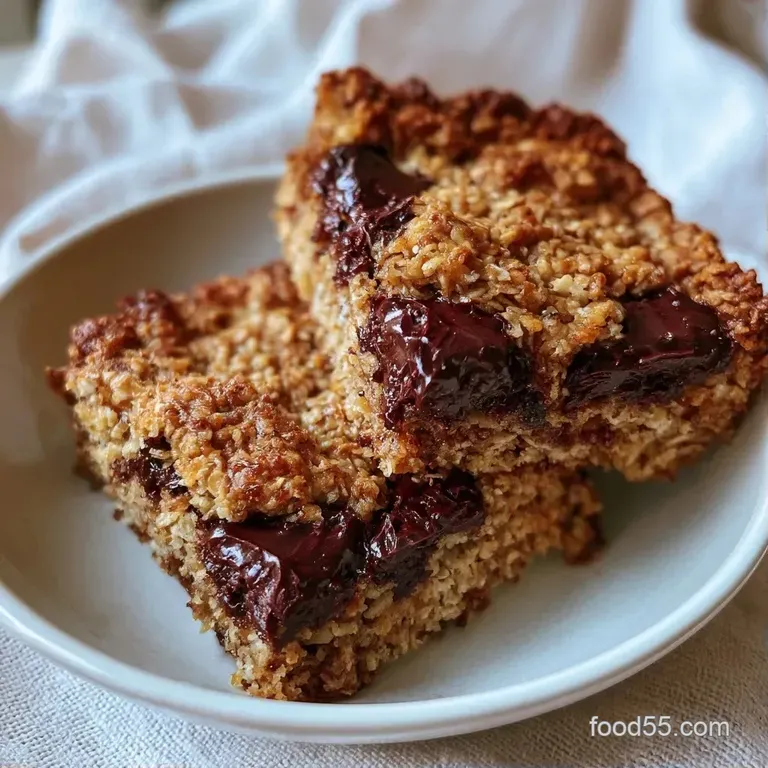
Simmering the Syrup
Combine the butter, honey, and brown sugar in a medium saucepan over medium heat. Stir constantly until the butter melts and the liquid starts to bubble. Let it simmer for exactly 2 minutes until the mixture looks glossy and thick. Remove from heat and stir in the vanilla and salt.
Folding in the Oats
Immediately pour the rolled oats into the saucepan. Use your spatula to fold the oats into the syrup until every grain is glistening and fully coated. Work quickly so the syrup doesn't harden.
Pressing the Mixture
Transfer the oat mixture into your lined 8x8 inch pan. Use the back of a spatula or a flat bottomed glass to press the mixture down. Press firmly until the surface is completely flat and compact.
Incorporating the Chips
Allow the mixture to cool for 5 minutes. This prevents the chocolate from melting instantly. Sprinkle the mini chocolate chips over the top, then press them gently into the oats with your palm.
Chilling and Slicing
Place the pan in the refrigerator for at least 2 hours. Once firm, lift the bars out using the parchment paper. Slice into 12 equal rectangles with a sharp knife until you have clean, defined edges.
Chef's Note: If the knife sticks, dip it in hot water and wipe it dry between cuts. This gives you those professional, sharp lines.
The Trick Behind the Texture
Because these are no-bake, they rely on the cooling process to firm up. For an extra treat, these pair perfectly with my peanut butter lunch lady bars.
I specifically use mini chocolate chips here. Larger chips leave too many gaps in the oats, which can cause the bars to crumble. Mini chips act like tiny anchors, filling those spaces to keep the bars sturdy.
Don't skip the salt. Without it, the honey and brown sugar can taste overly sweet. A pinch of salt enhances the cocoa in the chocolate and creates a more balanced flavor.
Common Mistakes & Troubleshooting
If your bars are falling apart, you likely didn't press them hard enough. You really have to lean into it. I once used a heavy textbook (wrapped in plastic) to press my bars, and it worked better than any spatula ever did.
Another issue is the "greasy" feel. This happens if the butter separates during the simmer. Keep stirring the syrup; don't just let it sit there. Consistent motion keeps the emulsion stable.
If the chocolate melted into the bars, you didn't wait for the 5 minute cool down. The oats should be warm, but not hot, before the chips go in.
Fixing Crumbly Bars
This usually stems from under pressing or using quick oats instead of rolled oats.
Preventing Chocolate Melt
Wait for the base to cool slightly before adding chips.
Avoiding a Greasy Finish
Stir the syrup constantly during the 2 minute simmer.
| Problem | Fix |
|---|---|
| Bars crumble when cut | Press more firmly into the pan |
| Chocolate smeared/melted | Cool base 5 mins before adding chips |
| Syrup tastes burnt | Reduce heat and stir more frequently |
Keeping It Fresh
Keep these in a glass container in the refrigerator, where they will stay fresh for around 7 days. I recommend the fridge as it ensures the chocolate remains crisp and the oats stay dense.
If you need them to last longer, you can freeze the bars for up to 3 months. Wrap each piece individually in parchment and then store them in a freezer bag to prevent them from sticking together.
To enjoy a frozen bar, simply leave it at room temperature for 10 minutes. Avoid the microwave, otherwise the chocolate will melt and the oats may become too soft.
To minimize waste, any leftover oat mixture can be rolled into tiny "energy balls" and kept in the fridge.
Flavor Variations to Try
Customize your bars with these simple adjustments. You may also enjoy these soft chewy oatmeal cookies for another tasty option.
- Nutty? → Add 1/2 cup chopped almonds
- Saltier? → Use flaky sea salt on top
- Less sweet? → Use 70% dark chocolate chips
For a festive, seasonal twist, replace the semi sweet chips with white chocolate and dried cranberries. Ensure the dried fruit is finely chopped so the bars hold together well.
To add extra nutrition for kids, mix in a tablespoon of chia seeds. They blend seamlessly into the oats without changing the flavor.
Serving Suggestions
These are delicious on their own or as part of a larger platter. For a kid-friendly afternoon snack, pair them with sliced apples and a dollop of almond butter for dipping.
Packing them for a hike? Use wax paper. They stay intact in a bag, even if they soften a bit in warmer weather.
To elevate them, add a drizzle of melted dark chocolate and a pinch of flaky sea salt. This transforms the simple snack bar into a decadent treat.
That covers the basics. Just keep in mind: stir your syrup, pack the oats down firmly, and let them chill completely. Your patience will be rewarded with the ideal chewy texture.
Recipe FAQs
Can I substitute light brown sugar with white sugar?
Using white sugar will make the bars crispier and less chewy.
Tip: If you run out of the packed version, you can follow our guide on making brown sugar with molasses.
Why do my granola bars crumble when sliced?
The mixture likely wasn't pressed firmly enough into the pan.
Tip: Use a heavy, flat bottomed glass to pack the oats down with significant pressure.
Is it true that I should add chocolate chips while the oats are boiling?
Actually, no. Adding chips to boiling oats will cause them to melt completely into the mixture.
Tip: Wait exactly 5 minutes for the mixture to cool before sprinkling the chips on top.
How to prevent a greasy texture in the finished bars?
Stir the butter and honey mixture constantly while it simmers.
Tip: Continuous motion prevents the butter from separating and keeps the emulsion stable.
What happens if I skip the refrigeration step?
The bars will remain too soft to slice into clean rectangles.
Tip: Chill for at least 2 hours to ensure the honey and butter fully set.
Do these bars provide a complete protein source?
Not true. Oats and honey lack the full profile of essential amino acids required for a complete protein.
Tip: Pair these with a glass of milk or a piece of cheese for a more balanced snack.
Which tool works best for pressing the mixture?
A flat bottomed measuring cup or a heavy glass provides the most even pressure.
Tip: Pressing in small sections ensures there are no air pockets in the pan.
Could honey be replaced with maple syrup?
Maple syrup will work but creates a softer, less tacky bind than honey.
Tip: Increase the refrigeration time by an hour if you use a thinner syrup.
Chewy Chocolate Chip Granola Bars for 12