Crispy Deliciousness: Classic Filipino Lumpia
Crispy Deliciousness: Classic Filipino Lumpia
Oh my gosh, if you’ve never tried a lumpia recipe , you are seriously missing out! these little guys are like the best party in your mouth.
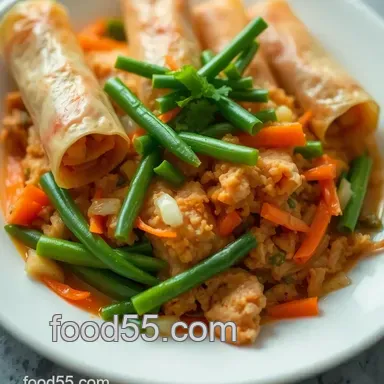
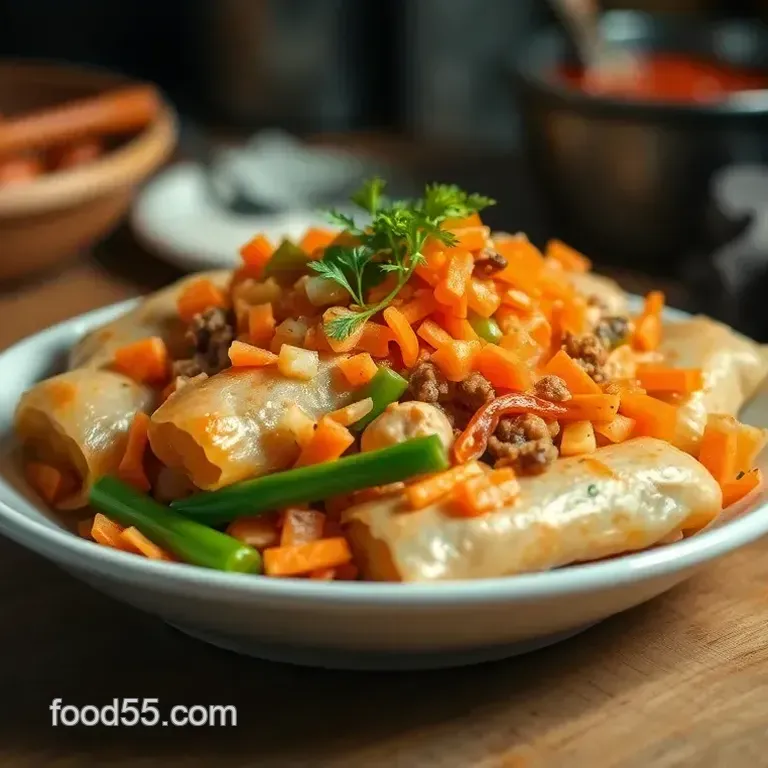
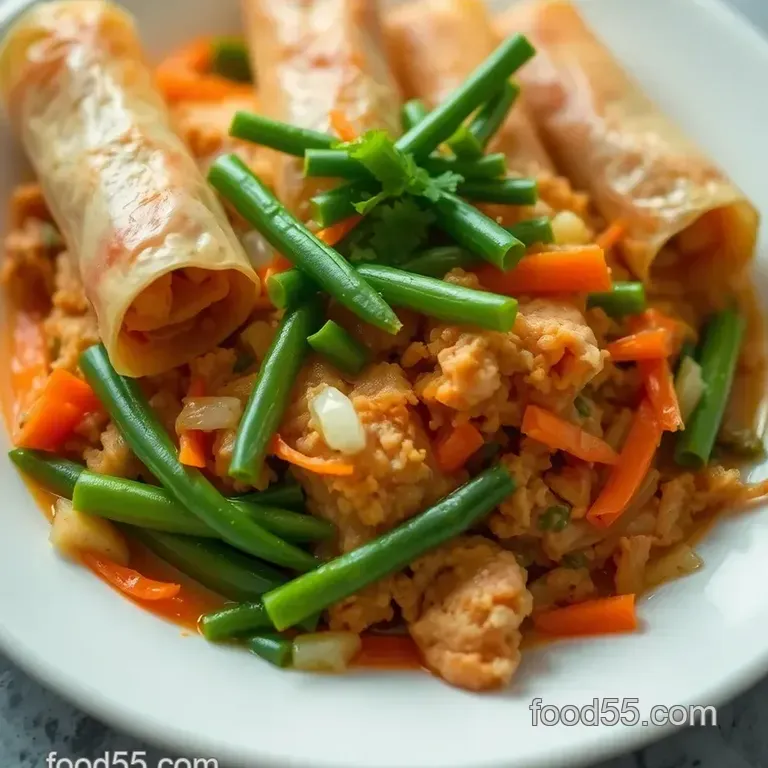
Imagine biting into a crispy wrapper filled with a savory mix of meat and veggies. yep, that's lumpia for ya! they’re not just a snack; they’re a burst of flavor that dances on your taste buds.
A Taste of Tradition
Lumpia has its roots in the chinese spring roll but has totally evolved into its own superstar in filipino food .
Growing up in a filipino household, these crispy delights were always part of the spread during celebrations and family gatherings.
Honestly, just seeing them on the table brings back warm memories of laughter and love nothing screams home like a plate of freshly fried lumpia!
Don't sweat it if you're not a master chef; this recipe is medium in difficulty. sure, wrapping them can be a little tricky at first, but with a bit of practice, you’ll be a lumpia legend before you know it.
All you need is about an hour to whip these up, and you’ll end up with 20-25 delicious rolls. perfect for a family snack, a potluck, or just a saturday binge watch session.
Why You'll Love This Recipe
Not only are lumpia delicious , but they also pack a nutritious punch! with ground pork or chicken and a whole lot of veggies, you might actually feel a bit healthy while munching away.
Plus, they’re super versatile perfect for game day, a cozy family dinner, or even when you’re just craving something crunchy.
What sets this lumpia apart? it’s the balance of flavors and that unforgettable crunch. seriously, there’s something magical about that first bite when the golden, crispy exterior gives way to the savory filling inside.
It's like a flavor bomb of fun!
So grab your apron, and let’s dive into this easy filipino recipe . i promise, you’ll wonder how you ever lived without these delicious filipino spring rolls in your life.
Let’s get rolling!
Ingredients & Equipment for Crispy Deliciousness: Classic Filipino Lumpia
When it comes to making a crowd pleaser like this lumpia recipe , having the right ingredients and equipment is key.
Let’s break down what you need, so you can get rolling (pun intended!) with these satisfying filipino spring rolls.
Main Ingredients
For the filling , gather these goodies:
1 cup ground pork or chicken (450 g)
Choose quality meat! Look for a nice pink color and a bit of fat for flavor.1 cup finely chopped carrots (130 g)
Fresh and brightly colored, please!1 cup chopped green beans (120 g)
Crisp and vibrant will give crunchiness to your rolls.1 medium onion, finely chopped
Sweet onions work great if you can snag 'em.3 cloves garlic, minced
The more garlic, the better, right?1 tablespoon soy sauce (15 mL)
Go for low-sodium if you’re watching the salt.1 teaspoon ground black pepper (5 g)
Don’t skimp on the seasoning!Salt to taste
1 tablespoon vegetable oil (15 mL)
Just enough to get the sautéing going!
Now, when it comes to wrapping , you’ll need:
25 lumpia wrappers (spring roll wrappers), thawed if frozen
You can usually find these in the frozen aisle at your grocery store.1 egg, beaten
This acts like glue to keep your rolls sealed up tight!
For frying , don’t forget:
-
Vegetable oil for deep frying
Plenty of it! You want at least 2 inches in your pan.
Seasoning Notes
While lumpia has a delicious filling on its own, here are some go-to seasonings :
Essential spice combinations: Soy sauce and black pepper are your besties.
Flavor enhancers and aromatics: Garlic and onion are classic; consider adding sesame oil for a unique kick.
Quick substitution options: If you’re out of soy sauce, a splash of Worcestershire sauce will do in a pinch. And if you can’t find ground pepper, chili flakes can add some heat!
Equipment Needed
You don’t need a whole kitchen full of gadgets to whip up this lumpia recipe ! Here’s the essential gear you’ll want:
A large skillet or frying pan
Opt for something sturdy!Mixing bowl
For combining that tasty filling.Wooden spoon or spatula
Perfect for stirring no need to whip out the fancy stuff!Tongs or slotted spoon for frying
Great for flipping and draining those crispy rolls.Paper towels for draining
You don’t want ‘em swimming in oil!Small bowl for the beaten egg
Keeps things tidy when sealing those wrappers.
Wrap It Up!
When you gather all these ingredients and equipment , you're setting yourself up for success. Trust me, once you get the hang of rolling those Filipino foods , you’ll be sharing this easy Filipino recipe with friends and family in no time!
So, roll up your sleeves and let’s make some magic happen in the kitchen!
Cooking Method: Mastering Lumpia
Oh my gosh, let’s dive into the fabulous world of filipino spring rolls or as you’ll come to know and love, lumpia .
This savory goodness is not just a dish; it’s a bite of culture, a sprinkle of nostalgia, and a whole lotta crunch! so, grab your apron, and let’s get this cooking party started!
Prep Steps
First up, we’ve gotta talk about mise en place . This fancy term just means you should gather all your ingredients before you start mixing and frying! You don’t want to be scrambling around while your filling burns, am I right?
Next, here’s a time saving tip : chop all your veggies the night before and store them in the fridge. trust me; it’ll save you almost 10 minutes! and don’t forget safety first! always keep that knife away from your fingers when chopping.
No one needs a surprise bloodbath while cooking!
Step-by-step Process
Prepare the filling : heat up 1 tablespoon of vegetable oil in a skillet over medium heat. add 1 chopped onion and 3 cloves of minced garlic.
Sauté until fragrant, about 2 minutes. then toss in 1 cup of ground pork or chicken and cook until it's no longer pink (that’s about 5 7 minutes).
Now, stir in 1 cup each of finely chopped carrots and green beans. sauté for another 5- 7 minutes until tender, and don’t forget to season with 1 tablespoon soy sauce, black pepper , and a pinch of salt.
Let that filling cool down, ‘cause you don’t want to steam up and ruin your lumpia wrappers ! then, here’s the fun part start wrapping! take one wrapper and lay it flat.
Spoon about 2 tablespoons of the filling near the corner.
Fold, tuck, and roll! wrap it snugly, wet the edge with a beaten egg to seal, and place it on a plate.
Repeat it all until you’ve got a little army of lumpia!
Now, heat up that oil in your skillet to about 350° f ( 175° c) . fry your lovely rolls for 3- 4 minutes until they are golden brown and crispy.
Drain on paper towels.
Pro Tips
If you're worried about a soggy mess don’t! here are a couple of shortcuts from my kitchen tales: keep those wrappers covered with a damp cloth while you work to prevent them from drying out.
Also, don’t overcrowd the pan. fry in batches for the crispiest results!
Common mistake? Letting the filling get too hot before wrapping. It’s a total buzzkill for your crispy wraps, ha!
And, if you want to prep ahead, feel free to make the filling earlier in the day. just make sure to cool it first! you can reheat it when you're ready to wrap.
So there you have it! a fun-filled journey through my lumpia recipe that’s sure to impress at your next family gathering or sunday brunch.
Pair these bad boys with sweet & sour sauce and you’ll be the star of the show! happy cooking!
Recipe Notes: Making Lumpia a Whole Experience!
Serving Suggestions: Making it Pop!
Alright, friends, let’s dive into those platter ideas. when you whip up this lumpia recipe , you’re already winning hearts.
But, to take it to the next level, how about presenting these crispy filipino spring rolls on a nice platter? stack them up like little soldiers, maybe put a bright, colorful green mango salad on the side to give that freshness.
And don’t forget some sweet and sour sauce for dipping. oh my gosh, it’s like a flavor explosion! you could even get fancy with some sriracha for those who like it spicy.
And if you’re hanging out during summer, a cold san miguel beer pairs perfectly with these crunchy bites. or, keep it classic with a sweet iced tea.
Honestly, it’s all about that balance!
Storage Tips: Keep it Fresh!
So, here’s the deal if you end up with leftover lumpia (but let’s be real, it’s hard to make them last), you can refrigerate them! just pop them in an airtight container, and they’ll be good for about 2-3 days.
How about those filipino foods bringing joy a little longer?
But if you’re looking to hold onto that goodness, freeze those bad boys! just make sure to wrap them tightly in plastic wrap, then in foil, to protect them from freezer burn.
When you’re ready to munch again, reheat them in a hot air fryer or oven for that crispiness like a fresh batch right outta the fryer!
Variations: Get Creative!
Now, let’s jazz things up a bit. you can totally swap out the ground pork for shrimp or even tofu if you’re going vegetarian.
It’s like a whole new lumpia experience ! and if it’s peak summer, toss some zucchini into your filling for that seasonal wow .
Trust me, play with those flavors!
Nutrition Basics: It’s Not All Guilt!
Let’s talk nutrition, shall we? with about 140 calories per lumpia, these aren’t your average snack. they pack a punch with 5 grams of protein and just enough crunch to feel satisfying.
Plus, the veggies mean you’re getting some good nutrition in there. when i make these, i always feel like i’m treating myself, but also keeping it real on the health side.
You could even brag about sneaking in goodness when you serve these up!
Keeping it fun, simple, and packed with flavor, this lumpia recipe won't let you down. whether you're hosting a party or just making a cozy dinner, these little rolls are sure to steal the show.
So go ahead, dive in, and enjoy the crispy goodness. happy cooking, friends!
Frequently Asked Questions
What is the best way to wrap lumpia in your lumpia recipe?
The key to a well wrapped lumpia is starting with a thawed wrapper and placing it on a flat surface with one corner facing you. Spoon about 2 tablespoons of filling near that corner, fold it over, tuck in the sides, and roll it tightly.
Don't forget to seal it with a bit of beaten egg at the end to keep all that deliciousness inside!
Can I make lumpia ahead of time?
Absolutely! You can prepare the lumpia up to the wrapping stage and store them in the fridge for a day before frying. If you're planning to freeze them, make sure to place a piece of parchment paper between each layer to prevent sticking, and they can last in the freezer for up to a month!
What can I substitute for the meat in the lumpia recipe?
If you're looking for substitutes, try using tofu or shrimp for a veggie or seafood version of lumpia. You can also use ground turkey or beef if you prefer a different meat altogether. Just remember that cooking times may vary slightly depending on the filling you choose!
How do I achieve the perfect crispy texture when frying lumpia?
To get that perfect crunch, heat the oil to around 350°F (175°C) before frying. Fry in batches to avoid overcrowding the pan, which can lower the oil temperature. It’s also crucial to drain the lumpia on paper towels immediately after frying to keep them crispy!
How should I store leftover lumpia?
Store leftover lumpia in an airtight container in the fridge for up to three days. For best quality, reheat them in an oven or air fryer at 350°F (175°C) until crispy again, instead of using the microwave, which can make them soggy. Enjoy them as if they were freshly made!
What dipping sauces pair well with lumpia?
Lumpia are traditionally served with a sweet and sour sauce or a spicy vinegar dip. You could also try a tangy peanut sauce or even some soy sauce with a dash of lime for a refreshing twist. Just think of it as your own British style chips and sauce the possibilities are endless!
Crispy Deliciousness Classic Filipino Lumpia