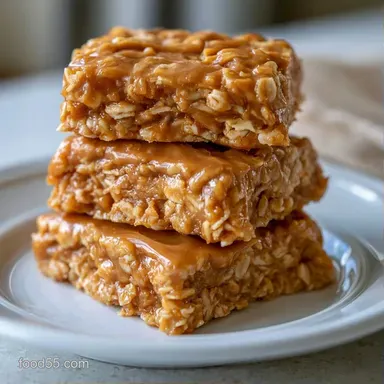
Chewy No Bake Peanut Butter Granola Bars with Oats
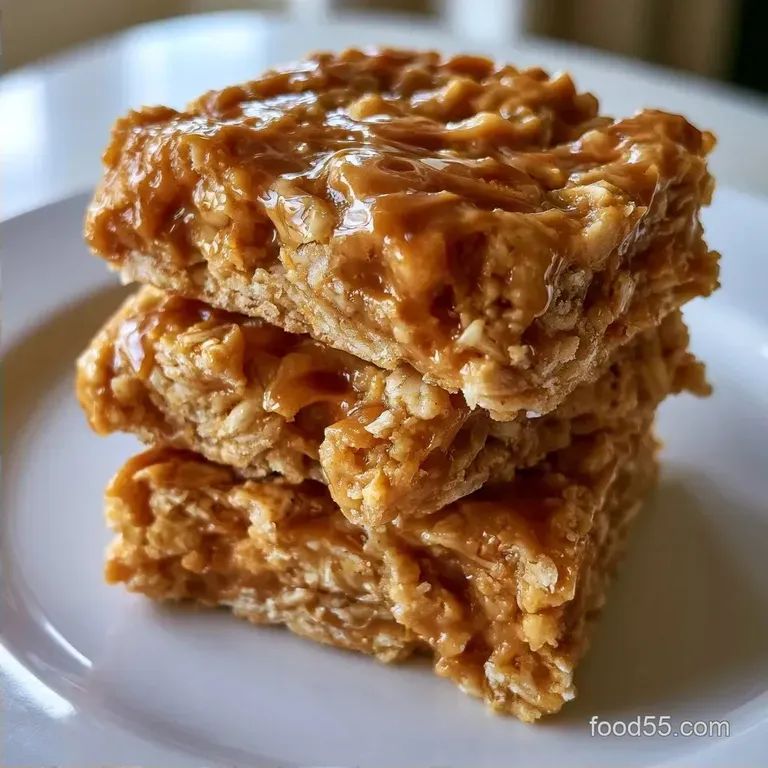
- Time: 10 min active + 2 hrs chilling
- Flavor/Texture Hook: Nutty, chewy, and salty sweet
- Perfect for: Lunchboxes, post workout fuel, or easy meal prep
The smell of warm honey and toasted peanut butter hitting a bowl of oats is honestly one of the best things in a kitchen. It's comforting and reminds me of those childhood snacks, but way better because you can actually control what goes into them.
Forget the idea that no bake snacks have to be crumbly or taste like raw flour. I used to think you needed a over high heat oven to get a bar that actually stayed together in a gym bag. I once tried a "raw" version that was basically just peanut butter soup and oats, and it was a disaster.
These No Bake Peanut Butter Granola Bars are different because they use a heated binder. You get a dense, satisfying chew that doesn't require a baking sheet or an hour of waiting for the oven to cool. It's a simple process that brings people together for a quick snack fix.
No Bake Peanut Butter Granola Bars
Getting these right comes down to how you handle the liquids. If you just stir everything cold, you'll end up with a mess. But when you heat the fats and sugars, they meld into a syrup that wraps around every single oat.
It's a great way to prep snacks for the week without heating up the whole house. If you're into other no oven treats, you might also like these chewy no bake bars for a different flavor profile.
The One Step That Fixes Crumbling
Thermal Binding: Heating the honey and butter creates a thick syrup that acts like glue. Once it cools in the fridge, it locks the oats and seeds in place.
Oat Structure: Rolled oats have a larger, flatter shape than quick oats. This creates a structural web that keeps the bars from feeling like a paste.
The Hard Press: Pushing the mixture down firmly removes air pockets. This prevents the bars from splitting when you slice them.
If your bars aren't holding together, it's usually a temperature or pressure issue. Sometimes the honey didn't get hot enough to fully bond with the fats, or the mixture wasn't pressed hard enough into the pan.
If the mix feels too dry before you put it in the pan, don't panic. Adding a tiny bit of melted peanut butter usually fixes the texture. If you notice the chocolate chips melted completely, it just means the oats were too hot, which doesn't ruin the taste but changes the look.
Bars Are Too Crumbly
This happens when the binder is too thin or the press wasn't firm enough. Try chilling them for another hour.
Mixture Is Too Sticky
Usually, this means the honey was overheated or you used too much. Spread it in the pan anyway, as the fridge will firm it up.
Chocolate Melted In
The oats were too warm when the chips were added. Next time, wait a full 5 minutes.
| Problem | Fix |
|---|---|
| Crumbly Bars | Press harder or chill longer |
| Too Sticky | Chill for an extra 30 mins |
| Melted Chips | Wait longer before folding in chocolate |
I've found that using a very sharp, warm knife helps when slicing. If the knife is too cold, the bars might crack. Just run the blade under hot water for a second and wipe it dry.
Quick Decision Guide
| Goal | What to change |
|---|---|
| Extra Crunch | Add 1/4 cup chopped almonds |
| Less Sweet | Use 2 tbsp less honey, add 1 tbsp PB |
| Nut Free | Swap peanut butter for sunflower butter |
Why These Ingredients Work
| Ingredient | What It Does | Best Swap |
|---|---|---|
| Rolled Oats | Provides the chewy structure | Quick oats (makes them softer) |
| Honey | Acts as the primary binder and sweetener | Maple syrup (slightly thinner) |
| Peanut Butter | Adds fat and nutty flavor | Almond butter or Sunbutter |
| Flax Seeds | Adds a slight crunch and nutrition | Chia seeds |
The choice of oats is actually a big deal here. I prefer old fashioned rolled oats because they don't dissolve into the syrup. You want that distinct texture in every bite.
Gear You'll Need
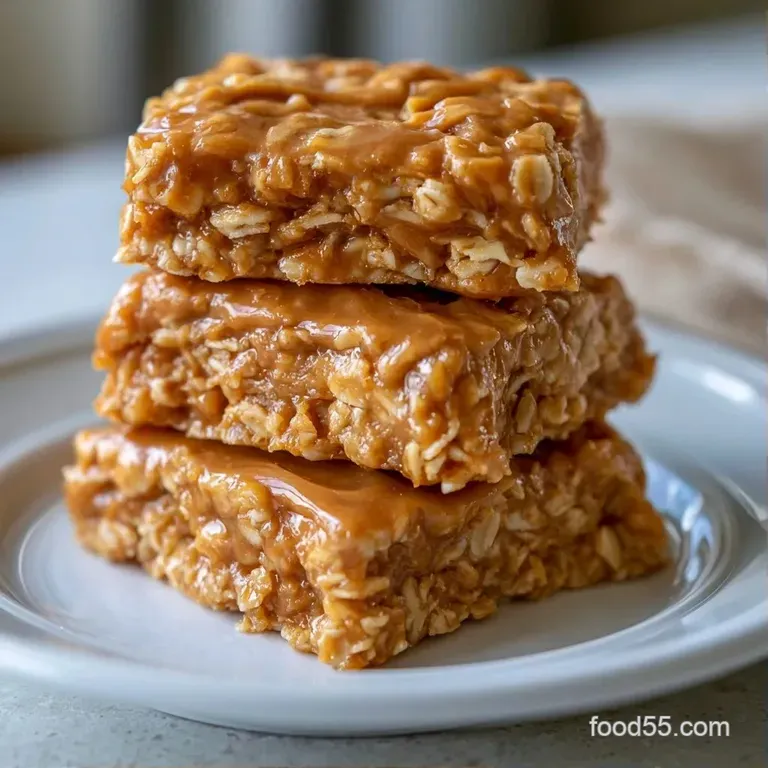
No specialized equipment is required. A medium saucepan and a sturdy spatula are the primary tools, along with an 8x8 inch square baking pan and some parchment paper.
I suggest using a flat bottomed glass or a heavy measuring cup to press the mixture down. Your hands are an option, but a flat object ensures the bars have a uniform thickness across the entire pan.
How to Make It
Phase 1: Pan Setup
Prepare an 8x8 inch pan by fitting it with parchment paper. Ensure there are a few inches of overhang on the sides. This acts as a sling, allowing you to hoist the entire block out easily.
Phase 2: The Liquid Binder
Combine the peanut butter, honey, and unsalted butter in a saucepan over low heat. Stir continuously for 3 mins until the mixture is smooth and just starting to bubble. Take it off the heat right away to prevent the honey from burning.
Phase 3: Seasoning
Mix the vanilla extract and fine sea salt into the warm syrup. Stirring off the heat ensures the vanilla essence doesn't evaporate.
Phase 4: The Mix
Drizzle the warm syrup over the rolled oats and flax seeds in a large mixing bowl. Fold the ingredients together with a spatula until every oat is glossy and coated.
Phase 5: Adding Chips
Let the oat mixture sit and cool for 5 minutes. This step is essential. Now, fold in the mini chocolate chips. This prevents them from melting into streaks and keeps them as distinct chocolate pockets.
Phase 6: The Press
Move the mixture into the prepared pan. Use a flat glass or spatula to press down firmly. Pack it until the surface is level and feels compact.
Phase 7: The Set
Chill the pan in the refrigerator for at least 2 hours. The treat is ready once the center is firm to the touch and no longer sinks under light pressure.
Phase 8: Slicing
Pull the parchment sling to remove the block from the pan. Cut it into 12 equal rectangles using a sharp knife.
Dietary Adaptations
To make a vegan version, simply replace the honey with maple syrup and use a plant based butter alternative. Because maple syrup is thinner than honey, you may want to refrigerate the bars for an additional hour to ensure they set properly.
If you prefer a "power bar" style, stir in a scoop of protein powder. Remember to include a tablespoon of milk or water in the syrup, as the powder's absorbency can otherwise lead to dry bars.
For a baked alternative with a similar nutty profile, give these peanut butter cookies a try.
To create a dark chocolate variation, opt for 70% cocoa chips and stir a bit of espresso powder into the syrup. This enhances the richness of the chocolate without creating a mocha flavor.
Storage & Reheating
Keep these bars in a sealed container in the fridge. They stay fresh for about 10 days. If you leave them on the counter in a hot kitchen, the honey can soften, and they might lose their shape.
You can freeze these for up to 3 months. I like to wrap them individually in parchment paper before putting them in a freezer bag. This stops them from sticking together in one giant block.
To eat them from the freezer, just let a bar sit at room temperature for 10 minutes. Don't microwave them, or the chocolate chips will turn into a puddle and the honey will get too runny.
For zero waste, if you have a bit of the oat mix left in the bowl, don't toss it. Roll it into small balls for "energy bites" and pop them in the fridge. It's a great way to use every bit of the ingredients.
Serving Suggestions
These are delicious solo, but I enjoy pairing them with chilled almond milk or a slice of crisp apple. The apple's acidity balances the creamy peanut butter.
For a complete breakfast, serve one bar with Greek yogurt and a handful of berries. This provides a healthy blend of proteins, fats, and fruit to kick off your day.
If you're taking these along for a trip, store them in a cooler bag. Since they are no-bake, they need the cold to maintain their shape. Once firm, they're a convenient, mess free handheld snack.
I also like dipping the ends in melted dark chocolate and adding a sprinkle of flaky salt. It turns them into a gourmet treat rather than just a gym snack, which I highly recommend.
Recipe FAQs
Did you make this recipe?
Yes, I developed and tested this recipe. It takes only 10 minutes of prep time to put together.
What is a great homemade granola bar recipe?
These no-bake peanut butter granola bars are a great choice. For another family favorite treat, try making magic bars.
Which granola bar is the best in your opinion?
These peanut butter bars are my favorite because they don't require baking. They offer a perfect balance of honey and oats.
Can you suggest nutritious snack ideas for kids?
Peanut butter granola bars are a nutritious and tasty option. You can also offer sliced apples or yogurt.
How about snacks for kids who are always on the go?
Portable granola bars are the best for active kids. They provide steady energy without needing refrigeration for short trips.
Are there snack recipes for a 2-year old for school?
No-bake oat bars are a wonderful choice for 2-year olds. They are soft enough for toddlers and packed with healthy fats.
Is it true granola bars are a complete protein?
Actually, no. They lack certain essential amino acids unless the oats are paired with complementary protein sources.
Could these be the best snacks for children to take to school?
Homemade granola bars are among the best school snacks. They avoid the processed sugars found in store-bought versions.
Peanut Butter Granola Bars in 13 Minutes