Easy Ice Cream in a Bag: a Fun Treat for All Ages
Discovering the Joy of Ice Cream in a Bag
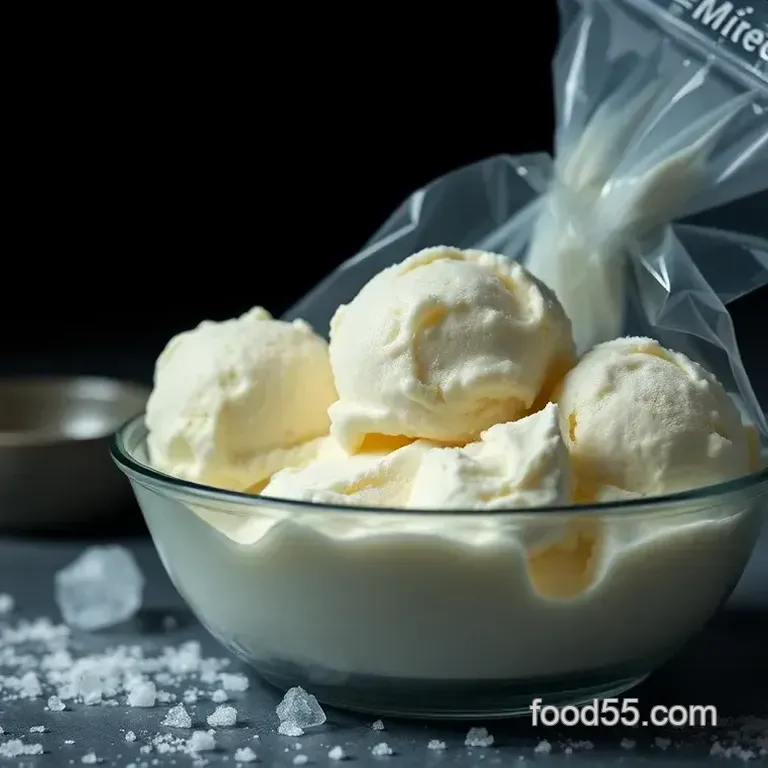
Oh my gosh! who doesn’t love ice cream? i mean, it’s one of those universal treats that just brings a smile to your face, right? today, i’m thrilled to share how to make ice cream in a bag .
This isn't just any ice cream; it’s an easy ice cream recipe that brings out the kid in all of us! trust me, the best part is that you can have a delicious, creamy bowl of ice cream in under 15 minutes!
This frosty delight isn’t only about tasting good it has a fun backstory too. originally, making ice cream in a bag started as a crafty science experiment that taught us about freezing and mixing.
And what’s better than turning a simple recipe into a family fun night? it’s super easy, so even the littlest hands can help out! just grab a few ingredients, a couple of bags, and you’re good to go!
In terms of difficulty, we’re talking easy peasy . seriously, if you can measure and shake, you’re golden. the whole process takes about 10 minutes of prep and 5 more for shaking no ice cream maker required! this recipe yields about 1 cup of delicious homemade goodness, perfect for two servings.
It’s just right for a chill movie night or a summer bbq.
Now, let’s chat health benefits. one of the top highlights? you can control what goes into your ice cream! you know exactly what you’re serving - no hidden ingredients or weird preservatives here.
Plus, having a little homemade ice cream on a hot day can totally brighten up anyone's mood!
I can’t think of a better occasion for serving this than during a family cook off or a fun gathering with friends.
Just imagine everyone shaking their bags and mingling it’s like a mini ice cream party in your kitchen! what’s more, this recipe is special because it transforms a kitchen chore into a thrilling activity for the kids.
They're not just cooking; they’re creating their own cold masterpiece.
So, are you ready to dive into this masterpiece? Grab your ingredients, and let’s get whipping up this delightful ice cream in a bag! You’ll surely want to impress your family and friends with something that’s not only delicious but playful too and trust me, they’ll be buzzing about it for days!
The Ingredients & Equipment You’ll Need
Let me tell you, this easy ice cream in a bag recipe is not just a treat; it’s a whole experience! perfect for kids cooking together or just a fun afternoon with your pals.
Let’s dive into what you’ll need to make this creamy goodness happen!
Main Ingredients You’ll Need
First off, here’s the lineup of ingredients. Make sure to grab the good stuff!
Ice Cream Mixture:
- 1 cup (240 ml) heavy cream – Look for the “whipping cream” label. It should have a fat content of at least 36% for that dreaminess!
- 1 cup (240 ml) whole milk – Full fat milk adds richness! No skimping here.
- ½ cup (100 g) granulated sugar – This sweet keeps things balanced.
- 1 teaspoon (5 ml) vanilla extract – Go for pure vanilla if you can. Those fake ones just don’t cut it.
The Freezing Crew:
- 4 cups (960 ml) ice cubes – About 2 trays from your freezer.
- ½ cup (120 g) coarse salt – Rock salt or kosher salt works wonders! Don’t skip it.
Seasoning Notes for That Extra Touch
When it comes to flavor, you can really play around! Here’s the scoop on some must haves:
- Essential Flavors: Vanilla is classic, but add in cocoa powder for chocolate ice cream or throw in some fresh fruit for a twist!
- Quick Substitutions: No vanilla? Try almond extract or a splash of your favorite liquor for grown-up versions.
Equipment Keep It Simple
Now, let’s talk tools. You won’t need a fancy kitchen for this!
- 1 gallon sized resealable plastic bag – This is your ice cream powerhouse.
- 1 quart sized resealable plastic bag – This one holds the magic mix.
- Mixing bowl – Grab your favorite one, you know, the trusty old bowl.
- Measuring cups and spoons – Can't bake without 'em!
- Towel or oven mitt – Very useful for when you’ve got frozen hands from all that shaking.
Wrap It Up with a Smile!
There you have it! a simple list of ingredients and equipment to make ice cream in a bag is all you need.
Honestly, it’s a great way to bond with kids while dishing out some delicious treats. plus, it’s just so easy! if you’re into kid snacks or kids cooking , this recipe is perfect.
So, get the gang together and start shaking! you’ll have creamy goodness in minutes, and oh boy, will the smiles be worth it! now go make that ice cream magic happen.
Cooking Method for Easy Ice Cream in a Bag
Oh my gosh, who thought making ice cream could be this easy?! you’re gonna love this easy ice cream in a bag recipe.
It’s a total game changer, especially if you’ve got kids in the kitchen. let’s dive into those prep steps that will make your ice cream adventure smooth and fun!
Prep Steps
First things first, mise en place is key. grab your ingredients: heavy cream , whole milk , sugar , and vanilla extract .
Also, you’ll need some ice and coarse salt for that chilly magic. have it all measured out before you start.
It saves time and helps avoid the dreaded “where’s the sugar?” panic!
Pro-tip: organize your kitchen ! put everything within reach. the less you jump around chasing ingredients, the more fun you’ll have.
And safety first, friends. remember to seal your smaller bag tight; no one wants an ice cream explosion!
Step-by-step Process
Make the ice cream base : in a mixing bowl, combine 1 cup of heavy cream , 1 cup of whole milk , ½ cup of sugar , and 1 teaspoon of vanilla extract .
Whisk until smooth.
Assemble the bags : pour the mixture into a quart sized resealable bag. seal it tightly like, super tight. now grab a gallon sized bag and fill it with 4 cups of ice and ½ cup of coarse salt .
Combine Bags : Place that quart sized bag inside the gallon bag with ice and seal the larger bag.
Shake it up : shake, shake, shake for about 5- 10 minutes . you might want to use a towel or oven mitts to protect those hands from the cold.
Trust me, it’s colder than your ex’s heart.
Check for Doneness : After shaking, peek inside to see if it’s thickened to your liking. Keep shaking if it’s still a bit runny.
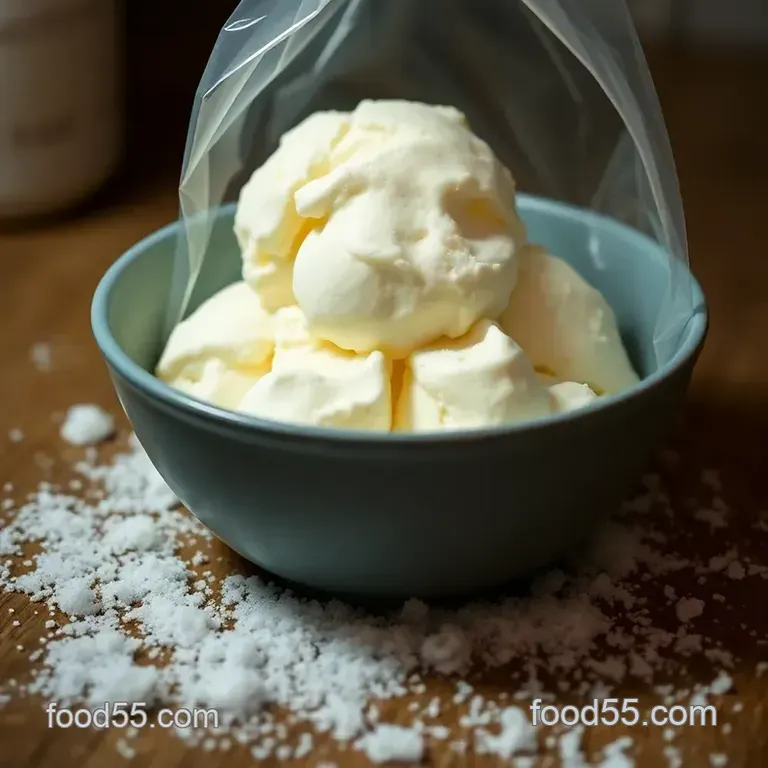
Serve It Up : Remove the smaller bag, wipe off any salt, and scoop out your yummy ice cream into bowls.
Pro Tips
Make sure that smaller bag is sealed tightly, or it could get messy! an easy mistake to avoid. and if you’re feeling adventurous, why not throw in some extras? chopped fruits, candies, or even nuts make for fab kid snacks .
Just toss them in after the ice cream has thickened a bit.
Also, try chilling your ingredients first this will speed up the process! if you wanna do it ahead of time, just prep the bags and shake them later when you’re ready.
It’s like high tech ice cream magic!
So, there you go! this kids cooking recipe is quick, easy, and oh-so-fun. making ice cream has never been this interactive.
Enjoy your sweet creations and get your family together for an ice cream theme night. it’s sure to be a hit!
Recipe Notes
Serving Suggestions
Let’s be real, when you whip up easy ice cream in a bag , it’s all about that presentation. grab some cute bowls and scoop out your creamy creation like a pro.
Top it with sprinkles, chocolate syrup, or fresh fruit. seriously, nothing screams fun like an ice cream treat that looks as good as it tastes! and why not pair it with some warm cookies? i mean, who can resist that combo? or serve it up with a nice cold glass of milk for a classic twist.
Best of both worlds, right?
Storage Tips
Okay, so you might end up with leftover ice cream (though i doubt it!) but if you do, stash it in an airtight container in the fridge for up to 2 days.
I mean, trust me, it’s best enjoyed fresh. if you're planning on freezing it, pop that container in the freezer for a month max.
Just remember, when you’re ready to take it out, let it sit for a few minutes at room temp before digging in.
You don’t want to break a spoon!
Variations
Here’s the fun part: get creative! want to make this a kids cooking recipe ? go for it! swap in some almond or coconut milk for a dairy-free version.
Or if your kids are feeling adventurous, let them mix in some crushed candies or fruit for a totally unique flavor.
You could even use pumpkin puree in the fall for that seasonal vibe. sounds delish, right?
Nutrition Basics
Now, i know that ice cream isn't usually thought of as health food. but this recipe does pack a little protein and some calcium from the milk.
Plus, if you use ingredients like fresh fruit, you get added vitamins too! and hey, balance is key, right? enjoying a homemade treat like this can definitely be part of a balanced diet.
Wrap-up time! making how to make ice cream in a bag is not just about the treat. it’s about making memories with your kids in the kitchen.
Enjoy every scoop, and don’t forget to share the fun with friends and family (if you can!). so grab your bags and shake it like you mean it! who’s ready for some ice cream magic?
Frequently Asked Questions
What is the best way to learn how to make ice cream in a bag?
The best way to learn is by gathering your ingredients and following the step-by-step instructions provided in the recipe. It's a straightforward process that involves mixing, bagging, shaking, and serving! You’ll soon be impressing your mates with homemade ice cream without even breaking a sweat!
Can I use different flavors for my ice cream in a bag?
Absolutely! You can easily customize your ice cream. Try adding in cocoa powder for chocolate, or fresh fruit purée for a fruity twist. Just remember to keep flavored extracts to around ½ teaspoon to avoid overpowering your ice cream base.
How long does it take to make ice cream using this method?
This ice cream in a bag method is quick and fun! It takes just about 10 minutes of active prep time, and you’ll have your icy treat ready in around 15 minutes total. It’s an excellent option for a spontaneous dessert fix!
What can I do if my ice cream is too soft after shaking?
If your ice cream isn’t quite thick enough, simply continue shaking for a few more minutes. Alternatively, you can place the smaller bag of ice cream mixture in the freezer for 10-15 minutes to help it firm up a bit more before serving.
Can I store leftover ice cream in the bag for later?
Once your ice cream has set, it’s best enjoyed fresh, but you can store any leftovers in an airtight container in the freezer. Just be aware that it might harden quite a bit, so let it sit at room temperature for a few minutes before scooping it out.
Are there any health considerations I should be aware of?
This ice cream recipe is rich and indulgent coming in at about 300 calories per serving, so it’s best enjoyed as an occasional treat. If you’re looking for a lighter option, consider using almond or coconut milk instead of heavy cream and whole milk to reduce calories and fat content.
Easy Ice Cream In A Bag A Fun Treat For All Ages

