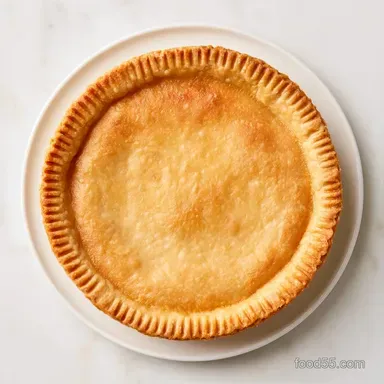
Flaky Gluten Free Sourdough Pie Crust
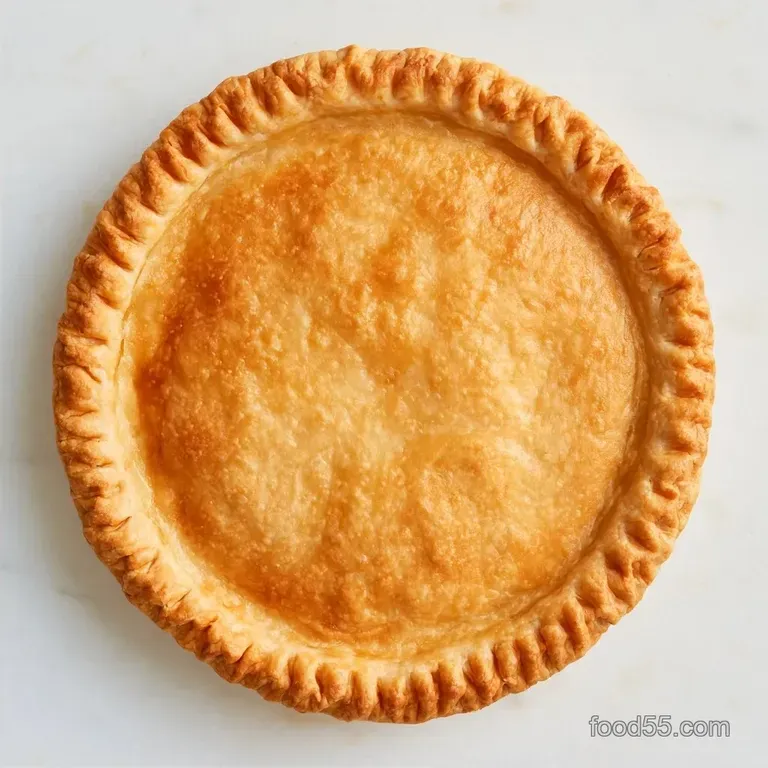
- Time:20 minutes active + 1 hour chilling
- Flavor/Texture Hook: Buttery, flaky, with a subtle sourdough tang
- Perfect for: Holiday pies, tarts, or a savory quiche base
The smell of butter browning in a hot oven is basically my favorite scent in the world. Last Thanksgiving, I brought a berry tart to my aunt's place, and I watched from the kitchen as my gluten eating cousins took a bite.
They didn't just like it, they actually asked for the recipe because they couldn't tell it was gluten-free. That's the win I live for.
Usually, gluten free crusts feel like eating sandy cardboard, or they just disintegrate the second the fork touches them. But this gluten free Sourdough Pie Crust is different. It's got a structural integrity that comes from the sourdough discard, which gives it a bit of that "chew" and a depth of flavor that regular flour blends just can't hit.
You're going to get a crust that's light, crisp, and has just enough tang to balance out a sweet filling. It's a solid base that brings people together around the table, whether they're avoiding gluten or just love a good pie. Let's crack on.
Gluten free Sourdough Pie Crust Specs
Let's dive into the details. This recipe produces one standard 9 inch crust. I highly recommend weighing your ingredients, as GF flour blends vary significantly in moisture absorption; using a scale prevents the dough from becoming a crumbly mess.
You'll spend about 20 minutes on active preparation. However, the chilling stage is non-negotiable. Rolling the dough while it is still warm will melt the butter, destroying those characteristic flaky layers.
Including the resting period, the total time is 1 hours 30 mins.
One crust contains approximately 564 kcal, with 6.1g of protein, 27.5g of fat, 67.3g of carbs, and 2.5g of fiber. For more comprehensive information on the base ingredients, visit USDA FoodData Central.
What Goes Into The Dough
The blend of flours here is intentional. I use a mix of a high-quality GF all purpose blend and almond flour. The almond flour adds a rich, nutty note and helps the crust feel less "starchy" and more like a traditional pastry.
The sourdough discard is the real workhorse. It provides the moisture and the acid needed to soften the starches. Trust me on this, make sure your discard is chilled. If it's room temperature, it'll melt your butter pockets before they even hit the oven.
| Original Ingredient | Substitute | Why It Works |
|---|---|---|
| Unsalted Butter (1/2 cup) | Coconut Oil (solid, 1/2 cup) | Similar fat content. Note: Slightly less flaky, adds a hint of coconut flavor |
| Almond Flour (1/4 cup) | Oat Flour (certified GF, 1/4 cup) | Nut free option. Note: Denser texture and a more neutral taste |
| Cane Sugar (1 tbsp) | Maple Syrup (2 tsp) | Liquid sweetener. Note: You may need 1 less tbsp of water to keep dough consistency |
| GF Sourdough Discard (1/2 cup) | GF Yogurt + 1/4 tsp Lemon (1/2 cup) | Mimics the tang and moisture. Note: Lacks the fermented depth of sourdough |
Tools For The Job
A food processor makes this process much easier. Because it blends everything in seconds, it keeps the butter cold, whereas using a pastry blender by hand takes longer and can warm the dough with your touch.
You will also need a 9 inch pie pan and two large sheets of parchment paper. Parchment is especially helpful when rolling out GF dough, as it tends to be stickier than wheat based dough. A rolling pin and plastic wrap for chilling are the only other requirements.
If you plan to blind bake, gather some pie weights or dried beans in a jar. These prevent the crust from shrinking down the sides or bubbling up.
Simple Steps For Baking
- Pulse the 2 cups (280g) gluten-free all purpose flour blend, 1/4 cup (30g) almond flour, 1 tsp (5g) fine sea salt, and 1 tbsp (8g) cane sugar in a food processor.
- Add the 1/2 cup (115g) chilled, cubed butter. Pulse in short bursts until the mixture looks like coarse meal with pea sized lumps of butter remaining. Note: Don't over process or you'll lose the flakes.
- Add the 1/2 cup (120g) chilled gluten-free sourdough discard. Pulse until the dough just begins to clump together.
- Add 1-2 tbsp (15-30ml) ice cold water one tablespoon at a time if needed until the dough holds together when pressed. Note: Stop as soon as it clumps; too much water makes it gummy.
- Form the dough into a flat disc and wrap it tightly in plastic.
- Refrigerate for 1 hour until the dough feels firm and cold to the touch.
- Place the chilled disc between two sheets of parchment paper. Roll from the center outward into a 12 inch circle.
- Lift the dough into a greased 9 inch pie pan and press it gently into the edges.
- Bake at 375°F (190°C) for 10-12 minutes until the edges are a light mahogany color and the base feels set.
Solving Common Crust Issues
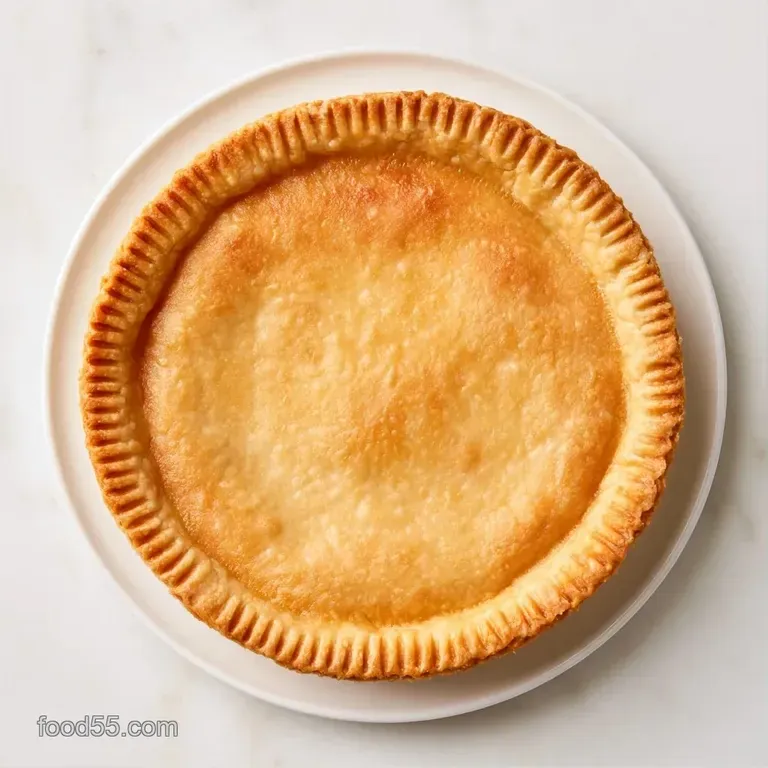
GF baking is a bit of a balancing act. When a crust ends up feeling sandy, it's typically a hydration problem. Because different gluten-free flour brands absorb water at varying rates, it's better to trust your visual cues than the measurements.
Fixing Crumbly Dough
If the dough cracks while rolling, it is too dry. Don't worry; just gather it back into a ball and knead in a teaspoon of ice water at a time. Aim for a texture like play dough rather than wet sand. I've found that a little extra water helps the crust hold together, similar to how the moisture in Sourdough Pull Apart Rolls maintains their tenderness.
Stopping Crust Shrinkage
Shrinkage occurs when the dough is too warm or hasn't been pressed firmly into the pan. Ensure the dough is ice cold before it enters the oven. If you are blind baking, use weights to keep the sides pinned against the pan.
Preventing Gummy Bottoms
A gummy base usually means the crust didn't receive enough heat. If you're filling the pie, try par baking the crust for 8 minutes first. Another technique is to bake the pie on the lowest oven rack for the initial 10 minutes to sear the bottom.
| Method | Texture Result | Best Use Case |
|---|---|---|
| Oven Bake | Flaky, crisp, golden | Traditional pies, tarts, quiches |
| Stovetop Paste | Dense, soft, cookie like | Quick "press in" crusts, no bake bases |
Easy Flavor and Diet Swaps
This gluten-free sourdough pie crust is a versatile base. For a sweet pie, I recommend adding orange zest or a pinch of cinnamon to the dry ingredients. This adds a subtle warmth that works wonderfully with pumpkin or apple fillings.
For a savory alternative, omit the cane sugar and add a pinch of dried thyme and 1/2 tsp cracked black pepper. This version is excellent for a leek quiche or chicken pot pie. It has a flavor profile similar to my Sourdough Discard Pumpkin Cookies recipe, just transitioned to the savory side.
To make it vegan, swap in chilled refined coconut oil or a high-quality vegan butter stick. The process is identical, though the crust may be slightly more delicate, so handle it with care when transferring it to the pan.
Quick Adjustments:
- More tang? → stir 1 tsp lemon juice into the discard
- Nut free? → swap almond flour for oat flour
- Sweeter crust? → increase cane sugar to 2 tbsp
Storing and Reducing Waste
I usually prepare an extra batch of this dough since it freezes so well. Wrap each dough disc tightly in plastic and store them in a freezer bag. They will last for 3 months. For use, let a disc thaw in the refrigerator overnight.
If you have a baked, unfilled crust, store it in a loose fitting container in the fridge for 2 days. To restore the crispness, simply heat it in a 350°F oven for 5 minutes.
Make sure not to waste your leftover sourdough discard. Any extra you have after making the crust can be used to thicken stews or stirred into pancake batter. It’s all about making the most of that fermented goodness.
Pairing and Presentation Tips
The slight sourness of this crust makes it a great match for very sweet fillings. A classic apple pie with plenty of cinnamon or a tart lemon curd both work well. The sourdough tang cuts through the sugar and keeps the dessert from feeling too heavy.
When presenting, I love to brush the edges of the crust with a little egg wash (one egg beaten with a splash of water) before baking. This gives it a glossy, professional look that makes it feel like it came from a bakery.
For a rustic look, don't worry about the edges being perfect. Just crimp them with your fingers or a fork. The contrast between a golden, craggy crust and a bright fruit filling is what makes a pie feel like home.
Why This Crust Works
I've spent a lot of time figuring out why some GF crusts fail and others succeed. The trick here is the combination of the sourdough discard and the fat management.
Lactic Acid: The acid in the sourdough discard breaks down the proteins in the GF blend, making the dough more flexible and less likely to snap.
Cold Fat Pockets: Keeping the butter in pea sized lumps creates steam vents during baking. This is what actually pushes the dough apart to create those flaky layers.
The almond flour acts as a binder and adds a richness that mimics the fat content found in traditional wheat pastry. It's a simple balance of chemistry and temperature that results in a crust that actually behaves.
Recipe FAQs
Why does my gluten-free sourdough crust feel too crumbly?
You likely need more ice-cold water. Add it one tablespoon at a time until the dough holds together when pressed.
Which flour blend provides the best texture?
A combination of gluten-free all-purpose flour and almond flour works best. This blend balances structural stability with the tenderness needed for a flaky crust.
Is it true that sourdough discard is only for bread?
Not true. Chilled sourdough discard adds a subtle tang and helps bind gluten-free ingredients in a pastry crust.
How to roll out this dough without it sticking?
Place the chilled dough disc between two sheets of parchment paper. If you enjoyed mastering dough handling here, see how the same principle works in these pumpkin scones.
gluten free Sourdough Pie Crust