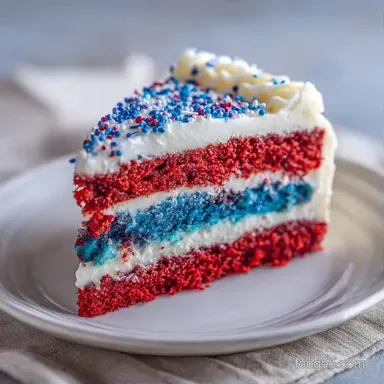
Red White Blue Layered Cake: Fluffy and Velvety
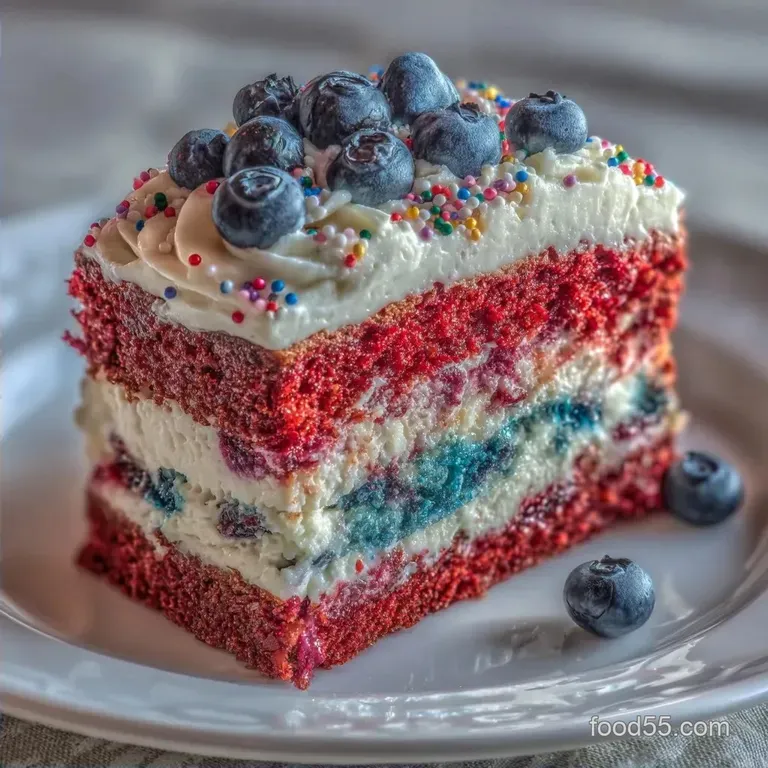
- Time: 20 min active + 2 hours chilling
- Flavor/Texture Hook: Velvety vanilla crumb with a cloud like buttercream
- Perfect for: 4th of July parties or family reunions
Making a Red White Blue Layered Cake
That first scent of vanilla hitting the air always takes me back to my aunt's backyard in July. I can still hear the distant pop of fireworks and the sound of kids screaming while running through a sprinkler.
Every year, there was one table that everyone crowded around, and it was always the one with the most vibrant, colorful dessert. For us, it was always a patriotic cake, but back then, they were often too sweet or had colors that bled into one messy purple blob.
I spent a few summers trying to figure out why some cakes look like professional bakery windows and others look like a preschool art project. The secret isn't in some fancy machine, but in how you handle the butter and the type of coloring you use.
I remember one year I used liquid food coloring from the grocery store, and by the time the cake hit the table, the red layer had leaked into the white, making it look like a crime scene instead of a celebration.
This version is the one I bring to the neighborhood block party now. It's a Red White Blue Layered Cake that actually keeps its lines sharp and tastes like a proper vanilla bean treat, not a sugar bomb. We're talking about a crumb that's soft enough to melt but sturdy enough to stack.
It's the kind of dessert that brings the whole family together for that first slice, and trust me, the look on people's faces when they see the layers is worth every minute of the prep.
Keeping the Colors Sharp
Air Incorporation: Beating butter and sugar creates tiny air pockets. These pockets hold the structure, preventing the cake from becoming a dense brick.
Gel Pigmentation: Gel colors have a higher pigment to liquid ratio than liquid drops. This means you get a vibrant red and blue without adding extra moisture that would thin out the batter.
Temperature Control: Cooling the cakes fully for 2 hours stops the steam from melting the buttercream. If you frost a warm cake, the frosting slides off and the colors smudge.
Protein Structure: All purpose flour provides enough gluten to hold the layers up. According to King Arthur Baking, the protein content in AP flour is the middle ground that ensures a tender but stable crumb.
| Approach | Prep Time | Texture | Best For |
|---|---|---|---|
| Shortcut (Box Mix) | 15 mins | Spongy | Last minute guests |
| Classic (Scratch) | 20 mins | Velvety | Holiday centerpieces |
| Custom (Modified) | 30 mins | Dense/Moist | Heavy fruit fillings |
Ingredient Component Analysis
| Ingredient | Science Role | Pro Secret |
|---|---|---|
| Unsalted Butter | Fat/Aeration | Keep it at 65°F for the best fluff |
| Baking Powder | Leavening | Sift it to avoid "bitter spots" in the crumb |
| Gel Food Color | Visual Contrast | Stir slowly to avoid over mixing the gluten |
| Powdered Sugar | Structure | Sift it to ensure a silky frosting finish |
The Building Blocks
For the cake base, you'll need a few pantry staples. Make sure your butter is softened but not melting. If it's too oily, your cake will be heavy.
- 3 cups (375g) all purpose flour Why this? Provides the necessary structure for stacking.
- 2 cups (400g) granulated sugar Why this? Creates a fine crumb and sweetness.
- 1 tbsp (12g) baking powder Why this? Lifts the cake for a light feel.
- ½ tsp (3g) salt Why this? Balances the sugar levels.
- 1 cup (225g) unsalted butter, softened Why this? Adds richness and helps with aeration.
- 4 large eggs (approx. 200g) Why this? Binds the ingredients and adds lift.
- 1 cup (240ml) whole milk, room temperature Why this? Keeps the crumb moist.
- 2 tsp (10ml) pure vanilla extract Why this? The primary flavor profile.
- 1 tsp (5ml) red gel food coloring Why this? Concentrated color without thinning batter.
- 1 tsp (5ml) blue gel food coloring Why this? Deep blue that doesn't fade in heat.
For the vanilla buttercream, don't skimp on the butter. low-fat alternatives will make the frosting grainy.
- 1 ½ cups (340g) unsalted butter, softened Why this? The base for a creamy mouthfeel.
- 5 cups (600g) powdered sugar, sifted Why this? Gives the frosting its body.
- 3 tbsp (45ml) heavy cream Why this? Adjusts the consistency to be spreadable.
- 1 tsp (5ml) vanilla extract Why this? Complements the cake layers.
- ¼ tsp (1.5g) fine sea salt Why this? Cuts through the heavy sugar.
| Original Ingredient | Substitute | Why It Works |
|---|---|---|
| Whole Milk (1 cup) | Buttermilk (1 cup) | More acidity. Note: Makes a slightly tangier, more tender crumb |
| Heavy Cream (3 tbsp) | Whole Milk (3 tbsp) | Similar liquid. Note: Frosting will be slightly less stable/rich |
| All Purpose Flour | 1:1 gluten-free Blend | Mimics wheat. Note: Crumb will be slightly more fragile |
The Cooking Process
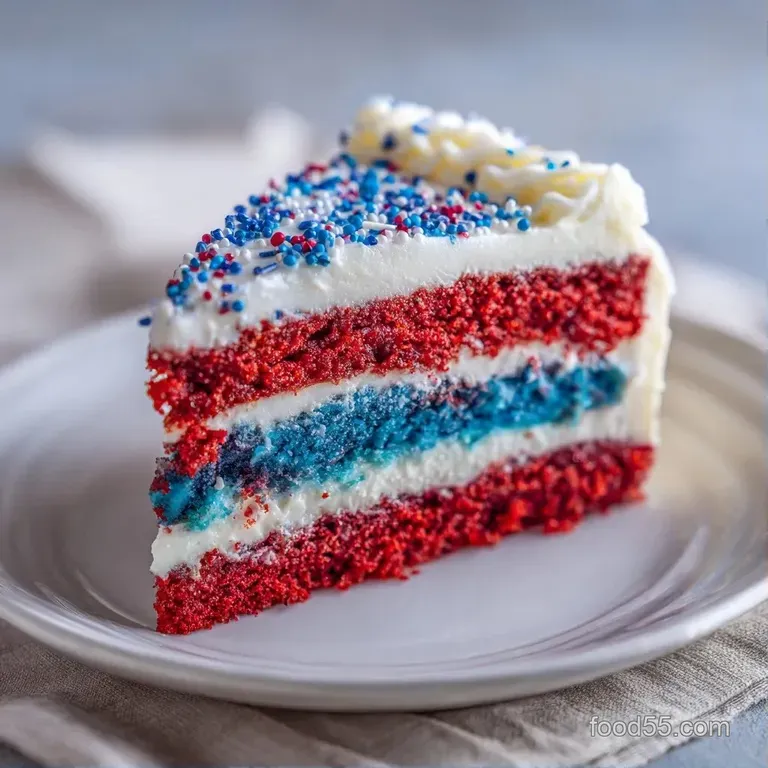
Right then, let's get into the actual making of the cake. I suggest getting your pans ready first so the batter doesn't sit around and lose its air.
Cream the softened butter and sugar. Use a stand mixer such as KitchenAid on medium high until the mixture looks pale and fluffy. This takes about 3-5 minutes.
Beat in the eggs one at a time. Add the vanilla extract. Note: Adding eggs slowly prevents the batter from curdling.
Sift together the flour, baking powder, and salt. Gradually add these dry ingredients to the butter mixture, alternating with the milk, until the batter is smooth. Don't overbeat here, or the cake will be tough.
Split the batter evenly between three medium bowls. Leave the first bowl white. Stir red gel into the second bowl and blue gel into the third. Note: Use a spatula to fold the color in gently.
Pour each colored batter into parchment lined 8 inch round cake pans. Make sure they are centered so you don't get lopsided layers.
Bake at 350°F (175°C) for 25-30 minutes until a toothpick inserted in the center comes out clean. The cakes should spring back when lightly touched.
Allow cakes to cool completely on a wire rack for 2 hours. This is the hardest part, but if you rush it, your frosting will melt.
Level the tops of the cooled cakes using a serrated knife. Cut off the domed tops to create flat surfaces. Note: Save the scraps for a cake pop snack!
Prepare buttercream by beating together softened butter, powdered sugar, heavy cream, vanilla extract, and salt. Beat until it feels velvety and holds a peak.
Assemble the cake. Place the blue layer at the bottom, spread a layer of buttercream, add the white layer, more buttercream, and finally the red layer on top.
Chef's Note: If you find the buttercream is too stiff to spread, add heavy cream one teaspoon at a time. If it's too runny, add a tablespoon more of powdered sugar.
Sinking Layers and Smudged Colors
It's easy to get frustrated when a cake doesn't look like the picture, but usually, it's just a temperature issue. If your cake sinks in the middle, it's often because the oven door was opened too early, letting out the heat needed to set the structure.
Sinking Cake Centers
This usually happens when the leavening agent reacts too quickly or the cake is underbaked. Ensure your baking powder is fresh and that you don't open the oven until at least the 20 minute mark.
Runny Frosting Issues
When the frosting won't stay put, it's either too warm or the cake wasn't cool enough. If the frosting is too soft, pop the whole bowl in the fridge for 10 minutes, then beat it again.
Color Bleeding
If the red leaks into the white, it's often due to excess moisture or frosting the cake while it's still lukewarm. Always use gel colors instead of liquid ones for a sharper line.
| Problem | Root Cause | Solution |
|---|---|---|
| Cake is too dense | Over mixing the flour | Use a low speed for the final stir |
| Frosting is grainy | Powdered sugar wasn't sifted | Sift sugar before adding to butter |
| Layers are uneven | Batter wasn't split evenly | Use a kitchen scale for each pan |
Common Mistakes Checklist
- ✓ Did you use gel colors instead of liquid drops?
- ✓ Was the butter truly softened (not melted)?
- ✓ Did the cakes cool for the full 2 hours?
- ✓ Did you sift the powdered sugar for the frosting?
- ✓ Did you alternate flour and milk to keep the batter stable?
Adjusting the Recipe Size
If you're feeding a small group or a massive crowd, you can scale this Red White Blue Layered Cake, but you have to be careful with the chemistry.
For a smaller version (half batch), use 4 inch or 6 inch pans. You'll need to reduce the baking time by about 20%, so start checking at 20 minutes. Since you can't easily halve an egg, beat one egg in a small bowl and measure out half of it by weight or volume.
When scaling up (double or triple batch), don't just multiply everything blindly. Salt and baking powder should only be increased to 1.5x to avoid a metallic taste or an over inflated cake that collapses. Work in batches if your mixer is small; overcrowding the bowl prevents the butter and sugar from aerating properly.
For double batches in the oven, lower the temperature to 325°F and extend the time slightly to ensure the centers cook through without burning the edges.
Cake Baking Misconceptions
Searing meat isn't the only thing people get wrong; cake baking has its own set of myths. For example, many people believe that you must freeze cake layers before frosting them. While it helps with crumbs, it's not mandatory as long as the cakes are completely cool.
Just chilling them in the fridge for an hour is usually enough.
Another common myth is that using more sugar makes a cake moister. In reality, too much sugar can actually weaken the structure of the cake, leading to those dreaded sunken centers. Balance is key.
Finally, some think that "room temperature" eggs can be cheated by putting them in hot water for a minute. This is risky because you can accidentally cook the whites. The best way is to leave them on the counter for 60 minutes or place them in a bowl of warm (not hot) water for 10 minutes.
Storage Guidelines
To keep your Red White Blue Layered Cake fresh, store it in a cake carrier or an airtight container. Because of the buttercream, it stays best in the refrigerator for up to 5 days. However, cold butter can make the cake feel a bit firm.
I recommend taking it out of the fridge about 1-2 hours before serving so it can reach room temperature.
If you need to freeze it, you can freeze the unfrosted layers. Wrap each layer tightly in two layers of plastic wrap and then a layer of aluminum foil. They will stay fresh for up to 3 months. Thaw them in the fridge overnight before frosting.
For zero waste, don't throw away the cake scraps from leveling the tops. Crumble them into a bowl, mix with a bit of leftover buttercream and some fresh berries, and you've got a great cake trifle. If you have leftover buttercream, freeze it in small dollops on a baking sheet, then transfer to a bag.
You can thaw them for a quick frosting for cupcakes later.
Perfect Complements
When serving a dessert this rich, you want something to cut through the sweetness. A bowl of fresh, tart raspberries and blueberries on the side is a classic move. It echoes the colors of the cake and adds a fresh, acidic pop.
For a full spread, I love pairing this with other patriotic treats. If you're looking for another layered option, a Cranberry Jello Salad is a fantastic side that brings a different kind of sweetness and texture to the table.
On the savory side, you need something with a kick to balance the sugar. My Southwestern Saucers with chipotle crema provide a spicy, salty contrast that cleanses the palate between slices of cake. The combination of a festive, creamy cake and a zesty appetizer makes for a memorable party menu that keeps guests coming back for more.
Recipe FAQs
What would be the perfect 4th of July dinner?
A classic BBQ spread finished with this Red White Blue Layered Cake. Pair grilled favorites and corn with this patriotic dessert for a complete meal. For a hearty main, a homemade meatloaf complements the festive theme perfectly.
What are your favorite foods to eat on the 4th of July?
Grilled staples and vibrant sweets like this patriotic layered cake. The bold colors and creamy buttercream make it a visual centerpiece. Adding fresh berries on the side provides a tart balance to the sweet frosting.
What are the best 4th of July side dishes to bring to a BBQ?
A showstopping dessert like this Red White Blue Layered Cake. While most guests bring savory sides, a pre-assembled cake is always appreciated. Keep it in a cake carrier to ensure it stays moist during transport.
How to prevent the cake colors from bleeding into each other?
Cool the cakes completely on a wire rack for 2 hours. This sets the crumb structure before you apply the buttercream, which serves as a physical barrier between the red, white, and blue layers.
Can I freeze the cake layers?
Yes, as long as they are unfrosted. Wrap each layer tightly in two layers of plastic wrap and a layer of aluminum foil to maintain freshness for up to 3 months.
Is it true that I must use liquid food coloring for bright red and blue colors?
No, this is a common misconception. Gel food coloring is much more effective because it delivers intense pigment without adding extra liquid to the batter.
How to ensure the cake layers are flat for stacking?
Level the tops of the cooled cakes using a serrated knife. Gently slice off the domed portion of each layer to create a perfectly flat surface for the buttercream to grip.
Red White Blue Layered Cake for 12 Slices