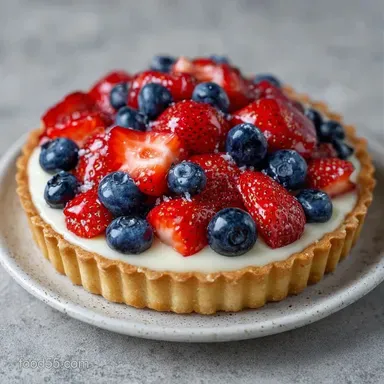
Patriotic Mixed Berry Tart: Crispy and Creamy
- Time: 30 min active + 2 hours chilling
- Flavor/Texture Hook: Velvety vanilla cream with a shatter crisp crust
- Perfect for: Independence Day parties or summer family gatherings
- How to make a Patriotic Mixed Berry Tart
- Why this recipe actually works
- Gathering your essentials
- Tools for the job
- Step by step guide
- Fixing common mistakes
- Changing the ingredients
- Freezing and reheating guide
- Plating for every level
- Busting common dessert myths
- Storage and waste tips
- Recipe FAQs
- 📝 Recipe Card
The smell of browning butter is probably the best scent in any kitchen. I remember the first time I tried making a fruit tart for a holiday; I thought I could just throw some berries on a pre made shell and call it a day. The result was a soggy, weeping mess that looked more like a berry soup than a dessert.
I spent that afternoon wondering why my home version never looked like the ones in the bakery windows.
Forget the idea that you need a professional pastry degree or expensive equipment to get a crisp, stable crust. Most people think you have to "blind bake" with heavy ceramic weights to stop a tart from shrinking, but a quick freezer blast and a few fork pricks do the job just as well.
This is about working with the ingredients, not fighting them.
You can expect a dessert that balances the tang of fresh raspberries and blueberries with a rich, silky vanilla center. This Patriotic Mixed Berry Tart is designed to be sturdy enough to slice cleanly but light enough that it doesn't feel like a brick of sugar. It’s all about those fresh, local summer berries doing the heavy lifting.
How to make a Patriotic Mixed Berry Tart
The first thing to understand about a Patriotic Mixed Berry Tart is that it is a game of temperature. If your butter is too warm, the crust spreads and loses its snap. If your filling is too thin, the berries sink.
By keeping the dough chilled and the vanilla cream properly thickened, you get those clean, professional layers.
I've found that using a food processor is the only way to go here. It keeps the butter from melting under your fingertips, which is the main reason most home-made crusts turn out tough.
When you pulse the flour and butter, you're creating tiny pockets of fat that steam in the oven, creating that signature shortbread texture.
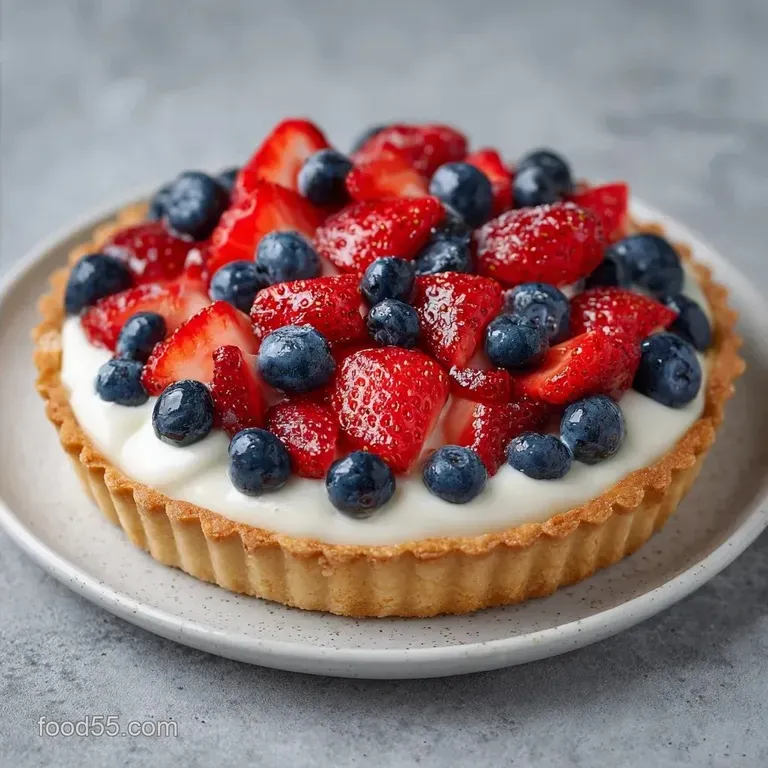
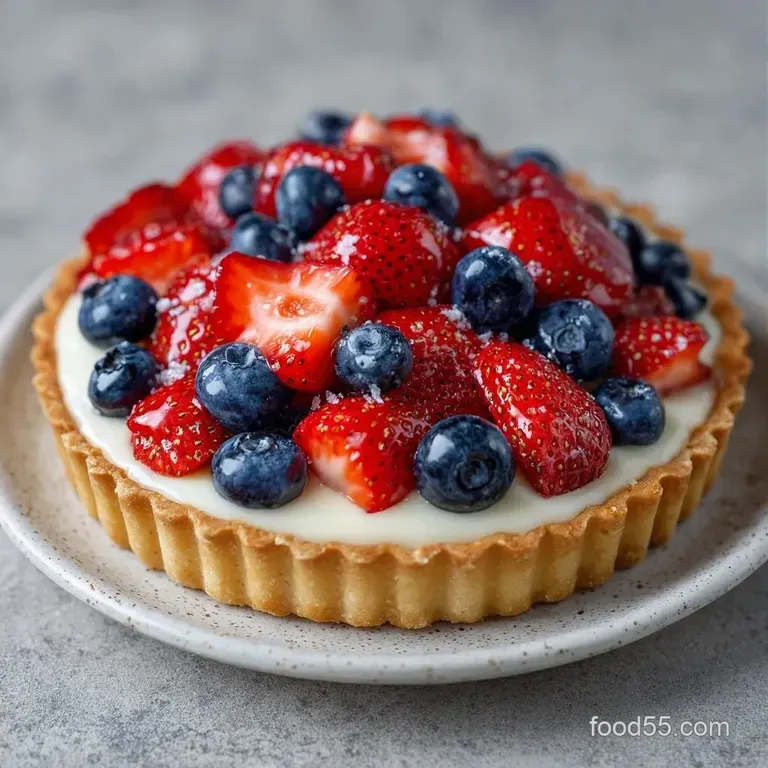
When it comes to the fruit, don't overthink the arrangement. The goal is a vibrant, red white and blue look. I like to start from the outside and work my way in, using the blueberries to create a deep border and the strawberries to provide the bold red pops.
A little bit of melted apricot jam at the end gives it that glossy, high end finish without adding too much sweetness.
Why this recipe actually works
- Cold Fat Suspension: Keeping butter chilled ensures it doesn't fully integrate with the flour, creating a flaky, shortbread style crumb.
- Starch Gelatinization: Cornstarch binds with the milk and sugar when heated, creating a stable, velvety structure that supports the weight of the berries.
- Surface Tension: The apricot jam acts as a natural sealant, preventing the berries from drying out and keeping the colors bright.
- Thermal Shock: Chilling the dough in the freezer right before baking locks the shape, which stops the sides from sliding down the pan.
| Method | Time | Texture | Best For |
|---|---|---|---|
| Fresh Berries | 10 mins | Plump & juicy | Immediate serving |
| Frozen Thawed | 20 mins | Softer & syrupy | Rustic, jammy feel |
| Macerated | 30 mins | Glossy & sweet | Intense berry flavor |
Gathering your essentials
For the crust, we're using all purpose flour and powdered sugar. Powdered sugar is better than granulated here because it dissolves instantly, giving you a smoother crust that doesn't feel gritty. The cold butter is the backbone of the whole thing.
The filling is a modified vanilla pudding. We use whole milk for the fat content, which makes the cream feel more luxurious on the tongue. Pure vanilla extract is a must, as the imitation stuff can taste metallic against the fresh fruit.
For the toppings, I always look for the firmest berries available at the local market. Raspberries should be plump and free of mushy spots. Blueberries should have a dusty, matte finish. Strawberries are best when they are deep red all the way to the stem.
Component Analysis
| Ingredient | Science Role | Pro Secret |
|---|---|---|
| Cold Butter | Structure | Keep it in the fridge until the second you pulse it |
| Cornstarch | Thickener | Whisk into sugar first to avoid lumps |
| Apricot Jam | Glaze | Warm it with a drop of water for easier brushing |
| Whole Milk | Base | Room temperature milk prevents the pudding from splitting |
Tools for the job
You don't need a professional kitchen, but a few specific tools make this a lot easier. A 9 inch tart pan with a removable bottom is the gold standard. It allows you to lift the tart out without breaking the edges. If you don't have one, a springform pan or even a pie dish will work, though the edges won't be as sharp.
A food processor is highly recommended for the crust. It does the "cutting in" of the butter in about 30 seconds. If you're doing it by hand, use a pastry cutter or two knives, but work fast so the butter doesn't melt.
For the filling, a heavy bottomed saucepan is key. Thin pans create hot spots, which can scorch the milk or create lumps in the cornstarch. A whisk is essential for keeping the mixture smooth as it thickens.
Step by step guide
Phase 1: Creating the Foundation
- Pulse the all purpose flour (190g), powdered sugar (60g), and salt (1.5g) in the food processor. Note: This ensures the dry ingredients are perfectly mixed before the fat is added.
- Add the cold, cubed unsalted butter (170g) and pulse until the mixture looks like coarse crumbs. Stop as soon as the butter is pea sized to avoid over mixing.
- Press the dough firmly into the bottom and up the sides of your 9 inch tart pan.
- Place the pan in the freezer for 10 minutes. Note: This "sets" the fat so the crust doesn't shrink during baking.
- Preheat your oven to 350°F (175°C). Prick the bottom of the crust with a fork.
- Bake for 15-20 minutes until the edges are a pale gold and the base is set. Let it cool completely on a wire rack.
Phase 2: Simmering the Vanilla Core
- In a saucepan, whisk the granulated sugar (65g), cornstarch (25g), and salt (1.5g).
- Slowly whisk in the whole milk (480ml). Note: Adding the milk slowly prevents cornstarch clumps from forming.
- Heat over medium, stirring constantly, until the mixture bubbles and thickens into a velvety consistency.
- Remove from heat. Stir in the pure vanilla extract (10ml) and unsalted butter (28g) until the filling is glossy and smooth.
- Pour the vanilla cream into the cooled tart shell and spread it evenly with a spatula.
Phase 3: Designing the Patriotic Pattern
- Arrange the sliced strawberries (150g), blueberries (150g), and raspberries (125g) on top of the cream in a patriotic pattern.
- Lightly brush the berries with melted apricot jam (15ml) for a shine.
- Chill the Patriotic Mixed Berry Tart in the refrigerator for 2 hours before slicing.
Fixing common mistakes
The most common issue I see is the crust shrinking. This usually happens because the dough was too warm when it went into the oven, or it wasn't pressed firmly enough into the corners. If the dough "slumps," it's often because the butter melted before the flour had a chance to set.
Another hurdle is the berries bleeding into the white cream. This happens if the berries are too wet or if they've been sitting in the fridge for too long. Patting them dry with a paper towel before arranging them is a simple but effective fix.
If your vanilla filling isn't thickening, you might have let it boil for too short a time. Cornstarch needs to reach a specific temperature to "activate" and thicken the liquid. If it's too runny, you can whisk in a tiny bit more cornstarch slurry (cornstarch mixed with a teaspoon of water) and heat it again.
Troubleshooting Guide
| Problem | Root Cause | Solution |
|---|---|---|
| Crust is crumbly | Not enough butter or over pulsed | Press dough more firmly into the pan |
| Filling is lumpy | Cornstarch not whisked well | Pass the finished cream through a fine mesh sieve |
| Berries are weeping | Fruit was too wet | Pat berries dry; apply jam glaze immediately |
Common Mistakes Checklist:
- ✓ Did you use cold butter? (Warm butter = soggy crust)
- ✓ Did you freeze the dough for 10 mins? (Skipping this = shrinking)
- ✓ Did the pudding bubble? (No bubbles = runny filling)
- ✓ Did the crust cool completely? (Hot crust = melted cream)
- ✓ Are the berries patted dry? (Wet berries = bleeding colors)
Changing the ingredients
If you're looking to make this a bit more inclusive, there are several ways to swap things around. For a gluten-free version, you can use a 1:1 GF flour blend, but keep in mind the crust will be more fragile. I'd recommend chilling it for 20 minutes instead of 10 to give it more stability.
For those who want to avoid dairy, full fat coconut milk works surprisingly well in the filling. It adds a slight coconut note, but the sweetness of the berries covers it. Just make sure to shake the can well before measuring.
If you're in the mood for something even easier, you might consider a NoBake Cheesecake instead. It gives you a similar red, white, and blue aesthetic without the need for a tart pan or oven.
| Original Ingredient | Substitute | Why It Works |
|---|---|---|
| All Purpose Flour | Almond Flour | Nutty flavor. Note: More fragile crust, requires more chilling |
| Whole Milk | Coconut Milk | Similar fat. Note: Adds tropical flavor |
| Apricot Jam | Honey/Maple Syrup | Natural shine. Note: Less thickness than jam |
Freezing and reheating guide
This Patriotic Mixed Berry Tart doesn't freeze perfectly because of the fresh berries. The fruit tends to release a lot of water when thawed, which can make the crust soggy. However, you can freeze the unbaked crust shells for up to 3 months. Just wrap them tightly in plastic wrap and foil.
To reheat a frozen shell, simply pop it in the oven at 350°F (175°C) for 5-8 minutes to crisp it back up. Don't freeze the assembled tart with the cream and berries.
If you have leftovers, the fridge is your best bet. The tart will stay fresh for about 2-3 days. I recommend covering it loosely with plastic wrap, but don't let the wrap touch the berries, or you'll pull the fruit off when you remove the cover.
Plating for every level
Depending on who you're serving, you can change how you present this. If it's just a casual family lunch, a simple slice is plenty. But if you're hosting a party, a little effort goes a long way.
For a more polished look, I like to add a single sprig of fresh mint to the center of each slice. The green pops beautifully against the red and blue. A light dusting of powdered sugar around the edge of the plate can also make it look like it came from a boutique bakery.
If you're going for a restaurant style presentation, try this: place a small swipe of a berry coulis or even a bit of Cranberry Relish on the plate first. Place the slice of tart on top of the sauce, and garnish with a few micro greens or a single, perfect raspberry.
Plating Tweaks
| Level | Detail | Extra Touch |
|---|---|---|
| Simple | Sliced in wedges | Serve on a white ceramic plate |
| Polished | Mint leaf garnish | Powdered sugar dusting on the rim |
| Restaurant | Berry coulis swipe | Micro mint or edible flowers |
Busting common dessert myths
One myth I hear often is that you must "blind bake" with beans or weights to prevent a tart from bubbling up. While that's true for some pies, a shortbread crust like the one in this Patriotic Mixed Berry Tart is much more stable. Pricking the bottom with a fork lets the steam escape, which is usually enough.
Another common misconception is that you need to cook the berries into a jam to prevent them from leaking. In reality, using a thickened vanilla cream as a barrier between the crust and the fruit does most of the work. As long as your cream is a velvety consistency, the berries will sit happily on top.
Finally, some people think that adding more sugar to the fruit prevents it from spoiling. Actually, too much sugar draws moisture out of the berries through osmosis, making them leak more. Keeping the sugar in the cream and using the berries fresh is the best way to maintain the structure.
Storage and waste tips
Store your leftover Patriotic Mixed Berry Tart in the refrigerator. It's best eaten within 48 hours, as the crust will eventually start to absorb moisture from the filling. To keep it as fresh as possible, store it in a tart pan or on a plate covered with a dome.
To avoid waste, don't throw away the berry stems or the ends of the strawberries. I usually toss them into a freezer bag. Once the bag is full, I simmer them with a bit of water and sugar to make a quick, rustic berry syrup for pancakes.
If you have a little bit of vanilla cream left over in the pan, don't toss it. It's basically a high end pastry cream. Spoon it into a small jar and use it as a dip for fresh fruit or a topping for a slice of toasted brioche the next morning.
Right then, you've got everything you need. This Patriotic Mixed Berry Tart is all about celebrating the season with the freshest local produce. Just remember to keep that butter cold, let the pudding bubble, and take your time with the berry pattern. It's a stunning dish that tastes even better than it looks.
Trust me on this, your guests will be asking for the recipe before they've even finished their first slice.
Recipe FAQs
What would be the perfect 4th of July dinner?
A grilled feast paired with a berry tart. Combine classic BBQ meats and summer salads with this vibrant dessert to complete a festive holiday menu.
What are your favorite foods to eat on the 4th of July?
Vibrant, seasonal treats like this berry tart. I love the contrast of salty grilled mains followed by the sweet, tart freshness of strawberries, blueberries, and raspberries.
What are the best 4th of July side dishes to bring to a BBQ?
Refreshing fruit-based desserts. A pre-made berry tart is easy to transport and adds a visually striking, patriotic element to any party spread.
How do I make a patriotic mixed berry tart?
Pulse flour, sugar, and cold butter into a dough. Press it into a 9-inch pan, bake at 350°F for 15-20 minutes, then fill with cooked vanilla cream and top with arranged berries and apricot jam.
What ingredients are needed for a patriotic mixed berry tart?
Flour, butter, milk, and a mix of fresh berries. You will also need powdered and granulated sugar, cornstarch, salt, vanilla extract, and apricot jam for the glaze.
Is this patriotic mixed berry tart easy to make?
Yes, it is very approachable. If you loved the sweet-tart balance in this recipe, see how we use a similar flavor profile in our spiced cranberry pear sauce.
Why is my tart crust crumbly?
You likely over-pulsed the butter or used too little. To prevent this, press the dough more firmly into the pan to ensure the crust bonds correctly.
Patriotic Mixed Berry Tart for 8 Slices