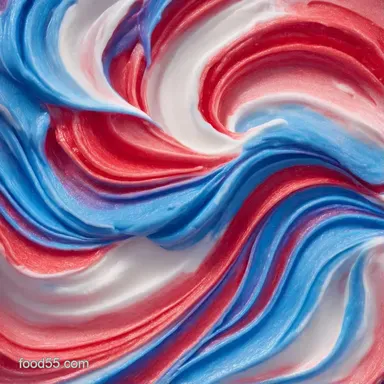
Red White Blue Ice Cream: Silky and Vibrant
- Time:20 minutes active + 6 hours chilling
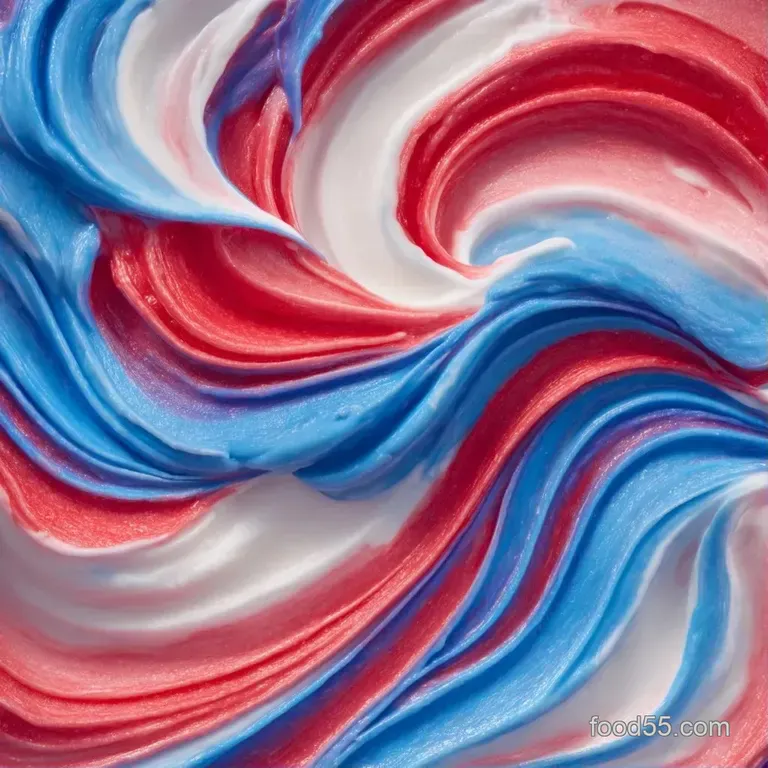
- Flavor/Texture Hook: Silky, dense mouthfeel with vibrant color layers
- Perfect for: Holiday parties, themed birthdays, or beginner friendly desserts
- Making a Velvety Blue Ice Cream
- The Secret to Creamy Texture
- Detailed Component Analysis
- Essential Gear for the Job
- Steps for Colorful Layers
- Common Errors and Fixes
- Troubleshooting Common Issues
- Adjusting for Different Needs
- Keeping the Dessert Fresh
- Pairing Ideas for Guests
- Recipe FAQs
- 📝 Recipe Card
Making a Velvety Blue Ice Cream
The rhythmic whirrr of the hand mixer is the only sound in my kitchen when I'm prepping this. I remember the first time I tried a "shortcut" frozen treat for a family reunion. I didn't chill my condensed milk, and I just stirred everything together.
Instead of a firm scoop, I served what looked like a neon blue soup. It was an absolute disaster, and my cousins spent the whole afternoon laughing at my "blue slushie."
That failure taught me that temperature is everything. You can't just throw ingredients together and hope for the best. To get that thick, scoopable consistency, you need the fats to stay stable. This version of Blue Ice Cream fixes the runniness by focusing on air incorporation and strict temperature control.
You can expect a dessert that looks like a professional bakery piece but takes almost zero actual cooking. We're talking about layers that stay distinct rather than bleeding into a muddy purple. It's all about the fold.
The Secret to Creamy Texture
Getting a smooth finish without a churner feels like a magic trick, but it's actually just physics.
- Air Incorporation
- Beating the heavy cream creates tiny bubbles that act as spacers, preventing the mixture from freezing into a solid block of ice.
- Sugar Concentration
- The high sugar content in condensed milk lowers the freezing point, which keeps the texture velvety rather than icy.
- Fat Stabilization
- Keeping the cream cold ensures the fat globules don't collapse, maintaining the structure of the peaks.
- Minimal Agitation
- Folding instead of stirring prevents the air bubbles from popping, which preserves the fluffiness.
| Method | Time | Texture | Best For |
|---|---|---|---|
| Traditional Churn | 4-8 hours | Very airy, fine crystals | Purest flavor |
| No Churn Shortcut | 6 hours 20 mins | Denser, velvety, rich | Quick prep, vivid colors |
The difference is mainly in the density. The shortcut version is richer and holds the colors better, which is exactly what we want here.
Detailed Component Analysis
Understanding how these few ingredients work together helps you avoid the "soup" mistake I made years ago.
| Ingredient | Science Role | Pro Secret |
|---|---|---|
| Heavy Cream | Structural Base | Must be 40% fat or higher for stiff peaks |
| Condensed Milk | Sweetener/Anti freeze | Chill for 2 hours before using to prevent deflation |
| Gel Food Color | Visual Pigment | Use gel over liquid to avoid adding extra water |
| Vanilla Extract | Flavor Anchor | Adds depth so it doesn't just taste like "sugar" |
Essential Gear for the Job
You don't need a fancy lab here, but a few specific tools make the process a lot smoother.
- Large Chilled Mixing Bowl: Metal is best because it holds the cold, helping the cream whip faster.
- Hand Mixer or Stand Mixer: A KitchenAid works great, but a handheld one is fine as long as you've got a strong wrist.
- Rubber Spatula: Essential for the folding process. Do not use a whisk here or you'll knock all the air out.
- 9x5 Inch Loaf Pan: The standard size for this recipe to ensure the layers are thick enough.
- Parchment Paper: This is the "secret exit" that lets you lift the whole block out of the pan without fighting it.
Steps for Colorful Layers
Right then, let's get into it. Make sure your bowls are cold before you start.
- Pour 3 cups heavy whipping cream and 1 tsp vanilla extract into your chilled bowl. Beat on medium high until stiff peaks form and the mixture holds its shape.
- Turn the mixer to the lowest setting. Slowly pour in 1 can (14 oz) chilled sweetened condensed milk.
- Fold the mixture gently with a rubber spatula until just combined and no white streaks remain. Note: Over mixing here will make the ice cream runny.
- Divide the base evenly into three separate bowls.
- Stir 2 drops blue gel food coloring into the first bowl until the color is uniform and vivid.
- Stir 2 drops red gel food coloring into the second bowl. Leave the third bowl plain white.
- Spoon the blue mixture into the bottom of a parchment lined loaf pan, smoothing the top with your spatula.
- Carefully layer the white mixture on top, then finish with the red mixture.
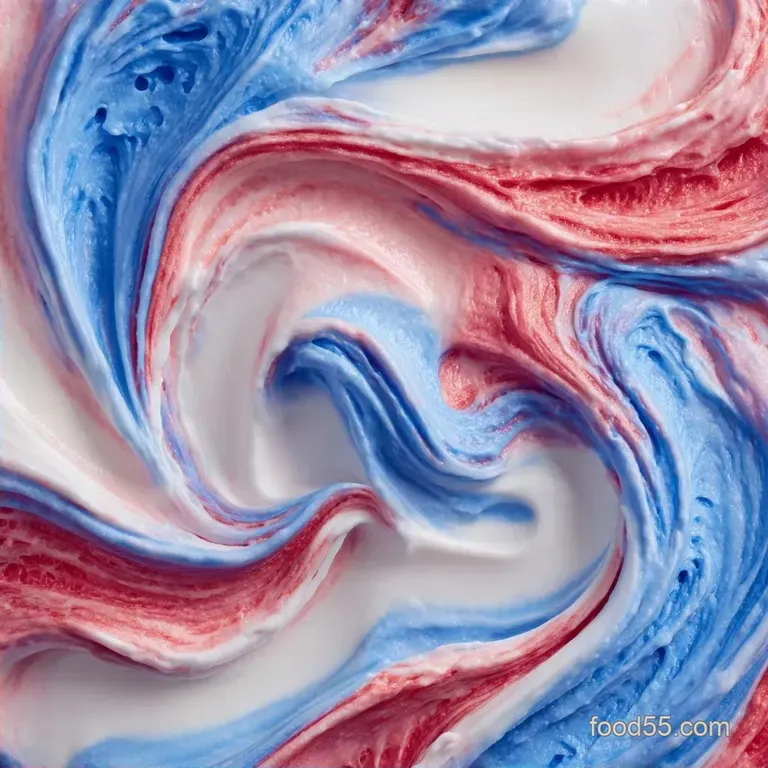
- Use a knife to gently swirl the edges until a marbled effect appears.
- Freeze for 6 hours until the center is firm to the touch.
Common Errors and Fixes
Most people struggle with the "icy" feel or the colors blending together. If you're worried about the process, the appeal of this dessert goes beyond its striking appearance. Making no churn methods is a breeze, requiring minimal equipment but a bit of patience.
Troubleshooting Common Issues
| Issue | Solution |
|---|---|
| Why Your Base Collapses | If your mixture turns back into a liquid after adding the milk, you likely over mixed or used warm ingredients. This destroys the air pockets. |
| Why Colors Bleed | If the red and blue merge into a purple mess, you probably stirred the layers too much. The swirl should be a gentle motion, not a mix. |
| Why it Feels Gritty | Ice crystals form when the freezer temperature fluctuates or the container isn't airtight. |
Checklist for Success:
- ✓ Bowls and beaters are chilled.
- ✓ Condensed milk is cold, not room temp.
- ✓ Peaks are stiff, not just soft.
- ✓ Folded gently, never stirred aggressively.
- ✓ Frozen for the full 6 hours.
Adjusting for Different Needs
If you're making this for a crowd, you can easily double it, but don't just double the dyes.
Scaling Up (2x): Use two loaf pans instead of one. I recommend only increasing the food coloring to 3 drops per color instead of 4, as gel dyes are incredibly potent. Work in batches if your mixer bowl is small to ensure you get enough air into the cream.
Scaling Down (1/2): Use a smaller 4x6 container. Reduce the freezing time by about 20%, though it's safer to just wait the full 6 hours. Since you can't easily half a can of condensed milk, store the rest in a jar for coffee or baking.
Substitution Options:
| Original Ingredient | Substitute | Why It Works |
|---|---|---|
| Heavy Cream | Full fat Coconut Cream | Similar fat content. Note: Adds coconut flavor best in tropical dishes |
| Condensed Milk | Evaporated Milk + Sugar | Similar texture. Note: Requires simmering to thicken first |
| Vanilla Extract | Almond Extract | Stronger, nuttier profile. Note: Use only 1/2 tsp |
If you're looking for more variety in your dessert spread, these layers pair brilliantly with NoBake Homemade Crunch Bars for a bit of texture contrast.
Keeping the Dessert Fresh
Storage is where most people mess up. If you leave the pan open, the ice cream will absorb "freezer smells" and develop a skin.
Storage: Transfer the slices to an airtight container. It stays velvety in the freezer for up to 2 weeks. If it hardens too much, let it sit on the counter for 5 minutes before scooping.
Zero Waste: If you have a bit of cream or condensed milk left over, don't toss it. Mix the leftover condensed milk with a pinch of salt and a splash of vanilla to make a quick drizzle for pancakes. Any leftover whipped cream can be folded into a fruit salad for a quick treat.
For more tips on ice cream storage, check out expert articles on FoodSafety.gov or USDA.gov . Enjoy your sweet creation!
Pairing Ideas for Guests
Since this Blue Ice Cream is quite rich, you need something to cut through that fat.
The Sweet & Salty Route: Serve a slice alongside a handful of salted pistachios or a small piece of dark chocolate. The salt makes the vanilla pop.
The Party Platter: This looks incredible when served as part of a larger spread. I often add it to my New Years Eve Charcuterie Board by placing small pre scooped balls in cupcake liners.
Warm Contrast: Top a scoop with a warm raspberry coulis. The heat will create a slight "sizzle" as it hits the frozen surface, creating a velvety sauce that blends with the colors.
- 1. Temperature Check
- Ingredients should be below 45°F before mixing.
- 2. Peak Check
- Cream should stand straight up when the beater is lifted.
- 3. Set Check
- The center should feel like a firm sponge, not a liquid, after 6 hours.
Recipe FAQs
Why did my ice cream base collapse into a liquid?
Over mixing or using warm ingredients caused the collapse. This destroys the air pockets created during whipping. Ensure your heavy whipping cream and sweetened condensed milk are thoroughly chilled.
How to prevent the red and blue colors from bleeding together?
Use a gentle swirl motion with a knife. Over stirring the layers will merge the red and blue into purple. Limit your movements to a few light strokes around the edges.
Why is my finished ice cream gritty?
Ice crystals form when freezer temperatures fluctuate. This typically happens if the container isn't airtight. Seal the loaf pan tightly before freezing for 6 hours.
How long does this ice cream need to freeze?
Freeze for at least 6 hours. This duration ensures the mixture is completely firm enough to slice and serve without melting instantly.
Is it true that I can use room temperature bowls for the cream?
No, this is a common misconception. Chilled bowls and beaters are necessary to help the heavy whipping cream reach stiff peaks efficiently.
Can I add fruit swirls to the layers?
Yes, you can fold in fruit preserves. If you enjoyed the sweet tart balance in this dessert, see how the same flavor layering principle works in our blueberry jam.
How to get a marbled effect instead of distinct layers?
Gently swirl the edges with a knife. After layering the blue, white, and red mixtures, use light, diagonal motions to create a marble look without fully blending the colors.
Blue Ice Cream Recipe